
Nail art brushes are essential tools for creating stunning designs. Over time, leftover polish, gel, or acrylic can damage the bristles, making precision work difficult. Proper cleaning not only keeps your brushes in top condition but also ensures hygienic application and longer lifespan.
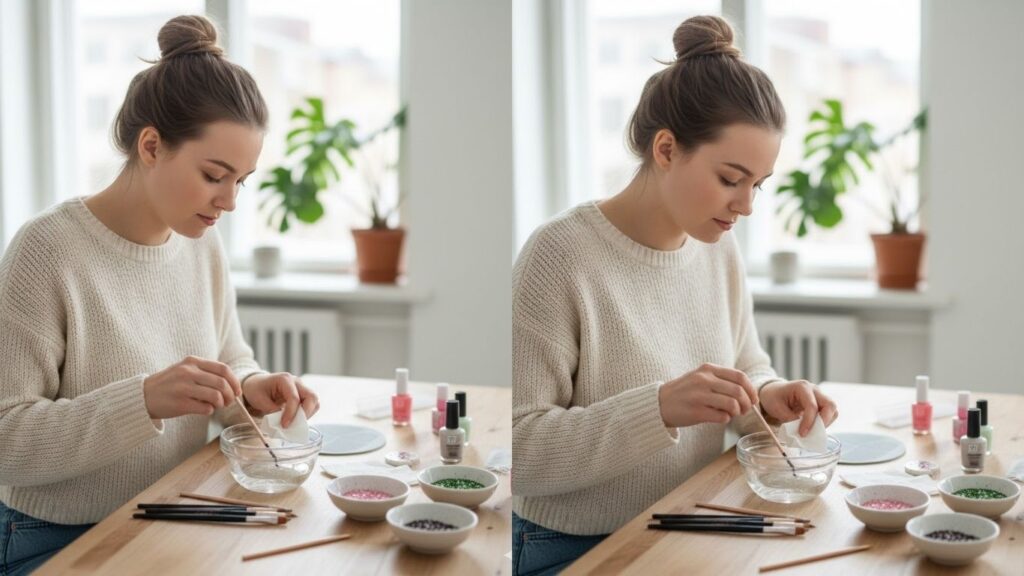
By learning the correct cleaning methods, you can maintain brush shape, prevent fraying, and improve performance. These simple techniques will help both beginners and professionals keep their nail art brushes fresh and ready for use.
Recommended Items to Buy
- Brush cleaner solution
- Acetone
- Isopropyl alcohol
- Soft lint-free cloth
- Small container for soaking
Why Proper Cleaning of Nail Art Brushes Matters
Nail art brushes come into contact with various products, including gels, acrylics, and nail polish. Residue left on brushes can cause:
- Hardened bristles
- Irregular brush strokes
- Frayed tips
- Cross-contamination between colors
- Shortened brush lifespan
Regular and proper cleaning ensures precise application, hygiene, and extended usability of your tools.
How to Clean Nail Art Brushes
1. Cleaning with Brush Cleaner Solution
Using a specialized brush cleaner is the safest method.
Step-by-Step Instructions
- Pour brush cleaner into a small container.
- Dip the bristles and swirl gently.
- Use a lint-free cloth to wipe off excess residue.
- Reshape the bristles with fingers.
- Let the brush dry horizontally.
Best For
Gel, acrylic, and nail polish brushes.
2. Cleaning with Acetone
Acetone is effective for removing hardened polish or gel.
Step-by-Step Instructions
- Pour acetone into a small container.
- Dip only the bristles, avoiding the ferrule (metal part).
- Swirl gently to dissolve residue.
- Wipe bristles on a clean cloth.
- Rinse lightly with brush cleaner or water if necessary.
- Reshape and air dry.
Important Note
Avoid soaking the ferrule to prevent loosening glue and handle damage.
3. Cleaning with Isopropyl Alcohol
Alcohol is ideal for disinfecting brushes while cleaning.
Step-by-Step Instructions
- Pour 70–90% isopropyl alcohol into a small cup.
- Dip the bristles and swirl gently.
- Wipe excess liquid with a lint-free cloth.
- Reshape bristles carefully.
- Let the brush dry completely before reuse.
Best For
Quick cleaning between color changes and sterilization.
4. Warm Water and Soap Cleaning
For water-based paints or gel polishes that are not fully cured.
Step-by-Step Instructions
- Fill a container with warm water and mild soap.
- Swirl the brush gently in the solution.
- Work soap into bristles with fingers if needed.
- Rinse thoroughly with clean water.
- Wipe off excess water and reshape.
- Lay flat to air dry.
Best For
Water-based nail paints and temporary gels.
5. Using a Lint-Free Cloth
A cloth can help remove surface residue efficiently.
Step-by-Step Instructions
- Moisten the cloth with brush cleaner, alcohol, or acetone.
- Swirl or wipe the brush gently on the cloth.
- Repeat until the bristles are clean.
- Reshape and dry the brush flat.
Best For
Quick touch-ups and between-color cleanings.
6. Deep Cleaning by Soaking
For heavily used or neglected brushes.
Step-by-Step Instructions
- Pour brush cleaner or acetone into a small container.
- Soak the bristles only, keeping the ferrule dry.
- Leave for 5–10 minutes to loosen hardened polish.
- Swirl and gently work residue out with fingers.
- Wipe on lint-free cloth.
- Reshape and lay flat to dry.
Best For
Older brushes with built-up layers of gel or polish.
7. Reshaping and Storing Brushes
Proper drying and storage prolong brush life.
Step-by-Step Instructions
- After cleaning, gently squeeze out excess liquid with fingers.
- Use a cloth to remove moisture near the ferrule.
- Reshape bristles carefully to original form.
- Lay flat on a clean surface or hang upside down.
- Avoid storing brushes standing on bristles.
- Keep in a dry, dust-free container.
- Check bristles before each use and repeat cleaning as needed.
Best For
Maintaining bristle shape and preventing fraying.
Common Mistakes to Avoid
- Soaking the ferrule in acetone or water
- Using harsh scrubbing tools
- Ignoring drying direction
- Using brushes with leftover hardened product
- Storing in humid or dusty areas
How Often Should Nail Art Brushes Be Cleaned?
- After every use for polish or gel
- Before switching colors
- Weekly deep cleaning for frequent users
- Monthly disinfection for hygiene maintenance
Regular cleaning ensures optimal performance and prevents contamination.
Benefits of Clean Nail Art Brushes
- Smooth and precise application
- Prevents cross-contamination
- Prolongs brush lifespan
- Maintains professional appearance
- Reduces product waste
Well-maintained brushes improve both workflow and nail art quality.
FAQ
Can I use acetone on all brushes?
Acetone is safe for synthetic bristles but avoid soaking natural-hair brushes.
How do I remove stubborn gel residue?
Use a combination of acetone soak and gentle wiping with a lint-free cloth.
Should I wash brushes immediately after use?
Yes, immediate cleaning prevents hardening and fraying.
Can I use dish soap for cleaning?
Mild soap works for water-based paints but not fully cured gels.
How should brushes be stored after cleaning?
Lay flat or hang upside down, keeping bristles in shape.
How often should I disinfect brushes?
Once a week or after use on multiple clients.
Can improper cleaning damage brushes?
Yes, soaking ferrule or rough scrubbing can ruin the brush permanently.
Final Words
Cleaning nail art brushes properly is crucial for precision, hygiene, and longevity. With the right tools, cleaning methods, and storage practices, your brushes will maintain their shape and performance for years.
Consistent care ensures every nail design is smooth and flawless while protecting your investment in professional-quality brushes