
Bleaching clothes to create custom designs is a creative and cost-effective way to personalize your wardrobe. With a little imagination and some basic supplies, you can turn plain garments into eye-catching pieces.
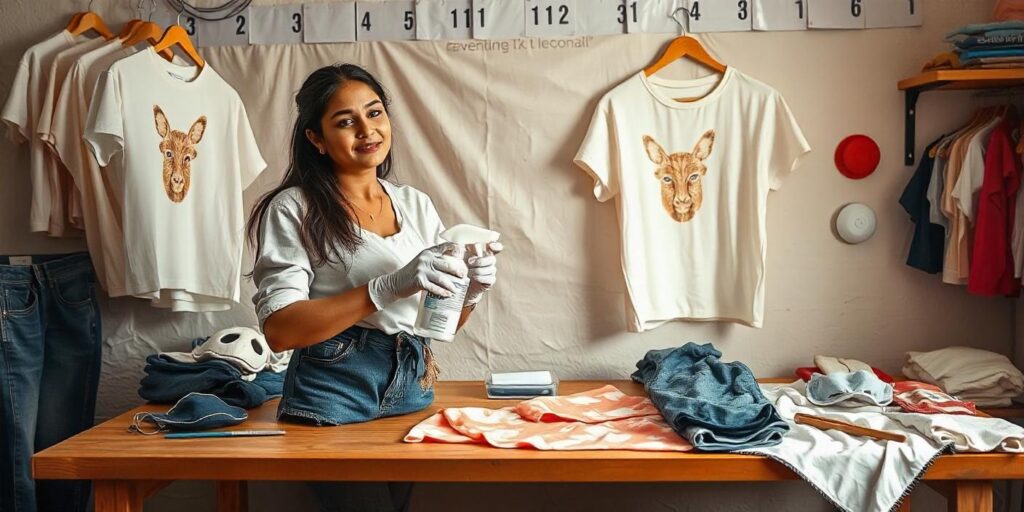
This guide will walk you through the entire process, from preparation to finishing touches, ensuring your project turns out beautifully.
Why Bleach Designs Are Popular
Unique and Customizable
- Bleach designs let you express your creativity, making one-of-a-kind garments that stand out.
Budget-Friendly
- Instead of buying expensive patterned clothes, you can revamp old or plain items using household bleach.
Easy to Learn
- The technique is beginner-friendly and doesn’t require any expensive tools or equipment.
Safety Precautions Before You Start
Work in a Ventilated Area
- Bleach fumes can be strong. Perform your project in a well-ventilated space or outdoors.
Wear Protective Gear
- Use gloves to protect your hands and wear old clothes to avoid accidental stains.
Test the Fabric
- Not all fabrics react the same way to bleach. Test a small area of the garment to see how it reacts.
Avoid Synthetic Fabrics
- Bleach works best on natural fibers like cotton. Synthetic fabrics may not bleach properly or can get damaged.
Tools and Materials You’ll Need
- Plain clothing item (e.g., T-shirt, hoodie, jeans)
- Bleach
- Spray bottle or paintbrush
- Stencils or masking tape
- Cardboard or plastic sheet
- Gloves
- Water
- Hydrogen peroxide or neutralizing solution (optional)
- Plastic drop cloth or old towels
How to Bleach Design Clothes: Step-by-Step
Step 1: Choose Your Garment
- Select a fabric that is predominantly cotton for the best results.
- Dark or vibrant-colored clothes work best for high-contrast designs.
Step 2: Prepare Your Work Area
- Lay down a plastic drop cloth or old towels to protect surfaces from bleach spills.
- Place a piece of cardboard or plastic sheet inside the garment to prevent the bleach from seeping through to the back.
Step 3: Create Your Design
Using Stencils
- Purchase or create your stencils from materials like paper, cardboard, or plastic.
- Secure the stencil onto the garment using tape.
Freehand Designs
- Use masking tape to create geometric patterns or draw freehand designs directly onto the fabric.
Step 4: Mix the Bleach Solution
- For a spray application, mix 1 part bleach with 1 part water in a spray bottle.
- For detailed painting, use undiluted bleach and apply it with a paintbrush.
Step 5: Apply the Bleach
Spray Method
- Spray the bleach solution lightly over the stencil or taped-off areas.
- Avoid soaking the fabric to maintain control over the design.
Painting Method
- Dip a paintbrush into the bleach and carefully apply it to your design.
- This method is ideal for intricate or freehand patterns.
Step 6: Watch the Color Change
- The color of the fabric will start to lighten within 5–10 minutes.
- Monitor the process closely to prevent over-bleaching, which can weaken the fabric.
Step 7: Neutralize the Bleach
- Rinse the garment in cold water immediately after achieving the desired effect.
- To stop the bleaching process completely, soak the garment in a solution of water and hydrogen peroxide.
Step 8: Wash and Dry
- Wash the garment separately in cold water with mild detergent.
- Air dry or tumble dry on a low setting. Avoid exposing the garment to direct sunlight while it’s wet.
Creative Design Ideas
Ombre Effect
- Gradually spray bleach from the bottom of the garment upward for a gradient effect.
Splatter Design
- Flick bleach onto the fabric using a toothbrush for a splattered, abstract look.
Reverse Tie-Dye
- Twist and tie sections of the garment before applying bleach to create unique patterns.
Geometric Shapes
- Use tape to create clean lines, triangles, or other shapes for a modern design.
Custom Artwork
- Freehand paint unique illustrations or lettering using bleach and a fine brush.
Tips for Best Results
Choose the Right Bleach
- Use regular chlorine bleach, not color-safe or oxygen bleach.
Be Patient
- Let the bleach work slowly. Rushing the process can lead to uneven designs.
Experiment
- Test different techniques on scrap fabric before committing to your garment.
Protect the Design
- Wash the garment inside out to prevent the design from fading over time.
Frequently Asked Questions
Can I bleach all types of fabric?
- Bleach works best on natural fibers like cotton. Avoid using bleach on synthetic fabrics like polyester, as they may not react well or could get damaged.
How do I remove excess bleach?
- Rinse thoroughly with cold water and use a neutralizing solution like hydrogen peroxide to stop the bleaching process.
What should I do if the bleach spreads outside the design?
- Mistakes can add character to your design, but if needed, try adding more bleach to incorporate the error into the overall pattern.
How long does it take to complete a bleach design?
- The entire process, including drying time, typically takes a few hours.
Conclusion
Bleaching designs onto clothes is a fun and accessible way to refresh your wardrobe and express your creativity. With the techniques and tips outlined in this guide, you can confidently create stunning patterns and effects.
Remember to work safely, experiment with different styles, and enjoy the process of making your designs come to life.