
A Beauty Blender is an essential tool for flawless makeup, but daily use can lead to makeup buildup, bacteria, and odors. Regular cleaning ensures smooth application, prevents skin irritation, and extends the life of your sponge.
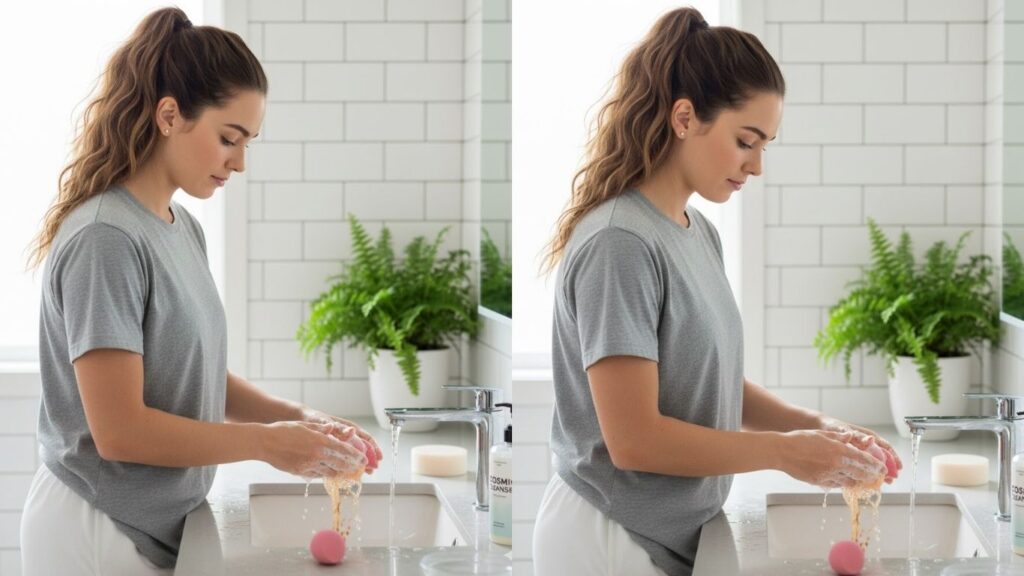
Cleaning your Beauty Blender correctly keeps it soft, hygienic, and ready for perfect makeup application. With the right techniques, even stubborn foundation and powder can be removed safely at home.
Recommended Items for Beauty Blender Cleaning
- Beauty Blender solid cleanser
- Gentle liquid soap
- Olive oil or baby shampoo
- Microfiber cloth
- Warm water
Having these items handy makes cleaning easier and more effective.
Why Regular Cleaning Is Essential
A dirty Beauty Blender can:
- Harbor bacteria and cause acne
- Stain and harden with makeup residue
- Reduce sponge lifespan
- Affect makeup application
Consistent cleaning prevents these issues and keeps your skin and sponge healthy.
how to clean beauty blender
Here are seven practical and detailed methods to clean your Beauty Blender safely.
1. Warm Water and Soap Method
Step 1: Wet the Beauty Blender with warm water.
Step 2: Apply a small amount of gentle soap.
Step 3: Squeeze and massage the sponge to release makeup.
Step 4: Rinse thoroughly under running water.
Step 5: Repeat if necessary until water runs clear.
Step 6: Gently squeeze out excess water.
Step 7: Let air dry on a clean surface.
This basic method works for daily maintenance and light makeup buildup.
2. Beauty Blender Solid Cleanser
Step 1: Wet the sponge with warm water.
Step 2: Rub the sponge directly on the solid cleanser.
Step 3: Massage until makeup residue starts to lift.
Step 4: Rinse under warm water.
Step 5: Repeat for stubborn areas.
Step 6: Gently squeeze out excess water.
Step 7: Air dry completely before use.
Solid cleansers are specifically formulated to remove foundation and powders without damaging the sponge.
3. Olive Oil and Soap Deep Clean
Step 1: Mix a few drops of olive oil with gentle soap.
Step 2: Apply mixture to the sponge and massage.
Step 3: Focus on heavily stained areas.
Step 4: Rinse with warm water.
Step 5: Repeat if needed for stubborn stains.
Step 6: Squeeze out excess moisture.
Step 7: Let air dry.
Olive oil helps break down heavy, cream-based makeup for thorough cleaning.
4. Baby Shampoo Cleaning Method
Step 1: Wet the Beauty Blender thoroughly.
Step 2: Apply a small amount of baby shampoo.
Step 3: Massage gently to release makeup.
Step 4: Rinse with warm water until clear.
Step 5: Repeat if necessary.
Step 6: Squeeze out excess water.
Step 7: Allow to air dry naturally.
Baby shampoo is gentle and prevents the sponge from drying out.
5. Microwave Steam Cleaning
Step 1: Fill a microwave-safe cup with water.
Step 2: Add a small drop of liquid soap.
Step 3: Submerge the sponge completely.
Step 4: Microwave for 30 seconds.
Step 5: Let the sponge cool before handling.
Step 6: Squeeze gently and rinse under water.
Step 7: Air dry.
Steam loosens makeup quickly, making deep cleaning easier.
6. Vinegar Soak for Bacteria Removal
Step 1: Mix one part white vinegar with two parts water.
Step 2: Soak the Beauty Blender for 15–20 minutes.
Step 3: Rinse thoroughly under warm water.
Step 4: Squeeze gently to remove any leftover residue.
Step 5: Repeat if necessary.
Step 6: Let air dry completely.
Step 7: Store in a clean, dry place.
Vinegar naturally disinfects and helps eliminate odors.
7. Quick Daily Rinse
Step 1: Rinse the sponge immediately after each use with warm water.
Step 2: Apply a drop of liquid soap or cleanser.
Step 3: Squeeze gently to remove makeup.
Step 4: Rinse until clear.
Step 5: Squeeze out water.
Step 6: Pat dry with a clean towel if needed.
Step 7: Store to air dry before next use.
A daily rinse prevents buildup and reduces the need for deep cleaning.
Tips for Extending Beauty Blender Lifespan
- Avoid using harsh chemicals or bleach.
- Never twist or tear the sponge.
- Allow complete air drying to prevent mold.
- Store in a clean, ventilated container.
- Clean at least twice weekly for heavy users.
Proper care maintains softness and functionality over time.
How to Handle Stubborn Stains
- Use olive oil and soap for cream makeup.
- Apply solid cleanser directly to deep stains.
- Repeat soaking methods until residue lifts.
Regular cleaning prevents permanent staining.
Signs Your Beauty Blender Needs Cleaning
- Discoloration or makeup buildup
- Unpleasant odor
- Hardened texture
- Reduced blending performance
Prompt cleaning restores performance and hygiene.
Preventative Tips
- Clean immediately after use.
- Use separate sponges for different products.
- Avoid sharing sponges.
- Rotate sponges if used daily.
Preventing buildup is easier than deep cleaning.
Frequently Asked Questions
How often should I clean my Beauty Blender?
Daily or every few uses for light cleaning; deep cleaning weekly.
Can I use dish soap?
Yes, gentle dish soap works, but avoid harsh detergents.
How do I dry it?
Air dry completely on a clean surface away from heat.
Can I microwave without water?
No, always submerge in water to prevent damage.
How long does it last?
With proper care, 3–6 months depending on usage.
Final Words
Regular cleaning keeps your Beauty Blender hygienic, soft, and effective. Proper care prevents bacteria buildup and ensures flawless makeup application every time.
Using these seven methods consistently, combined with gentle daily maintenance, will prolong your sponge’s life and keep it ready for perfect beauty results.