
Rocks collected from beaches, rivers, gardens, or hiking trails often carry dirt, clay, algae, or mineral stains. Cleaning them properly enhances their natural colors and textures without damaging their surface.
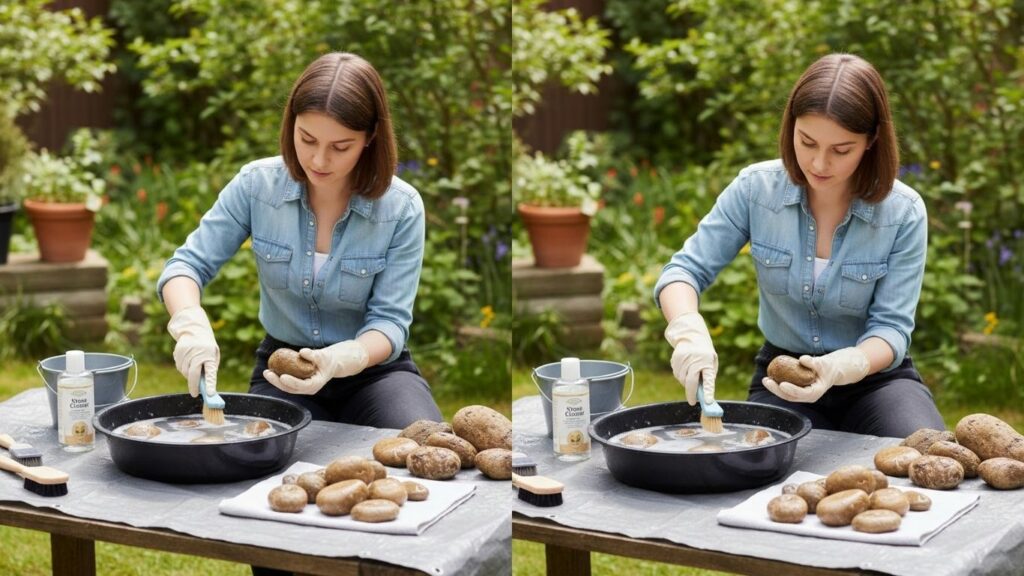
This complete guide explains practical and safe methods to clean rocks at home. Whether you collect stones for decoration, landscaping, aquariums, or crafts, these step-by-step techniques will help restore their beauty while protecting their natural structure.
Recommended Items to Keep on Hand
- Soft-bristle brush
- Mild dish soap
- White vinegar
- Baking soda
- Plastic bucket
Why Cleaning Rocks Properly Matters
Rocks may seem durable, but improper cleaning can cause surface damage, discoloration, or weakening of softer minerals. Proper cleaning helps:
- Reveal natural colors and patterns
- Remove dirt, algae, and stains
- Prepare stones for display or crafts
- Protect delicate mineral surfaces
- Maintain structural integrity
Understanding the type of rock you are cleaning is important. Soft rocks like limestone require gentle methods, while harder rocks like granite can tolerate more scrubbing.
How to Clean Rocks
Before starting, identify the rock type if possible. Avoid harsh acids on delicate stones, and always test cleaning solutions on a small area first. Below are seven detailed methods to clean rocks effectively and safely.
1. Rinsing with Water for Light Dirt
This is the safest and simplest cleaning method.
Step-by-Step Instructions
- Place rocks in a plastic bucket.
- Rinse thoroughly under running water.
- Use your hands to rub off loose dirt.
- Rotate rocks to ensure full coverage.
- Inspect for remaining debris.
- Repeat rinsing if necessary.
- Air-dry completely before storing or displaying.
Water rinsing is ideal for newly collected rocks with light dust or sand.
2. Scrubbing with Mild Soap
For rocks covered in soil or clay, mild soap works effectively.
Step-by-Step Instructions
- Fill a bucket with warm water.
- Add a few drops of mild dish soap.
- Soak rocks for 20–30 minutes.
- Use a soft-bristle brush to scrub gently.
- Focus on crevices and textured surfaces.
- Rinse thoroughly to remove soap residue.
- Let rocks air-dry completely.
Avoid abrasive brushes that can scratch softer stones.
3. Baking Soda for Gentle Cleaning
Baking soda is useful for removing light stains and odors.
Step-by-Step Instructions
- Mix baking soda with water to form a paste.
- Apply paste to stained areas.
- Let sit for 15–30 minutes.
- Scrub gently with a soft brush.
- Rinse thoroughly with clean water.
- Inspect for remaining stains.
- Dry completely before use.
This method is safe for decorative and craft stones.
4. Vinegar Solution for Mineral Deposits
White vinegar helps dissolve mineral buildup on certain rocks.
Step-by-Step Instructions
- Mix equal parts white vinegar and water.
- Submerge rocks in the solution.
- Let soak for several hours.
- Scrub gently to remove deposits.
- Rinse thoroughly with clean water.
- Neutralize by soaking briefly in baking soda water.
- Dry fully before displaying.
Use vinegar cautiously and avoid it on limestone or marble.
5. Removing Algae and Moss
Rocks collected from outdoor environments may contain organic growth.
Step-by-Step Instructions
- Soak rocks in warm soapy water.
- Use a soft brush to scrub off algae.
- Rinse thoroughly.
- For stubborn growth, use diluted vinegar briefly.
- Rinse again to remove all residue.
- Allow rocks to dry in sunlight.
- Inspect for remaining organic matter.
Sunlight naturally helps kill remaining bacteria.
6. Deep Cleaning with Hydrogen Peroxide
Hydrogen peroxide helps clean organic stains without harsh acids.
Step-by-Step Instructions
- Place rocks in a container.
- Pour hydrogen peroxide over rocks until covered.
- Let sit for several hours.
- Observe bubbling, which indicates organic removal.
- Rinse thoroughly with water.
- Scrub gently if needed.
- Dry completely.
This method is useful for fossils or light-colored stones.
7. Polishing and Finishing
After cleaning, polishing enhances natural beauty.
Step-by-Step Instructions
- Ensure rocks are completely dry.
- Rub with a soft cloth to enhance shine.
- Apply a small amount of mineral oil for decorative stones.
- Buff gently with a microfiber cloth.
- Avoid oil for aquarium stones.
- Store in a dry area.
- Repeat polishing occasionally for display stones.
Polishing highlights color and texture while protecting surfaces.
How Often Should You Clean Rocks?
- Newly collected rocks: Clean immediately
- Decorative rocks indoors: Once every few months
- Outdoor landscaping stones: As needed
- Aquarium rocks: Clean carefully before use
Cleaning frequency depends on usage and environment.
Common Mistakes to Avoid
- Using strong acids on delicate rocks
- Scrubbing aggressively
- Soaking soft stones too long
- Failing to rinse thoroughly
- Using metal brushes
Avoiding these mistakes protects both appearance and structure.
Signs Rocks Need Cleaning
- Visible dirt or mud
- Mineral crust buildup
- Algae or moss growth
- Dull appearance
Timely cleaning keeps rocks attractive and safe for display.
Benefits of Proper Rock Cleaning
- Enhances natural beauty
- Reveals color and patterns
- Prevents deterioration
- Makes rocks safe for crafts or aquariums
- Extends their decorative lifespan
Proper cleaning preserves both visual appeal and durability.
Frequently Asked Questions
Can I use bleach to clean rocks?
Bleach can be used for disinfecting certain rocks, but it must be diluted and rinsed thoroughly. Avoid frequent use.
Is vinegar safe for all rocks?
No. Avoid vinegar on limestone, marble, and other calcium-based stones.
How do I clean rocks for aquariums?
Use water and mild scrubbing only. Avoid chemicals or oils.
Can I polish rocks naturally?
Yes. Rubbing with a soft cloth or using mineral oil for decorative stones enhances shine.
How long should rocks dry after cleaning?
Allow at least 24 hours of air-drying before storing or displaying.
How do I remove rust stains from rocks?
Hydrogen peroxide or specialized rust removers designed for stone may help.
Final Words
Cleaning rocks safely enhances their natural beauty and preserves their structure. Whether for decoration, landscaping, or crafting, proper care ensures long-lasting appeal.
By following these seven detailed methods and preventative tips, your rocks will remain vibrant, clean, and ready to display for years to come.