
Learning how to crochet a bow is a fun and beginner-friendly project that can be completed in a short amount of time. Crochet bows are versatile accessories that can be used to decorate headbands, hats, bags, blankets, gifts, and even home décor projects.
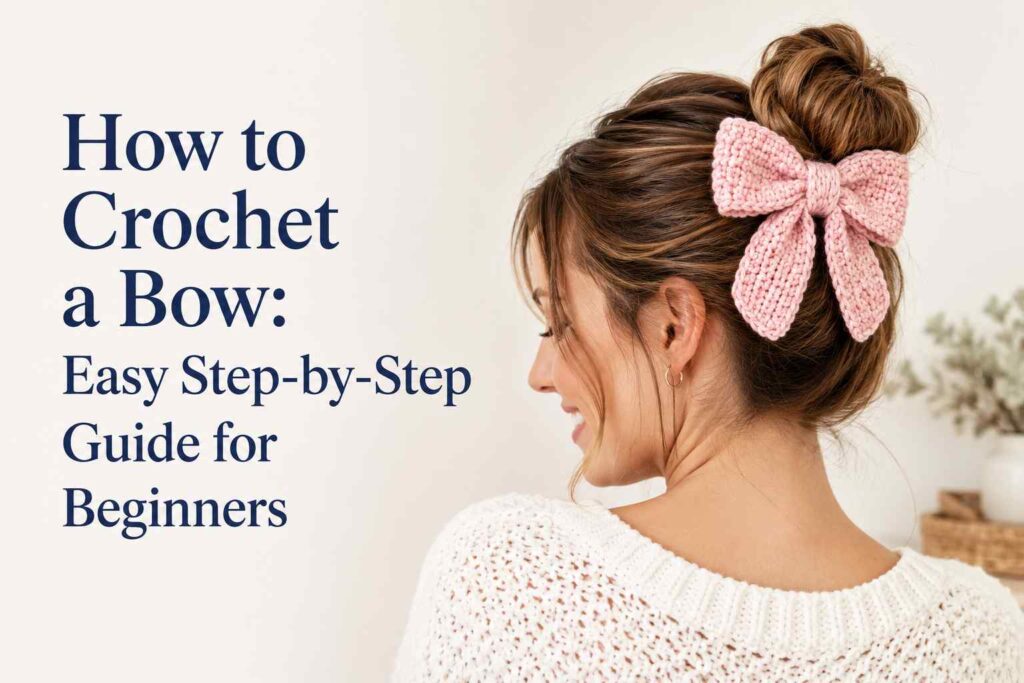
The best part is that crochet bows require only a small amount of yarn and basic crochet skills. Whether you’re creating a simple bow or a decorative statement piece, this project is a great way to practice crochet while making something beautiful.
Items to Buy
Before starting your crochet bow, gather these supplies:
- Crochet yarn
- Crochet hook
- Yarn needle
- Scissors
- Measuring tape
- Stitch markers (optional)
- Hair clip or headband (optional)
- Hot glue gun (optional)
Why Crochet a Bow?
Crochet bows are quick projects that allow you to use leftover yarn from larger projects. Since they require minimal materials, they are budget-friendly and ideal for beginners.
Another advantage is versatility. Crochet bows can be attached to hair accessories, clothing, gift wrapping, handbags, and many other handmade creations.
Choosing the Best Yarn for a Bow
The yarn you choose affects the appearance and structure of your bow. Medium-weight acrylic yarn is a popular choice because it is easy to work with and holds its shape well.
Cotton yarn creates crisp and structured bows, while chunky yarn can be used to make oversized decorative bows. Experimenting with different yarn types allows you to create unique styles.
Understanding Crochet Bow Sizes
Before beginning, decide what size bow you want to make.
Common crochet bow sizes include:
- Mini Bow: 2–3 inches wide
- Small Bow: 3–4 inches wide
- Medium Bow: 4–6 inches wide
- Large Bow: 6–8 inches wide
The size depends on your foundation chain, yarn weight, and stitch pattern.
How to Crochet a Bow: Step-by-Step Guide
Step 1: Choose Your Yarn and Hook
Select your yarn and the appropriate crochet hook size.
Step 2: Create a Foundation Chain
Chain enough stitches to create the desired width of the bow.
Step 3: Crochet the First Row
Work your chosen stitch across the foundation chain.
Step 4: Continue Building the Rectangle
Repeat rows until a small rectangle is formed.
Step 5: Fasten Off
Cut the yarn and secure the final stitch.
Step 6: Weave in Ends
Use a yarn needle to hide loose yarn tails.
Step 7: Fold the Rectangle
Fold the crochet piece into a bow shape.
Step 8: Wrap the Center
Use yarn to wrap tightly around the center.
Step 9: Secure the Bow
Tie the center wrap securely and hide the ends.
Step 10: Attach to Your Project
Sew or glue the finished bow onto your chosen item.
5 Free Crochet Bow Patterns
1. Basic Crochet Bow
A simple bow perfect for beginners.
Steps
- Chain 20 stitches.
- Single crochet across each row.
- Repeat until a rectangle forms.
- Fasten off.
- Wrap the center with yarn.
- Secure and finish.
This bow is quick and easy to customize.
2. Double Crochet Bow
A larger bow with more drape.
Steps
- Create a foundation chain.
- Double crochet across each row.
- Continue until desired size.
- Fasten off.
- Fold into a bow shape.
- Wrap and secure the center.
The taller stitches make this bow work up quickly.
3. Mini Crochet Bow
A tiny decorative bow for accessories.
Steps
- Chain 10 stitches.
- Single crochet several rows.
- Fasten off.
- Fold the rectangle.
- Wrap the center tightly.
- Finish and attach.
These bows are ideal for clips and gift decorations.
4. Layered Crochet Bow
A decorative bow with extra dimension.
Steps
- Crochet a large rectangle.
- Crochet a smaller rectangle.
- Stack both pieces.
- Fold together.
- Wrap the center securely.
- Finish and attach.
Layering creates a fuller and more decorative look.
5. Chunky Crochet Bow
An oversized bow made with bulky yarn.
Steps
- Use chunky yarn and a larger hook.
- Crochet a short rectangle.
- Fasten off.
- Fold into shape.
- Wrap the center.
- Finish with secure ends.
This pattern is perfect for statement accessories and décor.
Common Mistakes to Avoid
One common mistake is making the rectangle too narrow, which can cause the bow to lose its shape. Be sure to create enough width to achieve full, balanced loops.
Another issue is wrapping the center too loosely. A tight center wrap helps the bow maintain its structure and appearance.
Tips for a Professional Finish
Blocking your crochet rectangle before assembling the bow can improve stitch definition and create cleaner edges.
Experiment with different yarn colors, textured stitches, and embellishments to make your bows unique. Buttons, beads, and decorative centers can add extra personality.
How Long Does It Take to Crochet a Bow?
Most crochet bows can be completed in less than an hour, making them excellent quick projects. Mini bows often take only a few minutes, while larger decorative bows may require more time.
Because they use very little yarn, crochet bows are perfect for using leftover scraps from previous projects.
FAQs
Is a crochet bow a good beginner project?
Yes. Crochet bows use basic stitches and simple shaping techniques.
What stitch is best for a crochet bow?
Single crochet and double crochet are the most common choices.
How much yarn do I need?
Most bows require only a small amount of yarn, often less than one ounce.
Can I make a crochet bow with leftover yarn?
Absolutely. Bows are great stash-busting projects.
What can I attach a crochet bow to?
Hair clips, headbands, hats, bags, blankets, gifts, and clothing.
How do I make a larger bow?
Use thicker yarn, a larger hook, or crochet a bigger rectangle.
Do crochet bows need blocking?
Blocking is optional but can improve appearance.
Can I sell crochet bows?
Yes. Handmade crochet bows are popular items at craft fairs and online shops.
Final Words
Now that you know how to crochet a bow, you can create charming accessories and decorations with just a small amount of yarn. This simple project is beginner-friendly, quick to complete, and easy to customize.
Whether you make tiny bows for hair clips or large statement bows for gifts and décor, each project helps build your crochet skills while producing something beautiful and useful. Enjoy experimenting with colors, textures, and sizes to create bows that reflect your personal style.