
Fabric draping is one of the most creative and hands-on techniques in fashion design. Instead of working only with flat patterns, designers shape real fabric directly on a dress form to explore how it flows, folds, and forms around the body.
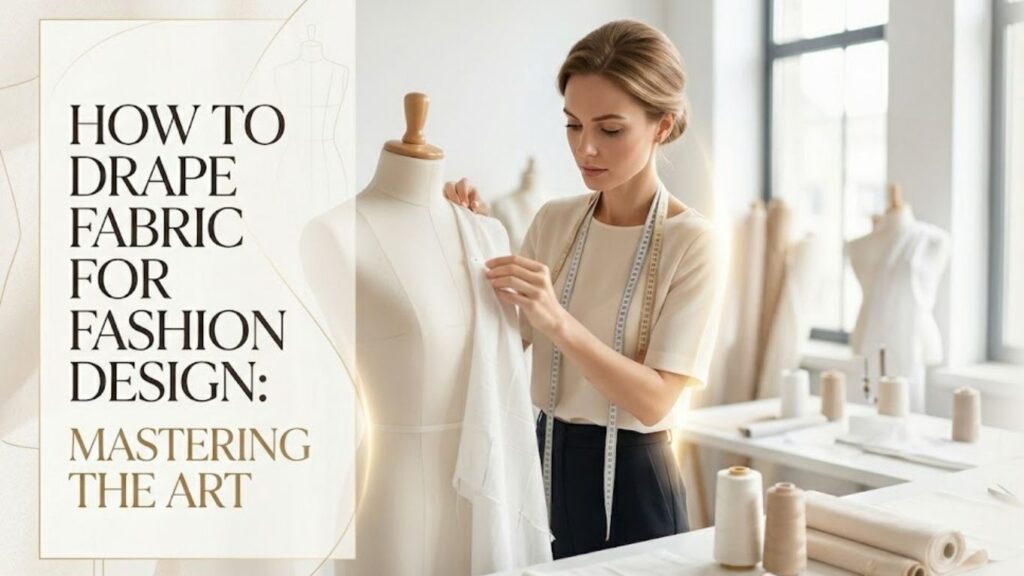
This technique allows designers to experiment freely with silhouettes and textures while visualizing garments in three dimensions. Mastering draping helps transform design ideas into beautiful garments that feel natural, elegant, and well balanced.
Essential Tools for Fabric Draping
Starting with the right tools makes the draping process easier and more precise. Many designers rely on basic equipment to shape fabric and test ideas before cutting the final garment.
Suggested items:
- Dress form mannequin
- Muslin fabric
- Dressmaker pins
- Fabric scissors
- Measuring tape
Muslin is commonly used because it is inexpensive and easy to manipulate while testing garment shapes before cutting the final fabric.
Understanding Fabric Draping in Fashion Design
Fabric draping is the process of placing and pinning fabric directly on a dress form or mannequin to develop garment designs. Designers manipulate the cloth by folding, pinning, or shaping it until the desired silhouette is achieved.
Unlike flat pattern drafting, which relies on measurements and calculations, draping is a sculptural approach. It allows designers to experiment with volume, movement, and fabric behavior while observing how the garment interacts with the human body.
How to Drape Fabric for Fashion Design
1. Prepare the Dress Form Properly
Preparing the dress form is the first step in successful fabric draping. The mannequin should match the body measurements of the intended wearer as closely as possible. Designers often pad the dress form slightly to achieve accurate proportions and improve garment fit.
Marking important lines on the form is also helpful. Designers typically mark the center front, center back, bust line, waistline, and hip line with tape. These guidelines make it easier to position fabric correctly while draping. Taking time to prepare the form ensures that every fold and seam is placed precisely, resulting in a more professional and well-balanced garment.
A well-prepared dress form also allows designers to experiment confidently with creative shapes. Since the fabric is positioned directly on the form, adjustments can be made quickly, helping designers refine their ideas without repeatedly redrawing patterns.
2. Choose the Right Fabric for Draping Practice
Selecting the correct fabric is essential when practicing draping techniques. Many designers begin with muslin because it is affordable, lightweight, and easy to manipulate. Using test fabric prevents mistakes from becoming costly when working with expensive materials.
The fabric used for practice should ideally behave similarly to the final fabric intended for the garment. For example, lightweight fabrics such as chiffon or silk drape differently than heavy materials like denim or wool. Understanding how different fabrics fall and fold helps designers create garments that look elegant and natural.
Working with various fabric types also improves a designer’s understanding of texture and structure. By observing how each fabric reacts to gravity and movement, designers can choose materials that best enhance their design concepts.
3. Identify the Grainline of the Fabric
Understanding fabric grainlines is one of the most important aspects of draping. The grainline refers to the direction of threads in woven fabric and affects how the material stretches and hangs.
There are three main grain directions: straight grain, cross grain, and bias grain. Straight grain runs parallel to the fabric edge and provides stability. Cross grain runs horizontally and has slightly more flexibility. Bias grain runs diagonally and allows the fabric to stretch and flow more freely.
Designers often use the bias grain to create soft, flowing garments because it enhances movement and elegance. Carefully aligning the grainline during draping ensures that the garment maintains its shape and drapes beautifully when worn.
4. Start Draping From the Center Front
Beginning the draping process at the center front provides a balanced foundation for garment construction. Designers usually pin the fabric along the center front line of the dress form before shaping it around the body.
This method helps maintain symmetry while allowing the designer to control how the fabric spreads across the torso. Once the center front is secure, the fabric can be gradually shaped over the bust, waist, and hips.
Starting from a central point also makes it easier to track adjustments. Designers can see how changes on one side affect the overall silhouette, ensuring that the garment remains balanced and visually appealing.
5. Pin the Fabric Carefully
Pinning is one of the most important technical skills in fabric draping. Pins hold the fabric in place while allowing designers to adjust folds and shapes easily during the creative process.
Pins should be inserted perpendicular to the seam lines so that they can be removed easily during sewing. Keeping pins evenly spaced helps maintain smooth fabric surfaces and prevents unwanted puckering.
Careful pinning also improves garment accuracy. By securing the fabric gradually, designers can control tension and ensure that the garment follows the natural contours of the body. This attention to detail is essential for achieving professional-quality draped designs.
6. Shape the Fabric With Pleats and Folds
Pleats and folds add structure and visual interest to draped garments. Designers manipulate fabric to create soft waves, structured pleats, or elegant gathers depending on the design concept.
Pleats are often used to control fullness and create symmetrical patterns. Folds can add volume and dramatic silhouettes, while gathers create a softer and more romantic appearance.
These techniques allow designers to transform simple fabric into sculptural forms. Experimenting with different fold placements helps discover unique shapes that might not be possible through flat pattern drafting alone.
7. Use Darts to Control Fit
Darts are essential for shaping garments to fit the human body. During the draping process, designers often pinch excess fabric to form darts that contour the garment around curves such as the bust and waist.
Once the desired shape is achieved, the dart lines are marked with chalk or fabric pencil. These markings will later guide the pattern-making process when transferring the draped design onto paper.
Darts not only improve fit but also enhance the overall silhouette of the garment. Properly placed darts create smooth transitions between different body areas while maintaining comfort and flexibility.
8. Mark All Design Lines Clearly
Marking is a crucial step that ensures the draped design can be reproduced accurately during garment construction. Designers typically mark seam lines, darts, and style lines directly on the muslin fabric.
These markings serve as guides when the fabric is removed from the dress form and converted into paper patterns. Clear markings prevent confusion and ensure that the final garment matches the original draped design.
Using tailor’s chalk or fabric markers allows designers to record important details such as pleat placement, seam allowances, and cutting lines. Careful documentation ensures that the creative work done during draping is preserved throughout the sewing process.
9. Transfer the Draped Fabric to Paper Patterns
Once the draping process is complete, the fabric pieces are carefully removed from the dress form and laid flat. Designers trace the marked lines onto pattern paper to create the garment’s final pattern pieces.
This step transforms the three-dimensional draped design into a two-dimensional pattern that can be used for cutting fabric. Seam allowances and notches are added during this stage to ensure accurate garment assembly.
The pattern created from draping serves as a blueprint for producing the final garment. This process allows designers to replicate the design multiple times while maintaining the original silhouette.
10. Test the Garment With a Sample
Before cutting the final fabric, designers usually create a test garment using muslin or another inexpensive fabric. This sample allows them to evaluate fit, proportion, and overall design.
During this stage, adjustments can be made to improve comfort and balance. Designers may modify seam lines, adjust darts, or refine the garment’s silhouette based on the sample fitting.
Testing ensures that the final garment looks and fits exactly as intended. It also helps designers identify potential issues early in the production process.
11. Experiment With Different Draping Styles
Draping offers endless creative possibilities. Designers can experiment with asymmetrical shapes, layered fabrics, and dramatic folds to create unique fashion pieces.
Techniques such as gathering, pleating, ruching, and smocking are commonly used to create texture and movement in draped garments.
By exploring different draping methods, designers can develop a personal design style. Each experiment improves understanding of how fabric behaves and expands creative possibilities.
12. Practice Regularly to Improve Skills
Mastering fabric draping requires consistent practice. Like any artistic skill, the more a designer works with fabric, the better they understand its movement and structure.
Practicing simple exercises such as draping basic skirts or bodices helps build confidence and technical ability. Over time, designers develop an intuitive sense of how fabric should be manipulated to achieve desired shapes.
Regular practice also encourages creativity. Designers become more comfortable experimenting with new techniques, leading to innovative and original garment designs.
Benefits of Learning Fabric Draping
Fabric draping provides designers with a deeper understanding of garment construction and fabric behavior. Because the technique works directly with the human form, it helps designers visualize designs more accurately.
Draping also encourages creativity by allowing designers to explore shapes that might be difficult to imagine through flat patterns alone. This freedom makes it especially popular in haute couture and experimental fashion design.
Additionally, draping improves garment fit because adjustments can be made directly on the form. Designers can see how the fabric interacts with curves and movement, resulting in more comfortable and flattering garments.
Frequently Asked Questions
What is fabric draping in fashion design?
Fabric draping is the technique of arranging and pinning fabric on a dress form to create garment shapes and patterns. Designers use this method to visualize clothing in three dimensions before creating final patterns.
Why is draping important in fashion design?
Draping allows designers to experiment with silhouettes, folds, and fabric movement. It provides a creative approach to garment construction and helps achieve accurate fit and structure.
What fabric is best for draping practice?
Muslin is commonly used for practice because it is inexpensive, lightweight, and easy to manipulate. Designers often test designs with muslin before cutting the final fabric.
Is draping better than flat pattern making?
Both techniques are valuable in fashion design. Draping is ideal for exploring creative shapes and fabric flow, while flat pattern making is useful for structured garments and precise measurements.
Can beginners learn fabric draping easily?
Yes. Beginners can start with simple garments such as skirts or basic bodices. With regular practice and experimentation, draping skills improve quickly.
Final Words
Fabric draping is a powerful technique that blends creativity with technical skill. By shaping fabric directly on a dress form, designers can transform simple cloth into expressive garments that flow naturally with the body.
With patience, experimentation, and practice, mastering draping opens the door to limitless fashion possibilities. It allows designers to develop unique silhouettes, refine their craftsmanship, and bring imaginative designs to life.