
Jeans are a staple in every wardrobe, cherished for their durability, style, and versatility. But nothing is more frustrating than discovering a broken button on your favorite pair. Whether it popped off suddenly, the shank broke, or it became loose over time, a missing or damaged button can make jeans unwearable and disrupt your day.
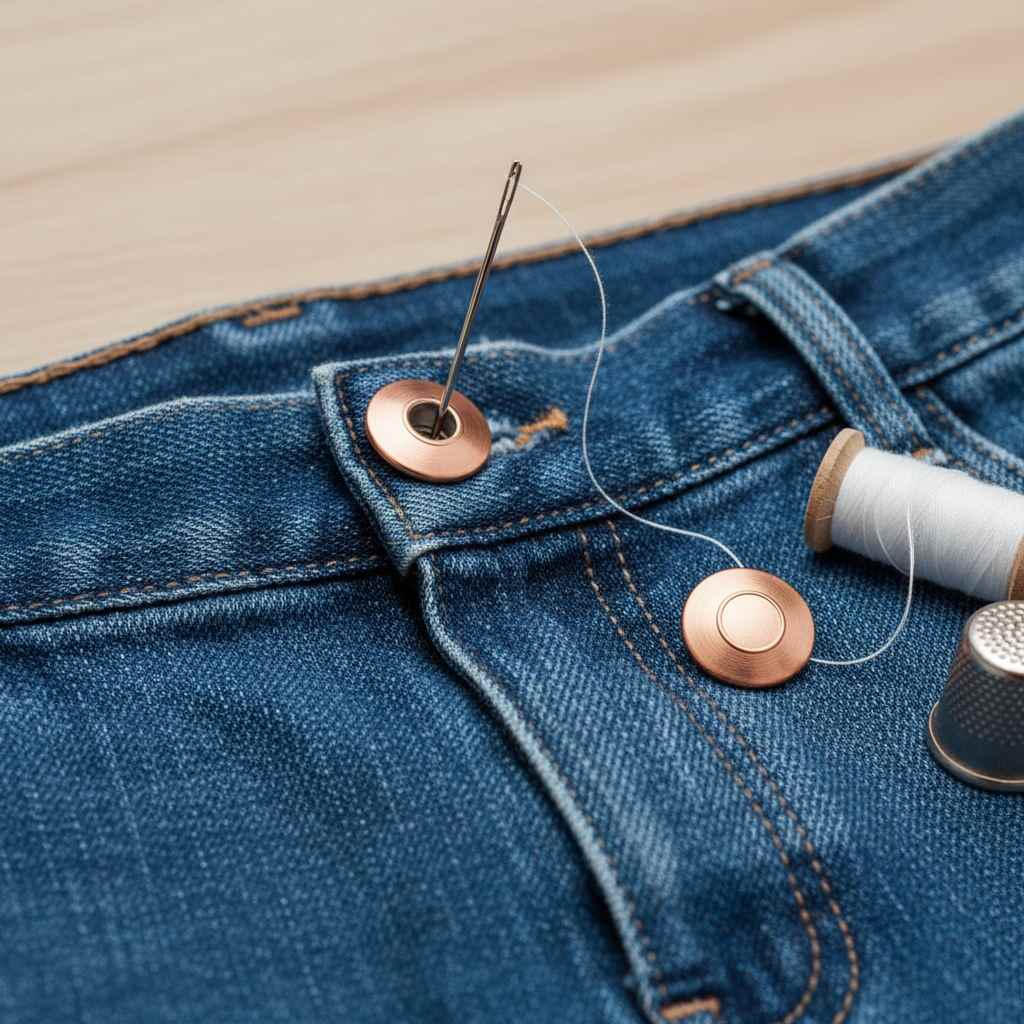
Fortunately, fixing a broken button on jeans is easier than you might think. With the right tools, techniques, and a little patience, you can restore your jeans to perfect working order without needing a tailor. This comprehensive guide explores all methods for repairing broken buttons, from sewing replacements to using specialized kits, as well as tips for preventing future button damage.
Understanding Jeans Buttons
Types of Jeans Buttons
- Metal Buttons – Durable, often used on the waistband of jeans; can be riveted or shank-style.
- Snap Buttons – Press-on style, commonly used for casual or stretch jeans.
- Decorative Buttons – Less functional, more stylistic, often combined with metal rivets.
How Jeans Buttons Break
- Shank Breakage – The metal shank or post that connects the button to fabric breaks.
- Detachment – Buttons pop off due to weak stitching, repeated stress, or improper installation.
- Rust or Wear – Metal buttons corrode over time, weakening their attachment.
- Excessive Force – Tugging too hard while fastening tight jeans can snap buttons.
Tools and Materials Needed for Fixing Jeans Buttons
- Replacement button (metal, snap, or shank type)
- Needle and strong thread (denim or upholstery thread)
- Pliers (for riveted or shank buttons)
- Scissors
- Small hammer (for rivet-type buttons)
- Sewing awl or punch tool (optional for heavy denim)
- Button repair kit (optional)
Having the correct tools ensures a secure, long-lasting repair.
Step-by-Step Methods to Fix a Broken Button
1. Sewing a Replacement Button
Sewing a button is the most common and reliable method.
Steps:
- Remove the broken button completely, including any loose threads or remnants.
- Place the replacement button in the same position as the original.
- Thread a needle with strong, durable thread. Double it for extra strength.
- For flat buttons: Sew through the fabric and buttonholes multiple times to secure.
- For shank buttons: Create a thread shank by leaving a small gap between button and fabric, wrapping thread around it for flexibility.
- Knot securely and trim excess thread.
2. Using a Snap-On Replacement Button
Snap buttons are ideal for jeans without riveted metal buttons.
Steps:
- Align the snap pieces with the original button location.
- Mark the placement with a pencil or fabric chalk.
- Use a hammer or pliers (depending on snap type) to press the button securely onto the denim.
- Test by gently fastening and unfastening the snap.
3. Replacing Rivet-Style Jeans Buttons
Rivet-style buttons require more effort but are durable once repaired.
Steps:
- Remove the broken button with pliers.
- Place the replacement rivet through the fabric hole.
- Use the included backing piece to secure the button.
- Tap gently with a hammer to flatten and lock the rivet.
- Ensure the button is firm but not bent.
4. Temporary Fixes
If you need a quick fix before a proper repair:
- Safety pin replacement for emergencies.
- Small adhesive buttons for temporary fastening.
- Sewing a paperclip or metal hook as a last resort.
Preventing Future Button Breakage
Avoid Excessive Force
- Button jeans gently to reduce stress on buttons and shanks.
Reinforce Buttons
- Sew extra stitches on high-stress buttons like the waistband.
- Use a denim needle and heavy-duty thread for strong reinforcement.
Use Button Repair Kits
- Kits often include replacement rivets, shanks, and tools to extend button life.
Rotate Jeans
- Avoid wearing the same pair every day to reduce wear on buttons and fabric.
Fixing Different Button Types
Flat Sew-Through Buttons
- Simple to sew; use extra stitches to withstand tension.
Shank Buttons
- Requires wrapping thread around shank for flexibility and strength.
Snap Buttons
- Often require pliers or a snap press tool; test alignment carefully.
Rivet Buttons
- Use hammer or rivet tool; ensure backing piece is correctly aligned.
Troubleshooting Common Button Problems
Button Falls Off Again
- Reinforce with additional stitching.
- Ensure replacement button matches original size and type.
Shank Breaks While Sewing
- Use a slightly larger shank button.
- Wrap extra thread to create a sturdy thread shank.
Rivet Bending or Slipping
- Apply firm, even pressure with a hammer or pliers.
- Avoid over-hammering, which may damage the fabric.
Snap Doesn’t Close Properly
- Check alignment of male and female snap components.
- Use pliers or snap press for firm attachment.
Tools and Kits for Easy Repairs
Sewing Supplies
- Strong thread and denim needle
- Small scissors
- Needle threader for convenience
Snap Button Kits
- Includes snaps, tools, and instructions for quick installation
Rivet and Jeans Button Kits
- Often include replacement buttons, hammer tools, and backings for professional-quality repair
Emergency Fix Kits
- Safety pins, adhesive buttons, or temporary fasteners for immediate solutions
DIY Tips for Durable Button Repairs
- Pre-thread with extra length for stronger knots
- Double-stitch high-stress buttons like waistbands
- Avoid ironing directly on rivet or metal buttons to prevent damage
- Keep replacement buttons handy for future repairs
Frequently Asked Questions
Yes, snap-on or rivet kits allow non-sewing repairs, though sewn buttons are often more secure.
Simple sewing: 5–15 minutes. Rivet replacement: 10–20 minutes. Snap button installation: 5–10 minutes.
Do I need a special needle for denim?
Yes, use a heavy-duty or denim needle for strong stitching without bending.
If left unrepaired, a broken button can cause stress on fabric, leading to tears or further damage.
Are DIY fixes reliable?
Yes, with proper tools and techniques, DIY repairs can be long-lasting and prevent frequent replacements.
Final Words
Fixing a broken button on jeans is a simple yet essential skill for maintaining your wardrobe. Whether you sew on a replacement, use snap-on buttons, or install a rivet, these repairs restore functionality and extend the life of your favorite denim.
By understanding different button types, having the right tools, and following step-by-step instructions, you can fix jeans quickly and efficiently. Reinforcing buttons and using proper care techniques helps prevent future breakage, ensuring that your jeans remain stylish, comfortable, and reliable for years to come.
With a little effort and patience, even the most stubborn broken button can be repaired, letting you wear your jeans confidently without worry.