
Dry erase marker stains on clothes can look alarming at first, especially when the ink is bold, bright, and clearly visible. The good news is that these stains are usually much easier to remove than permanent ink because dry erase markers are designed to wipe away easily from non-porous surfaces.
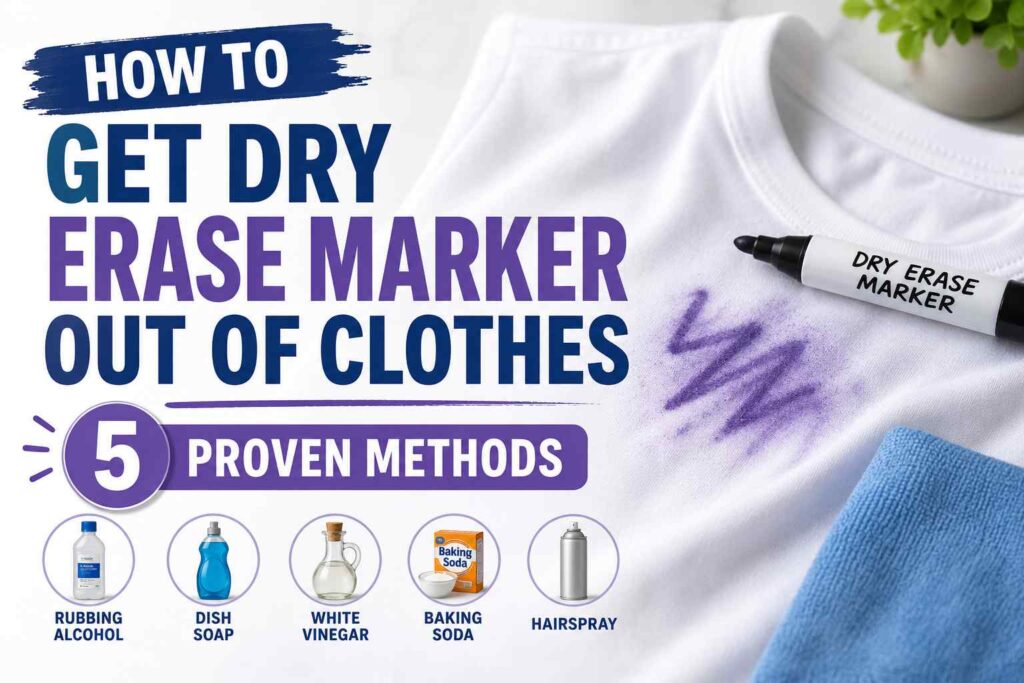
On fabric, the ink behaves similarly—it tends to sit on the surface rather than fully bonding with fibers, especially if treated quickly. With the right approach, you can remove most stains completely using simple household products.
This guide walks you through 5 proven methods to remove dry erase marker from clothes, along with detailed steps, fabric-specific advice, and common mistakes to avoid.
Why Dry Erase Marker Stains Are Easier to Remove
Before starting, it helps to understand why this stain is more manageable than others.
Dry erase markers are typically made with:
- Alcohol-based solvents
- Pigments (color dyes)
- Release agents that prevent permanent bonding
Because of this composition:
- The ink often remains on the surface of fabric fibers at first
- It dissolves easily with alcohol-based solutions
- It becomes harder to remove only if heat is applied too early
The key rule: never use heat (iron or dryer) until the stain is fully gone.
Method 1: Rubbing Alcohol Treatment (Most Effective Method)
Rubbing alcohol is the most reliable and fastest way to remove dry erase marker stains from clothing.
What you need:
- Rubbing alcohol (70% or higher)
- Cotton balls or clean cloth
- Paper towel
Steps:
- Place a clean towel or paper towel under the stain.
- Apply rubbing alcohol to a cotton ball.
- Gently blot the stain—start from the outside edges.
- Allow the ink to transfer onto the towel underneath.
- Replace cotton as it becomes saturated.
- Rinse thoroughly with cold water.
- Wash normally in the machine.
Important note:
Blotting is essential. Rubbing can spread the stain further into the fabric.
Method 2: Hand Sanitizer Treatment (Convenient Alternative)
If rubbing alcohol is not available, hand sanitizer is a practical substitute since it contains alcohol as its active ingredient.
What you need:
- Alcohol-based hand sanitizer
- Clean cloth or tissue
Steps:
- Apply a small amount of hand sanitizer directly to the stain.
- Let it sit for 1–2 minutes.
- Blot gently with a cloth or tissue.
- Rinse with cold water.
- Wash as usual.
Best for:
Quick stain removal when you’re outside or away from cleaning supplies.
Method 3: Vinegar and Dish Soap Solution (Gentle Cleaning Method)
This method is ideal for delicate fabrics or colored clothing where stronger alcohol treatment may be too harsh.
What you need:
- 1 tablespoon white vinegar
- 1 tablespoon dish soap
- 2 cups warm water
- Clean cloth
Steps:
- Mix vinegar, dish soap, and warm water in a bowl.
- Dip a cloth into the solution.
- Dab the stained area repeatedly.
- Let it sit for 5–10 minutes.
- Rinse thoroughly with cold water.
- Wash normally.
Why it works:
Vinegar helps loosen pigment particles, while dish soap lifts residue from fibers.
Method 4: Baking Soda Paste Treatment (For Dried Stains)
When the stain has already set, baking soda helps gently lift residue through mild abrasion.
What you need:
- Baking soda
- A small amount of water
- Soft brush or cloth
Steps:
- Mix baking soda with water to form a thick paste.
- Apply directly to the stain.
- Gently scrub in circular motions.
- Let it sit for 10–15 minutes.
- Rinse thoroughly.
- Wash normally.
Best for:
Older or partially set stains that didn’t fully respond to liquid cleaning.
Method 5: Detergent Pre-Soak Treatment (Deep Cleaning Finish)
If a faint stain remains after other treatments, a detergent soak can help remove the final traces.
What you need:
- Liquid laundry detergent
- Basin or sink
- Warm water
Steps:
- Fill a basin with warm water (avoid hot water).
- Add a generous amount of detergent.
- Soak the clothing for 30–60 minutes.
- Gently rub the stained area.
- Wash in the machine normally.
Extra tip:
For white clothing, adding oxygen bleach can improve results significantly.
Common Mistakes to Avoid
Even though dry erase marker is relatively easy to remove, these mistakes can make the stain harder to treat:
Avoid hot water early
Heat can lock the pigment into fabric fibers.
Avoid using a dryer too soon
Dryer heat can make leftover stains permanent.
Avoid aggressive scrubbing
This spreads the ink instead of lifting it.
Avoid skipping treatments
Some stains require more than one method.
Fabric-Specific Guidance
Different fabrics respond differently to cleaning methods.
Cotton
- Most responsive fabric
- Rubbing alcohol works extremely well
Polyester
- Stain-resistant material
- Alcohol or vinegar both work effectively
Silk or delicate fabrics
- Avoid strong alcohol
- Use vinegar and dish soap method instead
Denim
- Durable fabric
- Baking soda paste works well for deeper stains
Extra Tips for Better Results
- Treat stains as quickly as possible
- Always test cleaning solutions on a hidden area first
- Repeat methods if needed
- Air dry before applying heat
Frequently Asked Questions
Can dry erase marker become permanent on clothes?
In most cases, no. It is designed to be removable and usually comes out with alcohol-based cleaning.
Does water remove dry erase marker?
No. Water alone is not effective because it does not dissolve the ink solvents.
What if the stain is old?
Start with rubbing alcohol, then follow with baking soda or detergent soaking if necessary.
Final Thoughts
Dry erase marker stains may look intimidating, but they are actually among the easiest ink stains to remove when treated properly. The key is acting quickly, choosing the right method for the fabric, and avoiding heat until the stain is fully gone.
With these 5 proven methods, you can usually restore clothing without permanent damage or discoloration.
Read Next: