
How to knit a top is a great skill to learn if you want to create stylish, handmade clothing that fits your personal style. From lightweight summer tanks to cozy long-sleeve tops, knitting your own garment allows you to customize the fit, color, and stitch pattern.
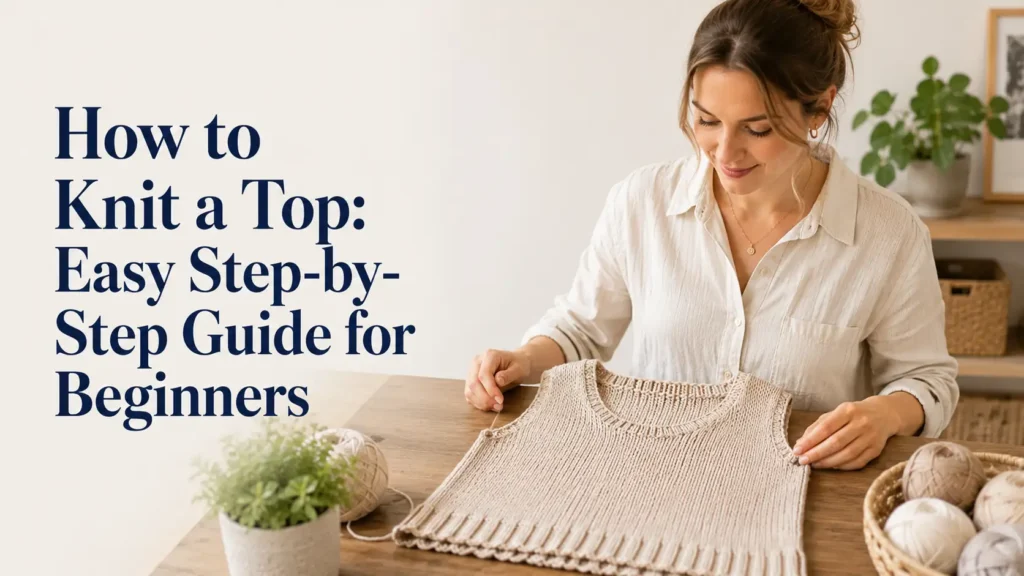
Although knitting a top may seem challenging at first, beginners can successfully complete one by following a simple pattern and working step by step. With the right supplies and a little patience, you’ll have a beautiful handmade top you’ll be proud to wear.
Items to Buy
Before starting your knitting project, gather these supplies:
- Knitting needles (straight or circular)
- Lightweight or medium-weight yarn
- Tapestry needle
- Stitch markers
- Measuring tape
- Scissors
- Row counter (optional)
- Stitch holders
- Cable needle (optional)
- Blocking mats and pins
Why Knit Your Own Top?
Knitting your own top allows you to create clothing that fits your body perfectly while expressing your creativity. You can choose your favorite colors, adjust the length, and add unique stitch patterns that aren’t always available in store-bought garments.
Another advantage is learning valuable garment-construction skills. As you knit a top, you’ll become familiar with shaping, seaming, neckline construction, and finishing techniques that can be used in future sweater and cardigan projects.
Choosing the Best Yarn for a Knitted Top
The yarn you choose has a major impact on the comfort and appearance of your finished top. Cotton yarn is an excellent option for lightweight summer tops because it is breathable and soft against the skin.
For cooler weather, wool blends, bamboo blends, or merino wool provide warmth while maintaining good stitch definition. Always check your pattern’s recommended yarn weight before purchasing supplies.
Understanding Top Sizes
Before casting on, take accurate body measurements.
Important measurements include:
- Bust circumference
- Waist circumference
- Hip circumference
- Shoulder width
- Armhole depth
- Desired body length
- Sleeve length (if applicable)
Compare your measurements with the pattern’s sizing chart to choose the correct size. If you’re between sizes, consider the amount of positive or negative ease recommended by the pattern.
How to Knit a Top: Step-by-Step Guide
Step 1: Choose a Beginner-Friendly Pattern
Select a simple top pattern that matches your knitting skill level. Look for patterns with clear instructions and minimal shaping if this is your first garment.
Step 2: Knit a Gauge Swatch
Create a gauge swatch using the recommended needles and yarn. Measure the stitches and rows carefully to ensure your finished top will fit correctly.
Step 3: Gather Your Supplies
Prepare all your materials before beginning. Having everything ready helps keep your project organized.
Step 4: Cast On the Required Stitches
Cast on the number of stitches specified in your chosen pattern using a stretchy cast-on method if recommended.
Step 5: Knit the Front Panel
Work the stitch pattern while following any shaping instructions for the waist or armholes. Count your rows regularly to maintain accuracy.
Step 6: Knit the Back Panel
Repeat the same process for the back panel, ensuring both pieces are identical in size and shape.
Step 7: Shape the Neckline and Shoulders
As you approach the top of the garment, follow the pattern to bind off stitches gradually and shape the neckline and shoulders.
Step 8: Knit the Sleeves (If Included)
If your design includes sleeves, knit each sleeve separately while matching the specified measurements and shaping.
Step 9: Assemble the Pieces
Sew the shoulder seams first, followed by the side seams. Attach the sleeves if your project includes them.
Step 10: Add Neck and Armhole Edging
Pick up stitches around the neckline and armholes to knit ribbing or another finishing edge. Bind off loosely, weave in all yarn ends, wash the garment according to the yarn label, and block it to achieve a professional finish.
5 Free Knitted Top Patterns
1. Beginner Garter Stitch Tank Top
This simple sleeveless top uses only knit stitches, making it an excellent first garment.
Steps
- Knit a gauge swatch.
- Cast on the required stitches.
- Knit every row until reaching the armholes.
- Shape the armholes and neckline.
- Knit the back panel.
- Sew the shoulders and sides.
- Add simple edging around the neck and armholes.
- Weave in the ends and block.
2. Stockinette Summer Top
A lightweight top with a smooth finish that’s ideal for warm weather.
Steps
- Cast on according to your size.
- Knit ribbing for the bottom hem.
- Continue in stockinette stitch.
- Shape the armholes and neckline.
- Knit the matching back.
- Join the shoulder seams.
- Finish the edges with ribbing.
- Wash and block the garment.
3. Ribbed Knit Crop Top
A fitted design with excellent stretch thanks to a ribbed stitch pattern.
Steps
- Cast on stitches using a stretchy cast-on.
- Work in K2, P2 ribbing.
- Continue until the desired length.
- Shape the neckline.
- Knit the back panel.
- Seam both pieces together.
- Add ribbed edging.
- Finish by weaving in the ends.
4. Lace Panel Top
This elegant design combines simple knitting with decorative lace details.
Steps
- Knit the lower section in stockinette.
- Follow the lace chart for the upper body.
- Shape the neckline.
- Knit the matching back panel.
- Sew the garment together.
- Pick up stitches for the neckline.
- Bind off neatly.
- Block to open the lace pattern.
5. Oversized Knit Top
A relaxed, comfortable design that’s perfect for layering.
Steps
- Choose a size with positive ease.
- Cast on the required stitches.
- Knit the front and back panels.
- Keep the shaping simple.
- Join the shoulder seams.
- Sew the side seams.
- Add wide ribbed edges.
- Block the finished top.
Common Mistakes to Avoid
One of the biggest mistakes beginners make is skipping the gauge swatch. Even a small difference in gauge can significantly change the finished size of your top. Spending a little extra time on this step can save hours of frustration later.
Another common mistake is failing to measure your progress throughout the project. Compare your work to the pattern measurements regularly rather than relying only on row counts. This is especially important if your knitting tension changes as you gain confidence.
Tips for a Professional Finish
Blocking is one of the easiest ways to improve the appearance of your finished top. It evens out stitches, smooths seams, and helps the garment achieve its intended shape and size.
Take your time when sewing seams and weaving in yarn ends. Neat finishing work can make a handmade top look polished and durable. Using matching yarn for seams also helps them blend seamlessly into the fabric.
Caring for Your Knitted Top
Proper care will help your handmade top stay beautiful for years. Always check the yarn label for washing instructions before cleaning your garment.
Hand wash delicate fibers like wool or alpaca in cool water with a gentle detergent. Cotton and many acrylic blends can often be machine washed on a gentle cycle. Lay the garment flat to dry to help it maintain its shape, and fold it for storage instead of hanging it to prevent stretching.
FAQs
Is knitting a top suitable for beginners?
Yes. Simple tank tops and basic sleeveless designs are excellent beginner garment projects.
What yarn is best for a knitted top?
Cotton, bamboo, linen blends, and lightweight wool are popular choices depending on the season.
How much yarn do I need?
Most knitted tops require approximately 600 to 1,500 yards of yarn, depending on the size and style.
Should I knit a gauge swatch?
Yes. A gauge swatch is essential for achieving the correct fit.
Can I knit a top on straight needles?
Yes. Many patterns are worked flat and sewn together after knitting.
How long does it take to knit a top?
A simple beginner top usually takes one to three weeks, depending on your knitting speed and the complexity of the pattern.
Do I need circular needles?
Circular needles are recommended for many garment projects because they comfortably hold a large number of stitches, but some tops can be made with straight needles.
Can I customize the length?
Absolutely. You can easily make your top shorter or longer by adjusting the body length before shaping the armholes.
Final Words
Learning how to knit a top is an exciting way to expand your knitting skills while creating a garment you’ll enjoy wearing. Starting with a simple pattern allows you to practice essential techniques such as gauge, shaping, seaming, and finishing without feeling overwhelmed.
As your confidence grows, experiment with different yarns, stitch patterns, and designs to create tops that suit your personal style. Every project builds your experience, bringing you one step closer to knitting a wardrobe of beautiful handmade clothing.