
How to knit gloves is a valuable skill that allows you to create warm, comfortable accessories tailored to your hands. Whether you’re making simple fingerless gloves or classic full-finger gloves, knitting your own pair lets you choose the yarn, color, and fit.
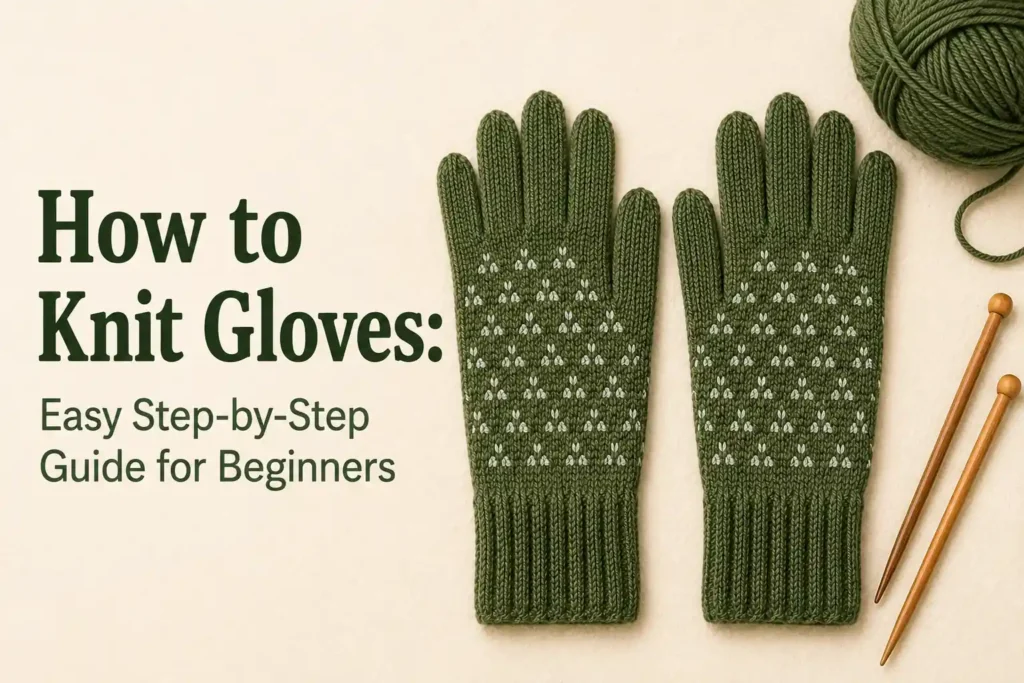
Although gloves may seem like an advanced project, beginners can successfully knit them by following a clear pattern and practicing basic techniques. With the right tools and a little patience, you’ll have a cozy handmade pair that’s perfect for chilly days.
Items to Buy
Before you begin, gather these knitting supplies:
- Fingering, sport, or worsted-weight yarn
- Double-pointed needles (DPNs) or circular needles for the magic loop method
- Tapestry needle
- Stitch markers
- Stitch holders or scrap yarn
- Measuring tape
- Scissors
- Row counter (optional)
- Cable needle (optional)
Why Knit Your Own Gloves?
Knitted gloves are practical, stylish, and completely customizable. You can choose your favorite colors, add textured stitch patterns, or knit fingerless gloves for easier use of phones and other devices.
Making gloves also helps you develop important knitting skills, including knitting in the round, shaping, increasing, decreasing, and creating thumbs. These techniques are useful for many other knitting projects.
Choosing the Best Yarn for Knitted Gloves
The right yarn makes a big difference in comfort and durability. Wool and merino wool are popular choices because they provide warmth, elasticity, and excellent stitch definition.
For gloves that require frequent washing, acrylic or wool-acrylic blends are practical options. If you want lightweight gloves for mild weather, cotton or bamboo blends can also work well.
Understanding Glove Sizes
Take accurate hand measurements before casting on.
Measure:
- Hand circumference around the knuckles
- Hand length from wrist to fingertips
- Thumb circumference
- Thumb length
- Finger length (for full-finger gloves)
- Wrist circumference
These measurements help ensure a comfortable and well-fitting pair of gloves.
How to Knit Gloves: Step-by-Step Guide
Step 1: Choose a Pattern
Select a glove pattern suitable for your experience level. Fingerless gloves are ideal for beginners, while full-finger gloves require more shaping.
Step 2: Knit a Gauge Swatch
Create a gauge swatch using your chosen yarn and needles. Matching the pattern gauge is essential for proper sizing.
Step 3: Cast On Stitches
Cast on the required number of stitches and divide them evenly across your needles if knitting in the round.
Step 4: Knit the Wrist Cuff
Work 1–3 inches of ribbing using K1, P1 or K2, P2 to create a stretchy cuff.
Step 5: Knit the Hand
Continue knitting the main body according to your chosen stitch pattern until reaching the thumb placement.
Step 6: Create the Thumb Gusset
Increase stitches gradually to form the thumb gusset. Place the thumb stitches on a holder or scrap yarn once complete.
Step 7: Finish the Hand
Continue knitting until the glove reaches the base of the fingers for fingerless gloves or the fingertips for full gloves.
Step 8: Knit the Fingers (For Full Gloves)
Return the held stitches to the needles and knit each finger individually, shaping and binding off each fingertip neatly.
Step 9: Knit the Thumb
Place the thumb stitches back on the needles, knit to the desired length, then shape and bind off.
Step 10: Weave in Ends and Block
Use a tapestry needle to weave in all loose ends. Wash and block the gloves according to the yarn instructions to improve the shape and stitch definition.
5 Free Knitted Glove Patterns
1. Beginner Fingerless Gloves
Perfect for first-time glove knitters.
Steps
- Cast on 40–48 stitches.
- Knit a ribbed cuff.
- Knit the hand in stockinette.
- Create a simple thumb opening.
- Continue to the desired length.
- Bind off loosely.
- Weave in the ends.
- Repeat for the second glove.
2. Classic Full-Finger Gloves
A timeless design for cold weather.
Steps
- Knit the ribbed cuff.
- Work the hand in the round.
- Increase for the thumb gusset.
- Place thumb stitches on hold.
- Knit the fingers individually.
- Knit the thumb.
- Bind off each finger.
- Finish and block.
3. Ribbed Stretch Gloves
These gloves provide a snug, flexible fit.
Steps
- Cast on using a stretchy cast-on.
- Work K2, P2 ribbing throughout.
- Shape the thumb gusset.
- Knit the hand.
- Complete the thumb.
- Bind off loosely.
- Weave in ends.
- Block the gloves.
4. Cable Knit Gloves
A textured design for experienced beginners.
Steps
- Knit a ribbed cuff.
- Begin the cable panel.
- Continue cable repeats.
- Shape the thumb.
- Knit the fingers.
- Complete the thumb.
- Bind off.
- Block to enhance the cable pattern.
5. Chunky Winter Gloves
Warm gloves that knit up quickly.
Steps
- Use bulky yarn and larger needles.
- Cast on fewer stitches.
- Knit a short ribbed cuff.
- Work the hand.
- Shape the thumb.
- Knit the fingers or leave fingerless.
- Bind off.
- Finish by weaving in the ends.
Common Mistakes to Avoid
One common mistake is skipping the gauge swatch. Gloves require an accurate fit, so even a small difference in gauge can make them too tight or too loose.
Another mistake is forgetting to count stitches after thumb increases. Keeping track of your stitch count ensures both gloves are identical and fit comfortably.
Tips for a Professional Finish
Use stitch markers to mark the beginning of each round and the thumb gusset. This makes it much easier to follow your pattern and avoid mistakes.
Take your time when finishing the fingertips and thumb. Neatly woven ends and evenly shaped decreases give your gloves a polished, professional appearance.
Caring for Knitted Gloves
Proper care will help your gloves last for many winters. Always follow the care instructions on your yarn label.
Hand wash wool gloves in cool water with a gentle wool detergent and lay them flat to dry. Acrylic gloves can often be machine washed on a gentle cycle, but air drying is recommended to help maintain their shape.
Store gloves clean and dry in a drawer or storage box during the off-season. Avoid hanging them, as this can stretch the fabric over time.
FAQs
Are gloves difficult to knit?
Fingerless gloves are beginner-friendly, while full-finger gloves require more shaping and patience.
What is the best yarn for knitted gloves?
Merino wool, wool blends, and acrylic blends are excellent choices because they are warm and durable.
How much yarn do I need?
Most adult gloves require approximately 150–300 yards of yarn, depending on the size and style.
Can I knit gloves on straight needles?
Some flat glove patterns can be knitted on straight needles and seamed, but most gloves are knitted in the round.
What needles are best for knitting gloves?
Double-pointed needles and the magic loop method with circular needles are the most common options.
How long does it take to knit gloves?
Fingerless gloves can often be completed in one or two days, while full-finger gloves may take several days depending on the pattern.
Why is my thumb too tight?
This usually happens when not enough stitches are picked up around the thumb opening. Carefully follow the pattern’s pickup instructions.
Can beginners knit gloves?
Yes. Starting with a simple fingerless glove pattern is a great way to learn glove construction before attempting full-finger gloves.
Final Words
Learning how to knit gloves is an enjoyable way to expand your knitting skills while creating a practical accessory you’ll use throughout the colder months. From cozy fingerless gloves to classic full-finger designs, there’s a pattern to suit every skill level and personal style.
Begin with a simple project, pay close attention to your gauge and measurements, and take your time with the thumb and finishing details. With practice, you’ll be able to knit comfortable, well-fitting gloves that are both functional and uniquely handmade.