
How to knit leg warmers is a question many beginners ask when they want a practical and stylish knitting project. Leg warmers are comfortable, customizable, and much easier to make than many other knitted garments.
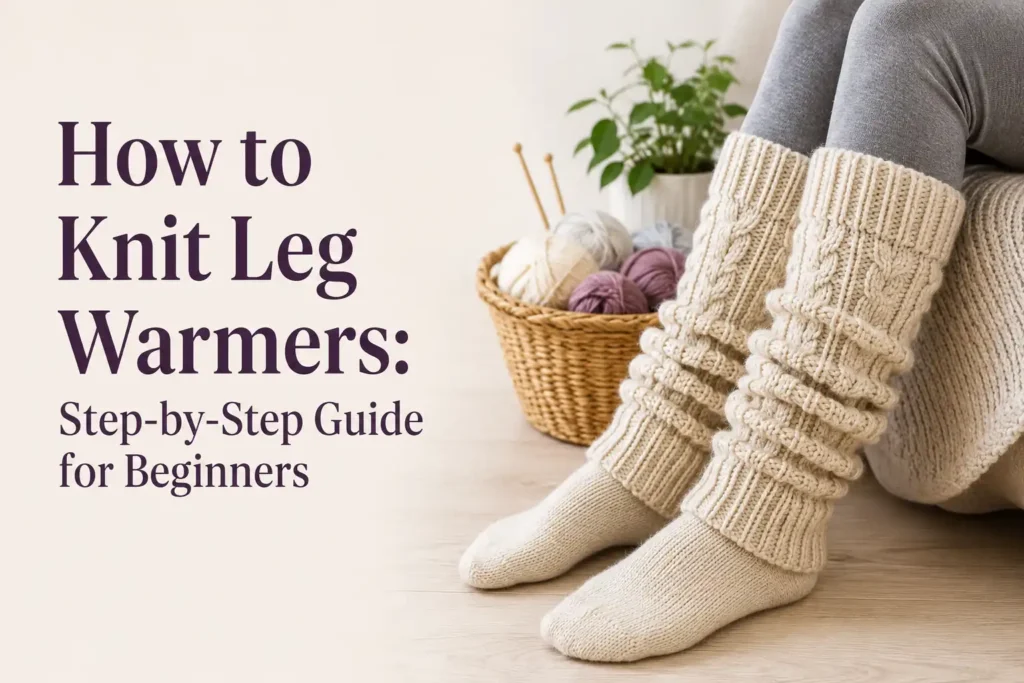
Whether you’re creating them for dance, workouts, winter layering, or everyday fashion, knitted leg warmers are a rewarding project. With a few basic supplies and simple knitting techniques, you can make a cozy pair that fits your personal style perfectly.
Items to Buy
Before you begin, gather the following supplies:
- Worsted or bulky weight yarn
- Knitting needles (straight, circular, or double-pointed)
- Tapestry needle
- Scissors
- Stitch markers
- Measuring tape
- Row counter (optional)
- Stitch holder (optional)
Why Knit Leg Warmers?
Leg warmers are one of the best knitting projects for beginners because they usually involve simple ribbing and knitting in the round or as a rectangle. They don’t require complicated shaping, making them less intimidating than sweaters or socks.
They are also highly customizable. You can choose different lengths, colors, textures, and stitch patterns to create a unique accessory that matches your wardrobe.
Choosing the Best Yarn
The yarn you choose affects the warmth and stretch of your leg warmers. Wool and wool blends are excellent for cold weather because they provide insulation and elasticity.
If you prefer easy-care options, acrylic or acrylic-wool blends are durable and machine washable. Bulky yarn creates thick, cozy leg warmers that knit up quickly.
Understanding Leg Warmer Sizes
Measure the widest part of your calf before casting on stitches.
Typical measurements:
- Child: 9–11 inches circumference
- Teen: 11–13 inches circumference
- Adult Small: 12–14 inches circumference
- Adult Medium: 14–16 inches circumference
- Adult Large: 16–18 inches circumference
Leg warmers generally range from 12 to 20 inches long, depending on the style.
How to Knit Leg Warmers: Step-by-Step Guide
Step 1: Choose Your Yarn and Needles
Select a yarn and needle size recommended on the yarn label. For beginners, worsted-weight yarn with US size 8 (5 mm) needles is a great starting point.
Step 2: Cast On Stitches
Cast on enough stitches to comfortably fit around your calf. Use a stretchy cast-on method for a comfortable fit.
Step 3: Join in the Round (Optional)
If using circular or double-pointed needles, join the stitches carefully without twisting.
Step 4: Knit the Ribbed Cuff
Work K2, P2 ribbing for 1–2 inches to create a stretchy top cuff.
Step 5: Begin the Main Body
Continue with your chosen stitch pattern, such as stockinette, garter, seed stitch, or cables.
Step 6: Check the Length
Measure regularly until the leg warmer reaches your desired length.
Step 7: Knit the Bottom Cuff
Work another 1–2 inches of K2, P2 ribbing.
Step 8: Bind Off Loosely
Use a stretchy bind-off so the cuff remains comfortable around the ankle.
Step 9: Weave in Ends
Use a tapestry needle to hide all loose yarn tails securely.
Step 10: Make the Second Leg Warmer
Repeat the same process for the matching pair.
5 Free Leg Warmer Patterns
1. Basic Ribbed Leg Warmers
Best for beginners
Steps:
- Cast on 48 stitches.
- Join in the round.
- Work K2, P2 ribbing throughout.
- Knit until 16 inches long.
- Bind off loosely.
This pattern creates stretchy, classic leg warmers that fit comfortably.
2. Garter Stitch Leg Warmers
Simple and textured
Steps:
- Cast on stitches.
- Knit every round.
- Continue until desired length.
- Add ribbed cuffs.
- Bind off and finish.
Garter stitch provides warmth and prevents curling.
3. Seed Stitch Leg Warmers
Elegant texture
Steps:
- Cast on an even number of stitches.
- Round 1: K1, P1.
- Round 2: P1, K1.
- Repeat rounds.
- Finish with ribbing.
The textured surface adds visual interest while remaining beginner-friendly.
4. Cable Knit Leg Warmers
Intermediate style
Steps:
- Cast on stitches.
- Work ribbed cuffs.
- Knit cable panels in the center.
- Continue until desired length.
- Bind off and weave in ends.
Cables create a cozy, professional-looking design.
5. Chunky Slouchy Leg Warmers
Quick winter project
Steps:
- Use bulky yarn.
- Cast on fewer stitches.
- Knit loosely for extra drape.
- Work 18–20 inches long.
- Finish with ribbed cuffs.
These leg warmers are perfect for layering over leggings or jeans.
Common Mistakes to Avoid
Even experienced knitters can make mistakes when knitting leg warmers. Paying attention to your stitch count, tension, and measurements throughout the project will help you achieve a polished result.
1. Skipping the Gauge Swatch
Many knitters are eager to start immediately, but skipping a gauge swatch can lead to leg warmers that are too tight or too loose. Spend a few minutes knitting a small sample to check your stitch and row gauge before casting on.
2. Using the Wrong Yarn
Soft, stretchy yarns work best for leg warmers. Choosing yarn with little elasticity may result in a finished pair that slides down your legs or loses its shape after wearing.
3. Twisting Stitches When Joining
If you’re knitting in the round, double-check that your cast-on edge isn’t twisted before joining. A twisted cast-on cannot be fixed later without starting over.
4. Forgetting to Count Rows
If the first leg warmer has more rows than the second, they won’t match. Use a row counter or keep notes to ensure both pieces are identical.
5. Binding Off Too Tightly
A tight bind-off makes the ankle opening difficult to stretch over your foot. Always use a stretchy bind-off technique for a comfortable fit.
Tips for a Professional Finish
Small finishing details can make your handmade leg warmers look store-bought.
Keep Your Tension Consistent
Even tension creates smooth, uniform stitches. Try holding the yarn the same way throughout the project and avoid pulling stitches too tightly.
Add Decorative Stitch Patterns
Once you’ve mastered the basics, experiment with cable stitches, seed stitch, moss stitch, lace panels, or colorwork to create unique leg warmers.
Consider a Folded Cuff
A folded ribbed cuff adds extra warmth and gives your leg warmers a clean, stylish appearance.
Block the Finished Leg Warmers
Blocking helps even out stitches, smooths the fabric, and improves the overall shape. Follow the blocking instructions recommended for your yarn type.
Personalize Your Project
Add buttons, pom-poms, embroidery, or contrasting stripes to make your leg warmers one of a kind. Handmade accessories are a great way to express your creativity.
How Long Does It Take to Knit Leg Warmers?
The time needed depends on your knitting speed, the yarn weight, and the stitch pattern you choose.
- Beginner ribbed leg warmers: 6–10 hours
- Chunky yarn leg warmers: 4–6 hours
- Cable knit leg warmers: 10–15 hours
- Intricate textured patterns: 12–18 hours
Many knitters can complete a simple pair over a weekend, especially when using bulky yarn and larger needles.
Caring for Knitted Leg Warmers
Proper care keeps your handmade leg warmers looking their best for years.
- Wash according to the yarn label instructions.
- Hand wash wool items with a gentle detergent.
- Machine wash acrylic yarn on a gentle cycle if recommended.
- Lay flat to dry to prevent stretching.
- Store folded instead of hanging to help maintain their shape.
- Avoid excessive heat, which may damage delicate fibers.
With proper care, a handmade pair of knitted leg warmers can last through many seasons.
Creative Ways to Wear Knitted Leg Warmers
Leg warmers aren’t just for keeping warm—they’re also a fashionable accessory.
Some popular styling ideas include:
- Wear them over leggings for extra warmth.
- Pair them with skinny jeans and ankle boots.
- Layer them with dresses and knee-high boots during cooler weather.
- Use them for dance, yoga, or warm-up exercises.
- Wear them around the house as cozy lounge accessories.
- Match them with a knitted hat and scarf for a coordinated winter outfit.
Because they come in many lengths and colors, knitted leg warmers are easy to coordinate with almost any casual wardrobe.
FAQs
Are leg warmers good for beginner knitters?
Yes. Most leg warmer patterns use simple stitches and repetitive rows, making them ideal for beginners.
What is the best yarn for knitting leg warmers?
Wool, wool blends, acrylic, and acrylic-wool blends are popular choices because they provide warmth, stretch, and durability.
How much yarn do I need?
Most adult leg warmers require approximately 250–500 yards of worsted-weight yarn, depending on the length and stitch pattern.
Can I knit leg warmers on straight needles?
Yes. Simply knit a flat rectangle and sew the side seam after completing the piece.
Should leg warmers be tight?
They should fit snugly enough to stay in place but not so tightly that they restrict movement or circulation.
How long should knitted leg warmers be?
Most styles range from 12 to 20 inches, depending on whether you want ankle-length, calf-length, or knee-high leg warmers.
Can I add cables or lace to beginner patterns?
Absolutely. Once you’re comfortable with basic knitting, decorative stitch patterns are a great way to customize your project.
Do I need circular needles?
No. Circular needles are convenient for knitting in the round, but straight needles work just as well if you don’t mind sewing a seam.
Final Words
Learning how to knit leg warmers is a rewarding way to build your knitting skills while creating a stylish and practical accessory. Whether you’re a beginner making your first pair or an experienced knitter experimenting with cables and textured stitches, leg warmers offer endless opportunities for creativity.
Start with a simple ribbed pattern, focus on maintaining even tension, and take accurate measurements before casting on. As your confidence grows, explore new stitch patterns, colors, and yarn types to create unique designs that suit your personal style.
With patience, practice, and the right materials, you’ll soon have a cozy pair of handmade leg warmers that provide warmth, comfort, and a sense of accomplishment every time you wear them. Happy knitting!