
Knitting socks may seem complicated at first, but once you understand the structure, it becomes a relaxing and rewarding project. From cuff to toe, each step builds your skills and confidence.
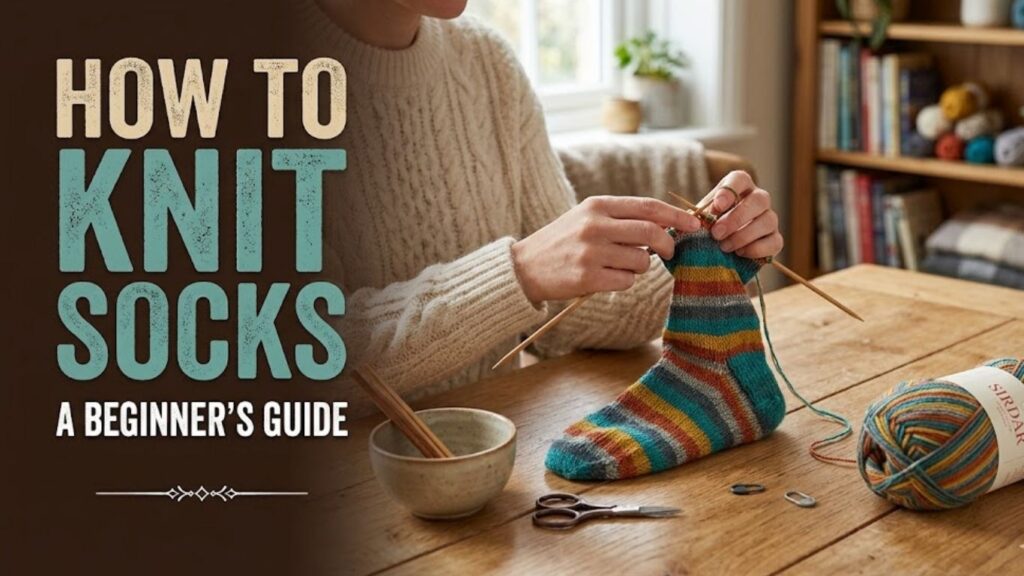
With the right tools and a clear process, you can create comfortable, custom-fit socks that feel just as good as they look. This guide walks you through everything in a simple and approachable way.
Before You Start Knitting Socks
Before beginning, it’s important to understand how socks are constructed. Most socks include a cuff, leg, heel, foot, and toe, each created with specific techniques.
Choosing the right yarn and tools will make a big difference. Wool or wool blends are often recommended because they provide stretch, warmth, and durability for everyday wear.
5 Must-Have Items to Buy for Knitting Socks
- Sock yarn (wool or wool blend)
- Circular or double-pointed needles
- Stitch markers
- Tapestry needle
- Measuring tape
How to Knit Socks Step-by-Step Guide
Sock knitting is usually done either top-down (cuff to toe) or toe-up. Both methods are effective, but beginners often start with the top-down method for easier shaping and structure.
The process includes casting on stitches, knitting in the round, shaping the heel, and finishing the toe. Following each step carefully helps ensure a comfortable and well-fitting sock.
1. Choosing the Right Yarn
Selecting the right yarn is the foundation of a good sock. Wool or wool-blend yarn is ideal because it offers elasticity and durability while staying soft on your skin.
Avoid overly thick yarns if you want lightweight socks. Fingering-weight yarn is commonly used for a balanced feel and long-lasting wear.
2. Selecting Needles
Sock knitting can be done with circular needles, double-pointed needles, or even straight needles. Each method works, but circular needles are popular for beginners.
Choose needle sizes that match your yarn. Smaller needles create tighter stitches, which helps socks last longer.
3. Taking Measurements
Measure your foot circumference and length before starting. Proper measurements ensure your socks fit snugly without being too tight.
Many knitters reduce measurements slightly to create a better fit, as socks naturally stretch during wear.
4. Casting On Stitches
Begin by casting on the required number of stitches, typically between 56 and 64 for an average adult sock.
Join your stitches in the round carefully, making sure they are not twisted. This forms the base of your sock.
5. Knitting the Cuff
The cuff is usually worked in a rib pattern such as knit one, purl one. This creates elasticity so the sock stays up comfortably.
Knit the cuff for about one to two inches, depending on your preferred style and length.
6. Knitting the Leg
After the cuff, continue knitting the leg section. This can be done in a simple knit stitch or with decorative patterns.
The length of the leg depends on your preference, but it typically ranges from a few inches to mid-calf.
7. Creating the Heel Flap
The heel flap is worked on half of your stitches. This section adds durability and structure to the sock.
You’ll knit back and forth instead of in the round, creating a sturdy base for the heel.
8. Turning the Heel
Turning the heel shapes it into a curve that fits your foot. This step may seem tricky, but it involves simple decreases.
By following the pattern carefully, you’ll create a comfortable and well-fitting heel.
9. Knitting the Gusset
The gusset connects the heel to the foot section. It involves picking up stitches and gradually decreasing them.
This step ensures the sock fits properly around the arch of your foot.
10. Knitting the Foot
Continue knitting in the round to form the foot. Keep going until the sock reaches the base of your toes.
It’s best to make the sock slightly shorter than your foot length to allow for stretch and comfort.
11. Shaping the Toe
The toe is shaped by gradually decreasing stitches. This creates a smooth, rounded finish.
Take your time with this step to ensure symmetry and comfort.
12. Closing the Toe
Use a technique like the Kitchener stitch to close the toe seamlessly. This prevents uncomfortable seams inside the sock.
A smooth finish makes the sock more wearable and professional-looking.
13. Weaving in Ends
After finishing, weave in any loose yarn ends using a tapestry needle. This keeps your work neat and secure.
Make sure all ends are hidden to avoid unraveling over time.
14. Blocking Your Socks
Blocking helps shape your socks and even out stitches. Gently wash and lay them flat to dry.
This step improves the overall appearance and fit of your finished socks.
15. Customizing Your Socks
Once you master the basics, you can experiment with colors, stripes, and patterns.
Customization allows you to create unique socks that reflect your personal style and creativity.
Frequently Asked Questions
Is knitting socks hard for beginners?
It may seem challenging at first, but with practice, it becomes much easier.
What is the best yarn for socks?
Wool or wool blends are best for durability and comfort.
How long does it take to knit socks?
It depends on skill level, but beginners may take a few days to weeks.
Can I knit socks without circular needles?
Yes, you can use straight or double-pointed needles.
What is the hardest part of knitting socks?
Many beginners find shaping the heel the most challenging step.
Final Thoughts
Knitting socks is a skill that grows with practice and patience. Each pair you make will improve your technique and confidence.
With this step-by-step guide, you can create comfortable, stylish socks that are both practical and rewarding to make.