
Fashion today is all about creativity, individuality, and sustainability. One of the most stylish and practical accessories that has taken the fashion world by storm is the balaclava. Once known primarily as a cold-weather or ski mask, it’s now a trending fashion statement — worn by models, influencers, and everyday style enthusiasts across the globe.
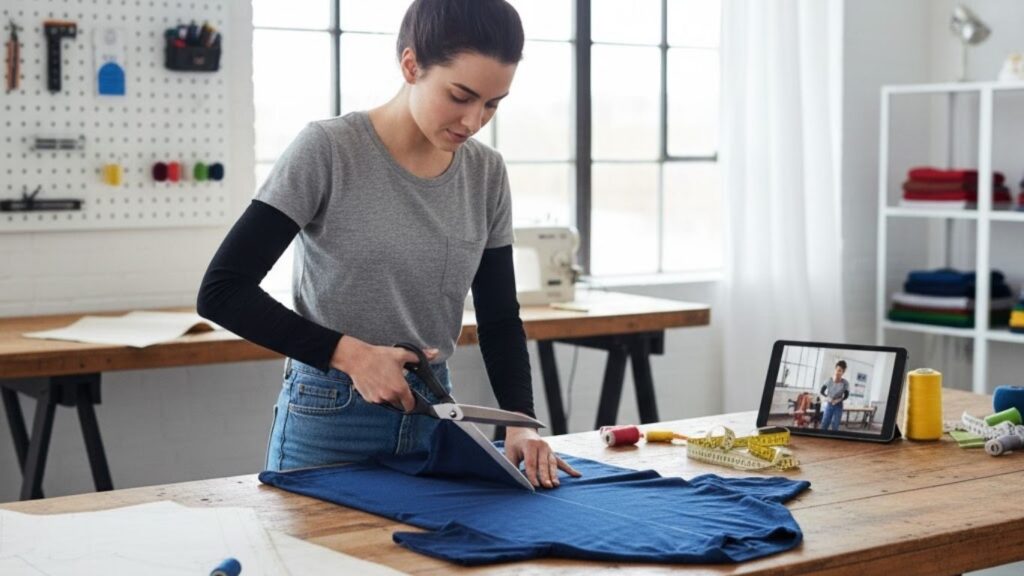
But what if you don’t have one lying around? The good news is that you can easily make your own balaclava at home — and you don’t even need special materials. In fact, you can turn an old shirt into a fashionable balaclava with minimal effort and zero sewing skills.
This guide will take you through everything — from understanding the fashion appeal of balaclavas to step-by-step DIY instructions for transforming your shirt into a chic, warm, and unique accessory.
Let’s dive in and learn how to make a fashion-forward balaclava out of a shirt that’s as stylish as it is sustainable.
The Rise of the Fashion Balaclava
The balaclava has evolved from a purely functional winter garment into a high-fashion staple. Originally designed to protect soldiers from harsh cold, the modern balaclava has found its place on runways, streetwear scenes, and social media.
From luxury brands to minimalist fashion influencers, this piece has become a bold expression of personal style. It’s gender-neutral, versatile, and perfectly aligns with today’s sustainable fashion trends.
When made from an old shirt, the balaclava embodies everything that modern fashion celebrates — upcycling, individuality, and effortless cool.
Why Make Your Own Balaclava?
Before jumping into the DIY, it’s worth understanding why creating your own balaclava is worth the effort.
1. Sustainability
Fashion waste is a growing concern. Making a balaclava out of a shirt helps reduce textile waste by giving new life to an old garment.
2. Cost-Effectiveness
Instead of buying an expensive piece from a boutique, you can make one with zero cost using what you already own.
3. Customization
DIY allows you to personalize your balaclava — from choosing the color and fabric to adjusting the size and shape for a perfect fit.
4. Creativity
It’s an opportunity to express your creativity. You can cut, sew, tie, or style it in unique ways that match your personality.
5. Comfort
Homemade versions often feel softer and more comfortable than store-bought ones because they’re made from fabrics you already love.
Understanding the Balaclava Design
Before you start cutting your shirt, it helps to understand the basic structure of a balaclava.
A traditional balaclava covers the head and neck, leaving only the face (or part of it) visible. Fashion versions vary — some reveal just the eyes, while others show more of the face or act like a hood-scarf hybrid.
There are three main styles you can create from a shirt:
1. Classic Full Coverage
Covers the entire head and neck, with a small opening for the eyes or face. Great for colder weather or edgy streetwear looks.
2. Open-Face Style
Frames the face while covering the head and neck. Ideal for layering under jackets or coats.
3. Hooded Scarf Balaclava
Looks like a hood that drapes softly around your neck. Stylish, cozy, and perfect for casual outfits.
Choosing the Right Shirt
The shirt you choose determines how comfortable and stylish your balaclava will be. Here’s what to look for:
Fabric
- Cotton: Soft and breathable — perfect for mild weather or fashion wear.
- Fleece or Sweatshirt Fabric: Best for colder climates; gives structure and warmth.
- Jersey Knit: Stretchy and snug, ideal for a comfortable fit.
Size
Choose a medium or large shirt — you’ll need enough fabric to cover your head and neck. Oversized shirts work great for looser, drapier styles.
Condition
Avoid thin or worn-out shirts that might tear. Opt for one that’s still in good shape.
Color and Pattern
Neutral tones like beige, black, brown, or gray give a minimalist look. Bright colors or prints add a fun, bold touch. Choose based on your personal aesthetic.
What You’ll Need
You don’t need a professional sewing kit — just a few simple items:
- 1 old shirt (preferably stretchy)
- Sharp scissors
- Measuring tape or ruler
- Marker or fabric chalk
- Optional: Needle and thread (for light stitching, if desired)
- Optional: Safety pins or elastic bands
Step-by-Step Guide: How to Make a Balaclava Out of a Shirt
Now comes the fun part — transforming your shirt into a trendy, wearable piece.
Step 1: Prepare Your Workspace
Find a clean, flat surface where you can cut and fold fabric easily. A table or floor works fine. Keep your tools nearby so you don’t have to pause midway.
Step 2: Choose the Shirt Area
Lay your shirt flat. The best part of the shirt to use is the body section, as it’s wide and smooth. If you’re using a long-sleeve shirt or sweatshirt, you can even use the sleeve for a more fitted balaclava.
Step 3: Measure and Mark
Use your measuring tape to mark a rectangle about 16 inches long and 12 inches wide — this will fit most adult heads comfortably. If you want a looser fit, add a couple of inches on each side.
Mark your measurements lightly with fabric chalk or a washable marker.
Step 4: Cut the Fabric
Cut along the lines carefully. If you’re using a T-shirt, you’ll likely need both front and back layers for a double-sided fabric piece.
For a sweatshirt, you may only need one layer since it’s thicker.
Step 5: Create the Face Opening
Fold the fabric in half (lengthwise). Then, mark a small oval or round opening in the center — about 4 inches wide and 2 inches tall for eye visibility. Adjust the size depending on how much of your face you want to show.
Cut this opening gently; remember, you can always make it larger later, but not smaller.
Step 6: Test the Fit
Slip the fabric over your head carefully. Adjust the hole placement by trimming small sections if needed. The balaclava should fit snugly but not too tight.
If it feels too loose, you can fold the edges inward and lightly stitch or secure them with elastic bands for a better grip.
Step 7: Secure the Edges (Optional)
To make it neater, you can hem the edges using a simple hand stitch or fabric glue. This prevents fraying and adds durability.
If sewing isn’t your thing, don’t worry — raw edges can look stylish too, especially with casual or streetwear looks.
Step 8: Customize Your Style
This is where creativity shines! You can:
- Add small slits for a dual-eye opening.
- Use leftover shirt fabric as a neck warmer or scarf extension.
- Sew or glue decorative patches for a unique touch.
- Dye or paint your balaclava for a personalized design.
Alternative No-Sew Method
If you prefer not to cut and stitch, here’s a simple hack:
- Take a long-sleeved shirt.
- Pull it over your head so the neck hole sits around your forehead.
- Wrap one sleeve around your chin and tuck it under.
- Use the other sleeve to tie or wrap around the back of your neck.
This creates an instant, adjustable balaclava without any cutting or sewing — perfect for temporary wear or photoshoots.
Styling Your DIY Balaclava
Now that you’ve made your balaclava, let’s talk about how to wear it in different fashion contexts.
Streetwear Chic
Pair your balaclava with oversized hoodies, cargo pants, or sneakers. Choose bold colors or patterns for a modern street-style vibe.
Minimalist Aesthetic
For a clean, modern look, use neutral-toned shirts (white, beige, gray). Pair your balaclava with tailored coats, long scarves, or simple sweaters.
Cozy Winter Look
Wear your balaclava with layered knits, wool coats, or puffer jackets. Earthy tones and textured fabrics make this combination warm and stylish.
Sporty Edge
Combine your balaclava with athletic wear — joggers, zip-up hoodies, or track jackets. It’s a functional yet fashionable choice for outdoor workouts or errands.
High-Fashion Flair
If you love dramatic fashion, pair a sleek black or cream balaclava with trench coats or statement accessories. It instantly elevates your outfit to runway-worthy status.
Caring for Your DIY Balaclava
To make sure your handmade balaclava lasts, treat it gently:
- Wash in cold water on a delicate cycle.
- Avoid harsh detergents or bleach.
- Lay flat to dry; avoid wringing or stretching.
- If sewn, check seams regularly and repair as needed.
Creative Variations
Here are a few ideas to take your DIY to the next level:
1. Two-Tone Balaclava
Use two different shirt fabrics — for instance, a light pink and beige — and stitch them together for a stylish two-tone effect.
2. Balaclava with Drawstring
Reuse the drawstring from a hoodie. Thread it through the face opening for adjustable coverage.
3. Cropped Neck Design
Cut the neck area shorter for a fashion balaclava that frames your face like a hood.
4. Embellished Look
Add embroidery, rhinestones, or patches for artistic flair.
Common Mistakes to Avoid
Even simple DIYs can go wrong without a few precautions.
- Cutting Too Much Fabric
Start small. It’s easier to enlarge the face opening than to fix one that’s too big. - Using Stiff Fabric
Stiff materials won’t sit well around your head. Choose flexible, stretchy ones. - Skipping the Fit Test
Always test before finalizing cuts. Everyone’s head shape differs. - Ignoring Comfort
Your balaclava should fit snugly but comfortably — no tightness or irritation.
When to Wear Your Balaclava
Balaclavas aren’t just for cold weather anymore. Here’s when they shine:
- Winter & Fall: For warmth and layering.
- Spring & Early Summer: As a lightweight fashion accessory.
- Photo Shoots: Add a bold, edgy statement to your outfit.
- Streetwear & Festivals: Showcase individuality with creative designs.
Sustainable Fashion and Upcycling
Turning a shirt into a balaclava is more than just a DIY project — it’s part of a larger movement.
Upcycling old clothes helps reduce fashion waste, which is one of the biggest environmental concerns today. By reusing what you already own, you’re contributing to a more sustainable fashion ecosystem while gaining a stylish new accessory.
Every homemade piece tells a story — your creativity, your values, and your individuality.
FAQs
Can I make a balaclava without sewing?
Yes! You can use the no-sew wrap method or fabric glue for a quick and easy solution.
What’s the best shirt fabric for this project?
Stretchy, soft materials like cotton or jersey work best. They provide comfort and flexibility.
Will a DIY balaclava keep me warm?
If made from thicker fabric (like a sweatshirt), it can definitely keep you warm during cool weather.
Can I wash my homemade balaclava?
Yes, but use cold water and mild detergent. Air dry it to prevent shrinking or damage.
How do I make it look fashionable?
Play with color coordination, add minimal accessories, and pair it with trendy outerwear or street-style outfits.
Can I make smaller sizes for kids?
Absolutely! Just adjust the measurements proportionally to fit smaller head sizes.
Final Words
Making a balaclava out of a shirt is one of the easiest and most creative DIY fashion projects you can try. It’s sustainable, budget-friendly, and opens up endless styling opportunities.
From cozy winter wear to high-fashion street style, your homemade balaclava can reflect your personality and aesthetic perfectly. All you need is a shirt, a pair of scissors, and a little imagination.
So go ahead — upcycle that old shirt into a new statement piece. Whether you wear it for warmth, fashion, or fun, your DIY balaclava will always be a unique expression of your creativity.