
Christmas bows add joy, charm, and a festive finishing touch to gifts, wreaths, trees, garlands, and holiday décor. A well-made Christmas bow can elevate your seasonal decorating instantly — whether you prefer classic red and green styles, sparkly glitter accents, rustic burlap textures, or elegant satin finishes.
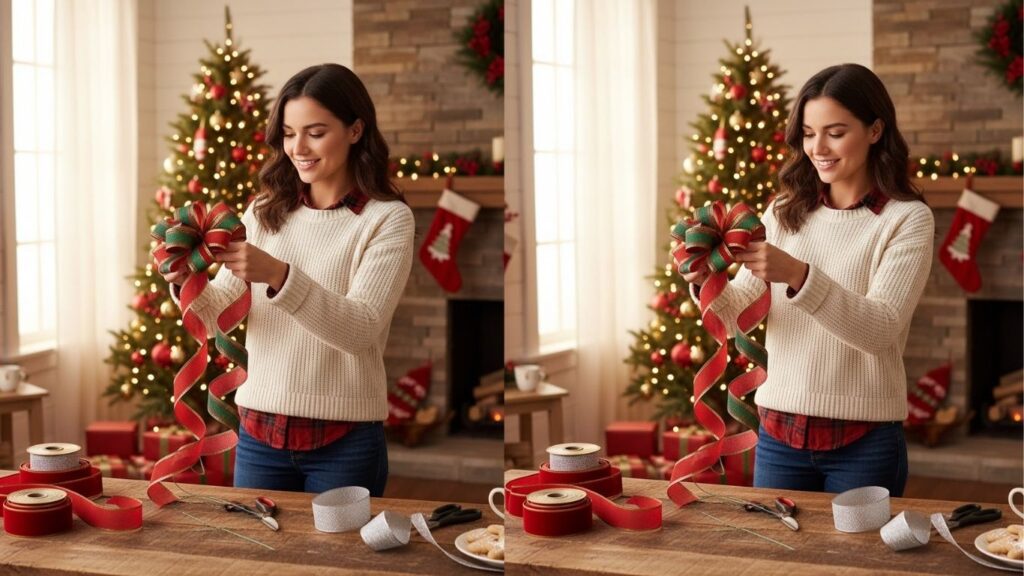
This complete guide teaches you how to make Christmas bows in seven creative ways, with clear instructions, detailed tips, and friendly explanations perfect for beginners and seasoned crafters alike. By the end of this post, you’ll be able to make bows that look professional and joyful.
Supplies You Might Need
Before you begin, gather these Christmas craft essentials — having the right tools makes bow making easier, faster, and more fun.
- Wired holiday ribbon
- Scissors
- Floral wire
- Hot glue gun
- Glitter accents
Christmas Bow Basics
Christmas bows are usually made with ribbon that has wired edges so the loops stay shaped and voluminous. You can make simple bows with just one ribbon, or layered designs by combining multiple ribbons with different textures and colors. Knowing how to fluff the bow after tying, trim the tails attractively, and secure the center properly makes all the difference between a flat, basic bow and a show-stopping holiday creation.
With the right materials and technique, your Christmas bows can decorate gift packages, wreaths, mantels, stair banisters, tree branches, and even outdoor décor. Below are seven festive methods you can follow step by step.
How to Make a Christmas Bow
The method you choose depends on where the bow will be used and how dramatic you want it to look. Some bows are classic and neat, while others are big and fluffy with multiple loops. All of them share the same basic principles: create loops, secure the center, and trim the tails attractively. Let’s begin.
1. Classic Christmas Bow
A timeless staple that looks beautiful on gifts, wreaths, or garlands.
Step-by-Step Instructions
- Cut a length of wired ribbon about 3–4 yards long (adjust based on how large you want the bow).
- Hold the ribbon by the center and make a loop to the left.
- Make a loop to the right of the center point.
- Alternate making loops left and right until you have 3–4 loops on each side.
- Gather all loops at the center and pinch tightly.
- Wrap floral wire around the pinched center and twist securely.
- Fluff each loop outward and trim ribbon tails in a V-shape or diagonal cut.
Classic bows are neat and symmetrical, great for traditional holiday decorating.
2. Layered Christmas Bow
Adds dimension by layering ribbons of different colors, widths, or patterns.
Step-by-Step Instructions
- Choose two or more coordinating ribbons — a wide wired ribbon as your base and narrower ribbons for layering.
- Cut each ribbon to the same length (about 3 yards).
- Stack the ribbons on top of each other with the widest at the bottom.
- Create loops from all layers at the same time, alternating left and right.
- Pinch all layers together at the center.
- Secure with floral wire.
- Separate the layers and fluff them so colors and patterns show distinctively.
Layered bows are rich and festive, perfect for gift boxes and stair rail décor.
3. Big Fluffy Christmas Bow
A dramatic, eye-catching bow for large wreaths or Christmas trees.
Step-by-Step Instructions
- Cut about 4–5 yards of wired ribbon, depending on how large you want the bow.
- Start by creating multiple large loops back and forth, like folding the ribbon over itself.
- Gather all loops at the center and pinch firmly.
- Wrap floral wire around the center and twist securely.
- Fan out the loops so they spread in all directions.
- Trim the tails with a flourish.
- Adjust each loop until the bow looks symmetrical and full.
This style makes a big visual impact — especially on oversized wreaths or large tree branches.
4. Elegant Tail Christmas Bow
A refined style that highlights long, flowing ribbon tails.
Step-by-Step Instructions
- Cut about 3–4 yards of wired ribbon.
- Make one large loop on the left and one on the right, leaving long until you like the proportions.
- Pinch the center tightly.
- Wrap floral wire around the pinched center and secure.
- Pull the long ribbon tails down neatly.
- Trim those tails in a V-shape or pointed dip for a polished look.
- Fluff the loops lightly for shape.
Elegant tail bows are great on mantelpieces, tree toppers, and gift baskets with a refined look.
5. Pom-Pom Christmas Bow
A fun holiday style that looks playful and joyful.
Step-by-Step Instructions
- Cut about 4–5 yards of wired ribbon.
- Hold the center and make many small loops side by side, like folding ribbon back and forth.
- Pinch the center of all loops tightly.
- Use floral wire to secure the center.
- Spread and fluff loops outward to create a fluffy, pom-pom-like shape.
- Trim tails to match the fullness of the loops.
- Adjust loops so the bow is round and voluminous.
Pom-pom bows are whimsical and perfect for kids’ gifts or festive focal points.
6. Burlap Christmas Bow
A rustic, farmhouse-inspired bow with natural charm.
Step-by-Step Instructions
- Use burlap ribbon with wired edges if possible.
- Cut about 3–4 yards of burlap ribbon.
- Follow the classic bow process by making loops from left and right.
- Pinch the loops at the center.
- Secure with floral wire or rustic twine.
- Trim the tails at an angle, leaving frayed edges for texture.
- Loosen loops gently to give a soft, rustic look.
Burlap bows are perfect for country-style wreaths and natural décor.
7. Glitter Christmas Bow
A sparkly, festive bow that shines on any holiday décor.
Step-by-Step Instructions
- Choose a glitter or metallic wired ribbon.
- Cut 3–4 yards of ribbon.
- Form loops by alternating from side to side at the center.
- Pinch all loops at the center.
- Wrap floral wire around the center tightly.
- Pull loops outward and adjust to show sparkle.
- Trim tails with a diagonal cut and add extra glitter dust if desired.
Glitter bows catch light and are especially striking when placed near lights or reflective surfaces.
Choosing Your Christmas Ribbon
When selecting ribbon, consider:
- Wired edges: Ideal because they hold bow shapes better.
- Materials: Satin, velvet, burlap, metallic, glitter, or grosgrain.
- Widths: Wider ribbons (2.5–4 inches) make large bows; narrower ribbons (1–2.5 inches) make smaller decorative bows.
- Patterns: Plaids, holiday prints, solids, metallic stripes — mix and match for layered designs.
Good ribbon choices make your bow look polished and professional.
Tools and Materials You Might Find Handy
High-quality holidays bows look best when you have the right tools on hand. A sturdy pair of scissors makes clean cuts; floral wire holds your design securely; and a hot glue gun can help attach bows to wreaths, tree branches, gifts, or décor pieces. Mixing materials like jingle bells, small ornaments, pine cones, or greenery accents can add festive flair to your bows.
Creative Uses for Christmas Bows
Christmas bows brighten so many holiday elements:
- Gift wrapping: Large or small bows make packages look special.
- Wreaths: A bow at the top, bottom, or side completes a wreath beautifully.
- Christmas trees: Use bows as ornaments or tree toppers.
- Garlands: Accent garlands with bows at intervals.
- Centerpieces: Add bows to candle holders or tabletop décor.
- Mantels: A row of bows adds seasonal cheer above a fireplace.
- Door baskets: Bow accents make welcome baskets more festive.
Experiment with placement and color combos to match your holiday theme.
Ribbon Cutting and Tail Styles
Trimming your ribbon tails gives your bow a polished look. Popular cutting styles include:
- V-cut: A neat, pointed end that adds elegance.
- Diagonal cut: A simple angled finish.
- Swallowtail cut: A V cut inside a longer tail for a layered look.
- Scalloped or curved edges: Adds whimsical flair.
Practice different tail shapes to see which compliments your bow best.
Decorating Tips and Tricks
- Fluff loosely at first, then tighten as needed.
- Twist ribbon gently as you loop to add texture.
- Combine solids and patterns for interest.
- Add small accents — bells, pine sprigs, glitter picks.
- Use contrasting colors for bold designs or monochrome for elegant themes.
These small details make a big difference in the final look.
Storing Christmas Bows
To reuse bows year after year:
- Lay them flat in a box with soft tissue paper.
- Loop ribbon tails so they don’t crease.
- Store in a cool, dry place to preserve shape and prevent dust.
- Use containers with dividers for large and small bows.
Proper storage protects your bows until the next holiday season.
Common Mistakes and How to Avoid Them
Even experienced crafters can make errors. Avoid these:
- Using non-wired ribbon: Bow collapses easily.
- Cutting ribbon too short: Bow looks small or tight.
- Not securing center tightly: Bow loosens quickly.
- Ignoring tail trimming: Tails look messy.
- Skipping fluffing process: Bow looks flat.
A little patience and attention to detail deliver standout results.
Frequently Asked Questions
What width of ribbon is best for Christmas bows?
Wide ribbons (2.5–4 inches) create fuller, more dramatic bows, while narrow ribbons (1–2 inches) work for smaller décor.
Can I make a Christmas bow without wired ribbon?
Yes, but bows made with non-wired ribbon won’t hold shape as well; they may need extra glue or stitching to secure.
How do you attach a bow to a wreath?
You can use floral wire, ribbon tails wrapped through the wreath, or hot glue for lightweight bows.
Can I make matching bows for gifts and décor?
Absolutely — choose the same ribbons and repeat your favorite method for coordinated holiday style.
How do I keep bows looking neat when stored?
Store flat with tissue paper or in a container that prevents crushing to maintain loops and shape.
Final Words
Mastering how to make a Christmas bow gives you a versatile skill that makes holiday décor and gift presentation more beautiful and personal. With the right ribbon, tools, and techniques, you can create bows that become memorable parts of your seasonal décor.
Try each of the seven methods above to find your favorite style, and enjoy crafting festive bows that spread warm holiday cheer throughout your home.