
Stickers are fun, creative, and incredibly versatile. You can use them to decorate notebooks, planners, laptops, phone cases, gifts, packaging, and even walls. Making your own stickers at home allows complete freedom in design, size, color, and style.
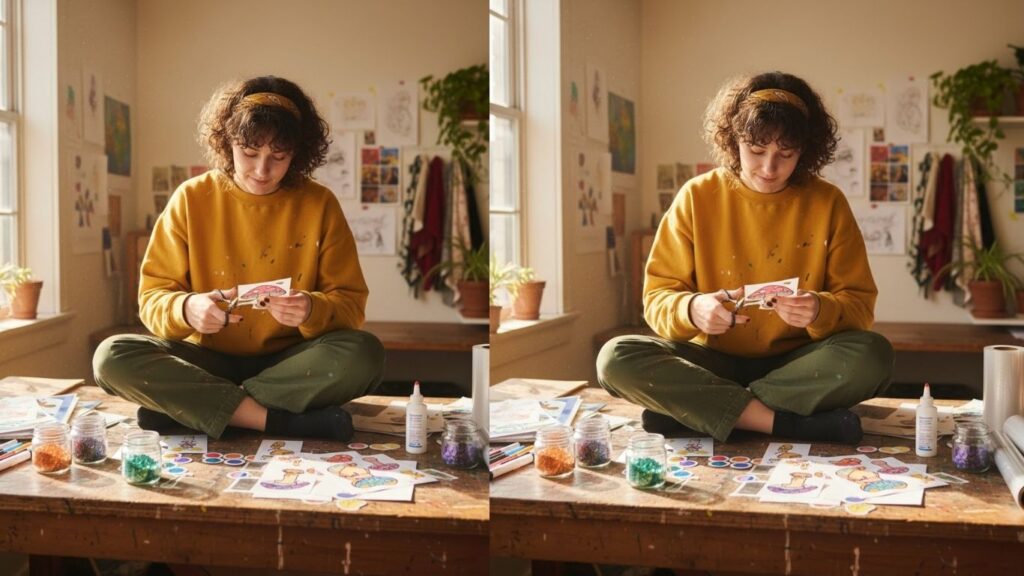
In this complete guide, you will learn seven different methods to make stickers using simple tools and materials. Each method is explained step by step, making it easy for beginners while still helpful for those who want more professional results.
Essential Tools and Materials for Sticker Making
Before starting, it’s helpful to gather a few important supplies that make the process smoother and more effective.
- Printable sticker paper
- Clear packing tape
- Double-sided tape
- Scissors or craft knife
- Laminating sheets
Having these ready will allow you to try multiple sticker-making methods with ease.
How to Make Stickers
Sticker making can be simple or advanced depending on the materials you use. Some methods require only paper and glue, while others use digital designs and special sticker paper. Below are seven creative and practical ways to make stickers at home.
1. Printable Sticker Paper Method
This is the easiest way to create professional-looking stickers.
Step-by-Step Instructions
- Create your design
Draw by hand or use digital software to design your sticker. - Arrange designs on a page
Place multiple designs on one sheet to save paper. - Load printable sticker paper into printer
Ensure it is placed correctly in the tray. - Print using high-quality settings
Select the correct paper type in printer settings. - Allow ink to dry
Wait a few minutes to avoid smudging. - Cut out each sticker
Use scissors or a craft knife carefully. - Peel and apply
Remove the backing and stick onto a clean surface.
This method produces clean, vibrant, and ready-to-use stickers.
2. Clear Tape Sticker Method
This simple method adds shine and durability.
Step-by-Step Instructions
- Print or draw your design on regular paper
Use bright colors for better results. - Cut around the design
Leave a small border if desired. - Place clear packing tape over the design
Smooth out air bubbles. - Trim excess tape
Cut neatly around edges. - Apply double-sided tape on the back
Cover entire back evenly. - Remove tape backing
Prepare adhesive side. - Stick onto surface
Press firmly to secure.
This creates glossy, durable homemade stickers without special paper.
3. Glue Stick Method
This method is simple and budget-friendly.
Step-by-Step Instructions
- Draw or print your sticker
Use regular printer paper. - Cut out the design
Trim carefully around edges. - Apply glue stick to the back
Spread evenly without overapplying. - Wait a few seconds
Let glue become slightly tacky. - Place on desired surface
Position carefully before pressing. - Press firmly
Smooth out any air bubbles. - Let dry completely
Allow glue to set fully.
Best for temporary decorations and crafts.
4. Double-Sided Tape Full Backing Method
This method creates fully adhesive stickers.
Step-by-Step Instructions
- Print or draw your design
Keep lines bold for visibility. - Cut out your sticker
Be precise for clean edges. - Cover entire back with double-sided tape
Overlap strips if necessary. - Press down firmly
Ensure tape sticks evenly. - Trim around edges
Remove excess tape carefully. - Peel off backing
Expose adhesive surface. - Apply to clean area
Press evenly for secure hold.
This method provides strong adhesion without special sticker sheets.
5. Laminated Waterproof Stickers
Adds durability and water resistance.
Step-by-Step Instructions
- Print your design on paper
Use high-quality ink for best results. - Apply clear laminating sheet over the front
Smooth carefully to avoid bubbles. - Cut out the sticker
Leave slight laminate border for sealing. - Apply double-sided tape on back
Cover fully for better adhesion. - Trim excess tape
Keep edges neat. - Peel backing
Prepare for placement. - Stick onto clean surface
Press firmly and smooth out.
This method is great for water bottles and outdoor use.
6. Contact Paper Sticker Method
Contact paper acts as both protector and adhesive.
Step-by-Step Instructions
- Print or draw your sticker
Use thin paper for flexibility. - Cut out the design
Leave slight border. - Apply contact paper over front
Smooth out air bubbles. - Flip design over
Prepare the back side. - Apply second layer of contact paper
Seal entire sticker. - Trim carefully
Ensure edges are fully sealed. - Peel backing and stick
Apply to desired surface.
Contact paper stickers are durable and semi-waterproof.
7. Digital Vinyl Sticker Method
This is the most professional and long-lasting option.
Step-by-Step Instructions
- Design sticker digitally
Use vector-based software for clean edges. - Print on printable vinyl
Choose glossy or matte finish. - Let ink dry completely
Prevent smudging. - Apply laminate sheet
Protect from scratches and water. - Cut using craft knife or cutting machine
Ensure smooth edges. - Peel backing
Prepare adhesive surface. - Apply to surface
Press firmly to remove bubbles.
Vinyl stickers are durable and perfect for long-term use.
Tips for Perfect Stickers
Use High-Resolution Designs
Clear images improve print quality.
Smooth Out Air Bubbles
Use a card to flatten tape or laminate.
Clean Surface Before Applying
Dust and oil reduce adhesion.
Store Properly
Keep unused stickers flat and dry.
Common Mistakes to Avoid
Cutting Before Ink Dries
Can cause smudging.
Using Too Much Glue
May wrinkle paper.
Skipping Protective Layer
Reduces sticker lifespan.
Applying to Dirty Surface
Weakens adhesive strength.
Creative Ideas for Homemade Stickers
- Motivational quotes
- Cute cartoon characters
- Planner icons
- Seasonal themes
- Personalized name labels
Frequently Asked Questions
Can I make stickers without special paper?
Yes, tape and glue methods work well.
How do I make waterproof stickers?
Use laminating sheets or printable vinyl.
Can kids make stickers safely?
Yes, with supervision when using scissors or craft knives.
How long do homemade stickers last?
With lamination, they can last months or longer.
What surfaces work best for stickers?
Smooth, clean surfaces like plastic, glass, and metal.
Final Words
Making stickers at home is creative, affordable, and enjoyable. With these seven step-by-step methods, you can design and produce stickers for personal use, gifts, school projects, or even small business ideas.
Experiment with different materials and techniques to find your favorite method. Once you master the basics, sticker making becomes a fun and rewarding hobby filled with endless creative possibilities.