
Wisteria flowers are known for their delicate, cascading beauty and are a favorite for home décor and craft enthusiasts. Making wisteria paper flowers allows you to enjoy this elegance year-round without worrying about wilting or seasonal availability.
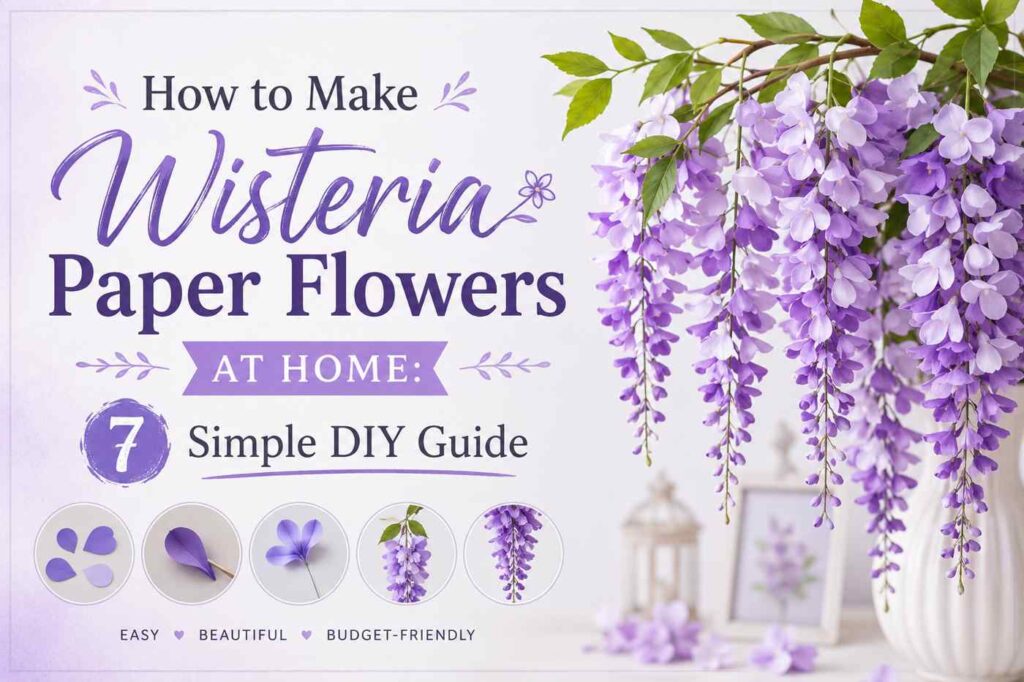
Creating these flowers can be fun, therapeutic, and perfect for DIY projects, gifts, or decorations. With some simple materials and patience, you can transform ordinary paper into stunning floral arrangements.
After introducing the topic, here are some items you may need for crafting:
- Crepe paper (purple, lavender, and green)
- Floral wire
- Floral tape
- Scissors
- Glue gun
Materials Required to Make Wisteria Paper Flowers
To make wisteria paper flowers, gather the following items:
- Crepe paper (various shades of purple and white for realism)
- Floral wire (20–24 gauge)
- Green floral tape
- Hot glue gun and glue sticks
- Scissors
- Ruler and pencil
- Optional: pearl beads for flower centers
These materials help you achieve realistic-looking flowers that are sturdy and long-lasting.
1. Basic Crepe Paper Wisteria
Step 1: Cut crepe paper into strips approximately 1 inch wide and 10 inches long.
Step 2: Stretch the paper gently in the middle to create a natural petal curve.
Step 3: Fold the strip in half lengthwise and cut tiny petal shapes along the folded edge.
Step 4: Attach each petal to a piece of floral wire using glue, spacing them along the wire to mimic cascading clusters.
Step 5: Wrap the floral tape around the base and wire to secure the petals.
Step 6: Arrange several wired petals together to form a wisteria bunch.
Step 7: Repeat to create as many clusters as desired, then combine into a full arrangement.
2. Tissue Paper Wisteria
Step 1: Cut tissue paper into rectangles of 4×6 inches.
Step 2: Stack 5–6 sheets and fold accordion-style.
Step 3: Twist one end around a floral wire to create the stem.
Step 4: Pull apart each layer gently to create a soft, flowing bloom.
Step 5: Repeat for multiple clusters.
Step 6: Wrap stems with floral tape to finish.
Step 7: Arrange clusters for a cascading effect similar to real wisteria.
3. Origami Wisteria Flowers
Step 1: Use square origami paper (3×3 inches) in lavender or purple shades.
Step 2: Fold the square diagonally in both directions to form creases.
Step 3: Collapse the paper into a petal shape using valley folds.
Step 4: Make multiple petals and glue them around a floral wire.
Step 5: Adjust each petal to achieve a natural droop.
Step 6: Use green origami paper to fold leaves and attach them.
Step 7: Combine petals and leaves to create a wisteria bunch.
4. Quilling Wisteria Flowers
Step 1: Cut quilling paper strips of 1/8 inch width in different shades of purple.
Step 2: Use a quilling tool to roll tight coils and pinch one end to make teardrop shapes.
Step 3: Glue the teardrops along a thin floral wire, starting from the top.
Step 4: Gradually add more coils, overlapping slightly for fullness.
Step 5: Repeat for multiple strands.
Step 6: Use green strips to quill leaves and attach at the base.
Step 7: Arrange multiple strands for a cascading wisteria look.
5. Crepe Paper Fringe Technique
Step 1: Cut crepe paper into 1-inch strips and fringe one long edge using scissors.
Step 2: Stretch the fringed edge lightly to create natural curves.
Step 3: Wrap the fringe around a floral wire, starting from the top.
Step 4: Secure with floral tape as you progress down the wire.
Step 5: Repeat for multiple strands.
Step 6: Combine several fringed strands into clusters.
Step 7: Adjust the length and spacing for a realistic cascade effect.
6. Rolled Paper Wisteria
Step 1: Cut thin strips of crepe paper about 0.5 inch wide and 8 inches long.
Step 2: Roll each strip from one end into a small spiral.
Step 3: Pinch the top to form the petal tip.
Step 4: Glue the rolled petals onto floral wire, spacing them evenly.
Step 5: Wrap the base with floral tape.
Step 6: Repeat to create multiple strands.
Step 7: Combine all strands for a natural, flowing wisteria bunch.
7. DIY Wisteria with Coffee Filters
Step 1: Flatten coffee filters and cut into petal shapes.
Step 2: Dye them lightly with watercolors for subtle shading.
Step 3: Fold each filter in half and attach to floral wire using glue.
Step 4: Layer several filters on one wire to create a cluster.
Step 5: Wrap the stem with floral tape.
Step 6: Repeat for multiple clusters.
Step 7: Assemble clusters to form cascading branches for a realistic wisteria look.
Tips for Making Realistic Wisteria Paper Flowers
- Use multiple shades of purple to give depth to the flowers.
- Stretch and curl petals slightly for a natural effect.
- Keep clusters dense at the top and thinner at the bottom to mimic real wisteria.
- Mix different crafting techniques for unique textures.
- Arrange in cascading layers for elegance.
Frequently Asked Questions (FAQ)
What type of paper is best for wisteria flowers?
- Crepe paper is ideal for realistic petals, but tissue paper and coffee filters work too.
How long do paper wisteria flowers last?
- With proper care, they can last for several years indoors.
Can I make large wisteria arrangements?
- Yes, by combining multiple strands and clusters on thicker floral wires.
Is it difficult to make wisteria flowers for beginners?
- The basic crepe paper and tissue paper methods are beginner-friendly.
Can I use these flowers for events or weddings?
- Absolutely! They make excellent décor for weddings, parties, and photo shoots.
Final Words
Making wisteria paper flowers is a delightful way to bring natural beauty indoors while practicing your crafting skills. With patience and creativity, you can create stunning floral arrangements that brighten any space.
Experiment with different papers, colors, and techniques to perfect your wisteria design and enjoy the endless possibilities of DIY flower making.