
Sewing your own skirt is one of the most rewarding and beginner-friendly projects in the world of DIY fashion. Whether you’re aiming to build a handmade wardrobe, customize the perfect fit, or create something truly unique, learning how to sew a skirt opens up a world of creative possibilities.
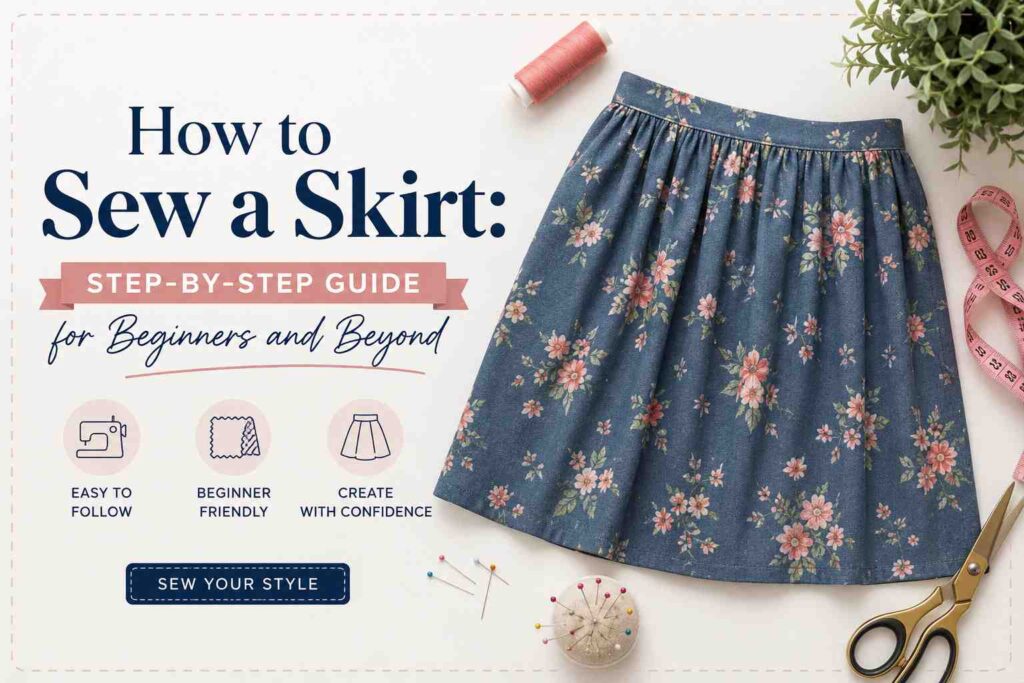
In this comprehensive guide, we’ll walk you through how to sew a skirt from start to finish. We’ll cover everything from selecting fabric and taking measurements to choosing skirt styles and mastering construction techniques. Whether you’re making a simple elastic-waist skirt or a more advanced pleated or circle skirt, you’ll find everything you need here.
Supplies You’ll Need to Sew a Skirt
Before diving into the sewing process, gather the essential tools and materials:
- Fabric (cotton, linen, denim, jersey, etc.)
- Measuring tape
- Scissors or rotary cutter
- Pins or clips
- Tailor’s chalk or fabric marker
- Iron and ironing board
- Thread (to match your fabric)
- Sewing machine
- Seam ripper (in case of mistakes)
- Elastic (for elastic waist skirts)
- Zipper or buttons (for structured skirts)
Optional supplies include interfacing, bias tape, and lining material depending on the type of skirt you’re making.
Step 1: Choose a Skirt Style
The type of skirt you want to make will influence the fabric choice, pattern, and construction method.
Popular Skirt Types to Consider
–––––––––––––––––––––––––––––––––––––––––
A-Line Skirt
Fitted at the waist and flares out gently toward the hem, flattering on most body types and easy for beginners.
Circle Skirt
A full, flared skirt made by cutting fabric in a circular shape. Great for vintage looks and twirl factor.
Pencil Skirt
Slim and fitted through the hips and thighs. Best for intermediate sewists because it often involves darts and zippers.
Gathered Skirt
A rectangle of fabric gathered at the waist for fullness. Often features an elastic waistband—perfect for beginners.
Pleated Skirt
Features structured or decorative folds. A bit more advanced but looks stunning for workwear or special occasions.
Wrap Skirt
Wraps around the waist and ties on one side. No zippers required and easy to adjust for fit.
Choose your skirt based on your personal style, sewing skill level, and how you want it to fit and function.
Step 2: Take Accurate Measurements
Good fit starts with precise measurements. Use a flexible measuring tape and take the following:
Essential Skirt Measurements
–––––––––––––––––––––––––––––––––––––––––
- Waist: Measure around your natural waist, not where your jeans sit.
- Hips: Measure the fullest part of your hips.
- Length: From waist to the point where you want the hem to fall (mini, knee-length, midi, or maxi).
- Hem width (if drafting your own pattern): Optional for custom flares or fits.
Write these down and double-check for accuracy.
Step 3: Choose the Right Fabric
Different fabrics work better for different skirt styles. Consider how the fabric drapes, stretches, and holds shape.
Best Fabrics for Skirts
–––––––––––––––––––––––––––––––––––––––––
- Cotton: Ideal for gathered, A-line, or circle skirts. Breathable and easy to sew.
- Linen: Great for summer skirts. Has a natural, airy drape.
- Denim or twill: Best for structured or pencil skirts.
- Jersey knit: Excellent for body-hugging or casual skirts, especially with elastic waists.
- Chiffon or silk: For flowy, layered, or dressy skirts. More advanced fabrics to handle.
Always wash and iron your fabric before cutting to avoid shrinkage or distortion later.
Step 4: Create or Select a Skirt Pattern
You can either buy a commercial pattern (Simplicity, Butterick, etc.), download a free online pattern, or draft your own.
Drafting a Basic Skirt Pattern
–––––––––––––––––––––––––––––––––––––––––
For a gathered skirt or A-line skirt:
- Rectangle method (great for gathered skirts):
- Width: 1.5 to 2 times your waist measurement
- Length: Your desired skirt length + 1 inch for the hem + 1 inch for waistband allowance
- A-line method:
- Use waist, hip, and length measurements to draft a flared triangle with a curved waist.
- Circle skirt:
- Use the formula: Radius = Waist ÷ (2 × π).
- Draw a donut shape using your radius and desired length.
Use tailor’s chalk to draw directly on the fabric if you’re confident or draft it on pattern paper first.
Step 5: Cut Your Fabric
Place your pattern on the fabric, ensuring the grainline is correct and the pieces are symmetrical.
Cutting Tips
–––––––––––––––––––––––––––––––––––––––––
- Pin pattern pieces to fabric or use fabric weights.
- Cut slowly and cleanly with sharp scissors or rotary cutter.
- If you’re cutting a fold (e.g., waistbands or circle skirts), mark it clearly and don’t trim it by mistake.
Double-check all pattern pieces are accounted for before moving to the machine.
Step 6: Sew the Skirt Panels
Start assembling the main body of the skirt.
Sewing the Skirt Together
–––––––––––––––––––––––––––––––––––––––––
- For gathered skirts: Sew the side seams, then sew a basting stitch at the top edge and gently pull the threads to gather fabric evenly.
- For A-line skirts: Sew the front and back panels at the side seams.
- For circle skirts: Usually only one seam at the back is needed.
Press your seams open with an iron for a professional finish.
Step 7: Add the Waistband
Depending on the style of your skirt, your waistband will differ.
Types of Waistbands
–––––––––––––––––––––––––––––––––––––––––
Elastic Waistband
Easy and forgiving. Simply fold over the top edge of your skirt, sew a casing, and insert elastic. Stitch closed.
Flat Waistband
More tailored. Cut a separate strip of fabric, interface if needed, and sew it to the top of the skirt. Add a zipper or buttons to close.
Bias Tape Waistband
A narrow, flexible option using bias tape to enclose the raw edge.
Whichever method you use, make sure the waistband lies flat and is secure.
Step 8: Insert Zipper or Add Elastic
If your skirt includes a zipper, insert it now before finishing the waistband. Invisible zippers are common for clean finishes.
How to Insert a Zipper
–––––––––––––––––––––––––––––––––––––––––
- Pin zipper in place along the seam opening.
- Use a zipper foot on your sewing machine.
- Sew close to the zipper teeth on both sides.
- Backstitch at the ends to secure.
- Test the zipper to ensure smooth operation.
For elastic waistbands, thread the elastic through the casing using a safety pin, then sew the ends together and close the casing.
Step 9: Hem the Skirt
Hemming finishes the raw edge and gives your skirt a polished look.
How to Hem a Skirt
–––––––––––––––––––––––––––––––––––––––––
- Fold the bottom edge up by ½ inch and press.
- Fold again by another ½ inch, press, and pin in place.
- Sew close to the inner folded edge using a straight stitch.
- Press the hem flat for a crisp finish.
For circle skirts or curved hems, you may need to ease the fabric or use a bias tape hem.
Step 10: Finishing Touches
At this point, your skirt is nearly complete.
Final Steps
–––––––––––––––––––––––––––––––––––––––––
- Press all seams one more time.
- Trim loose threads.
- Try it on and make sure the fit is comfortable.
- Make any adjustments like adding darts, shortening the hem, or reinforcing seams.
Skirt Sewing Variations
Once you’ve mastered the basics, try exploring these variations:
Skirt Modifications and Ideas
–––––––––––––––––––––––––––––––––––––––––
- Add pockets to A-line or gathered skirts
- Use contrast fabrics for waistbands or hems
- Try ruffles or tiers for boho-style skirts
- Add lining for sheer or delicate fabrics
- Use decorative stitching for visual interest
- Sew a matching belt or sash for flair
These touches help make your handmade skirt one-of-a-kind.
Common Skirt Sewing Mistakes to Avoid
Even experienced sewists make mistakes. Here’s what to watch for:
Troubleshooting Sewing Issues
–––––––––––––––––––––––––––––––––––––––––
- Fabric puckering at seams: Check tension and use proper needle size.
- Uneven gathers: Spread gathers evenly before sewing.
- Twisted elastic: Pin both ends and sew carefully.
- Waistband doesn’t fit: Double-check measurements and seam allowances.
- Hem is wavy: Use pressing and stabilizers for curved hems.
Learning comes with practice. Don’t be discouraged by imperfections!
Final Thoughts
Sewing a skirt is a fantastic way to build your skills and express your personal style. From the simplest gathered skirt to more tailored or trendy designs, the process can be both enjoyable and deeply satisfying. Once you make your first skirt, you’ll likely want to create more in different styles, fabrics, and lengths.
Start with a simple project, take your time, and don’t be afraid to experiment. With practice, you’ll soon have a handmade wardrobe full of custom skirts that fit you better than anything off the rack.