
Cloudy or yellowed headlights reduce visibility and make a car look older than it is. Dirt, oxidation, and sun exposure slowly damage headlight lenses, affecting both safety and appearance.
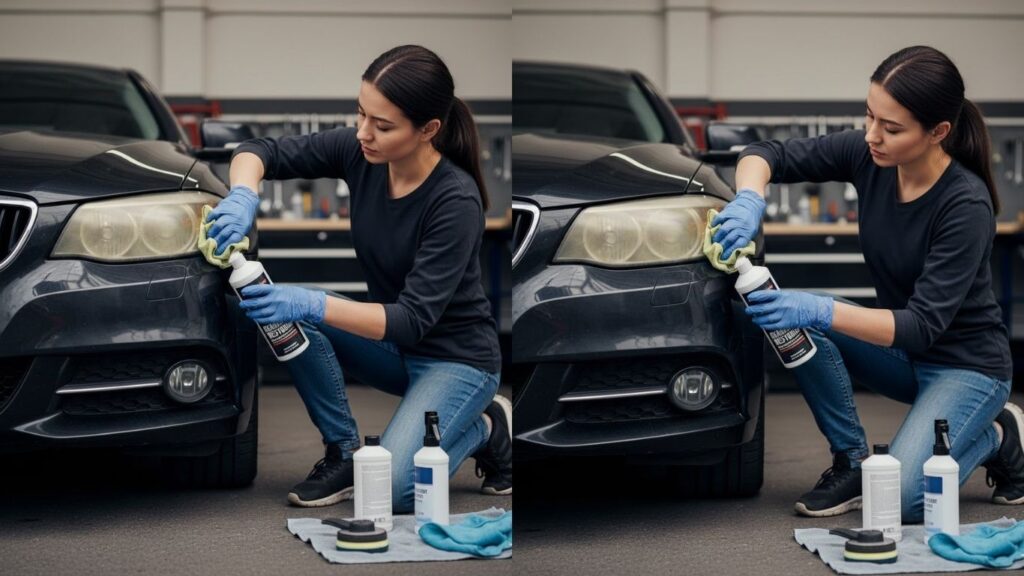
Cleaning headlights regularly restores brightness, improves nighttime driving, and enhances the overall look of a vehicle. With the right methods, headlight cleaning is simple, affordable, and highly effective.
Items You Might Need
- Headlight restoration kit
- Microfiber cloths
- Baking soda
- White vinegar
- Car wax or UV protectant
Why Clean Headlights Regularly
Headlights are constantly exposed to sunlight, road debris, moisture, and pollution. Over time, the protective coating on the lens breaks down, leading to oxidation that causes a yellow or foggy appearance. This reduces light output and can be dangerous during night driving or bad weather.
Regular cleaning improves visibility, enhances safety, and helps prevent costly headlight replacement. It also keeps the vehicle looking well-maintained and road-ready.
How to Clean Headlights on a Car
Cleaning headlights can be done in several effective ways depending on how cloudy or oxidized they are. Below are seven proven methods explained step by step to restore clarity and brightness safely.
1. Cleaning Headlights with Soap and Water
Step 1: Park the car in a shaded area and allow headlights to cool completely.
Step 2: Rinse the headlights with clean water to remove loose dirt and dust.
Step 3: Mix mild car soap with warm water in a bucket.
Step 4: Dip a microfiber cloth into the soapy water and gently scrub the headlight surface.
Step 5: Focus on edges where dirt accumulates.
Step 6: Rinse thoroughly with clean water.
Step 7: Dry the headlights using a clean microfiber towel.
This basic method works well for lightly dirty headlights and regular maintenance.
2. Cleaning Headlights with Baking Soda
Step 1: Mix baking soda with a small amount of water to form a thick paste.
Step 2: Apply the paste directly onto the headlight lens.
Step 3: Use a microfiber cloth to rub the paste in circular motions.
Step 4: Continue scrubbing for several minutes, focusing on cloudy areas.
Step 5: Let the paste sit for 5 minutes.
Step 6: Rinse thoroughly with water.
Step 7: Dry the headlights completely.
Baking soda gently removes oxidation and improves clarity without damaging the plastic.
3. Using Vinegar for Oxidized Headlights
Step 1: Mix equal parts white vinegar and water in a spray bottle.
Step 2: Spray the solution generously onto the headlight surface.
Step 3: Let it sit for 2–3 minutes to loosen oxidation.
Step 4: Scrub gently using a microfiber cloth.
Step 5: Repeat if needed for stubborn cloudiness.
Step 6: Rinse with clean water.
Step 7: Dry thoroughly with a towel.
Vinegar is effective for mild oxidation and restoring surface shine.
4. Toothpaste Headlight Cleaning Method
Step 1: Clean the headlights with water and dry them first.
Step 2: Apply a generous amount of white toothpaste to the lens.
Step 3: Use a microfiber cloth or soft brush to scrub in circular motions.
Step 4: Continue scrubbing for 5–10 minutes.
Step 5: Let the toothpaste sit briefly.
Step 6: Rinse thoroughly with water.
Step 7: Dry with a clean cloth.
Toothpaste works as a mild abrasive, removing oxidation and surface discoloration.
5. Using a Headlight Restoration Kit
Step 1: Wash and dry the headlights completely.
Step 2: Apply masking tape around the headlight edges to protect paint.
Step 3: Follow kit instructions to apply the cleaning compound.
Step 4: Use provided sanding pads or applicators as directed.
Step 5: Buff the lens until clarity improves.
Step 6: Apply the included polish or sealant.
Step 7: Allow the protective coating to cure fully.
Restoration kits are ideal for heavily oxidized headlights and long-lasting results.
6. Sanding and Polishing Headlights
Step 1: Tape around the headlight to protect surrounding paint.
Step 2: Wet the headlight and sanding paper.
Step 3: Sand gently using fine-grit sandpaper in horizontal strokes.
Step 4: Switch to a higher grit for smoother results.
Step 5: Rinse and dry the surface.
Step 6: Apply plastic polish with a microfiber cloth.
Step 7: Buff until clear and shiny.
This method restores severely damaged headlights but requires patience and care.
7. Sealing and Protecting Headlights
Step 1: Ensure headlights are clean and completely dry.
Step 2: Apply car wax or UV protectant to the lens.
Step 3: Spread evenly using a microfiber cloth.
Step 4: Allow it to sit for a few minutes.
Step 5: Buff lightly for a smooth finish.
Step 6: Avoid washing the car for 24 hours.
Step 7: Reapply protection every few months.
Sealing prevents future oxidation and keeps headlights clear longer.
Tips to Keep Headlights Clear Longer
- Park in shaded areas when possible
- Wash headlights during regular car washes
- Apply UV protection periodically
- Avoid abrasive cleaners
- Clean bugs and road grime promptly
- Wax headlights every few months
- Inspect lenses for early signs of oxidation
Common Headlight Cleaning Mistakes
- Using harsh chemicals
- Scrubbing with rough pads
- Skipping UV protection
- Cleaning in direct sunlight
- Neglecting regular maintenance
- Ignoring early cloudiness
Avoiding these mistakes helps preserve headlight clarity and lifespan.
FAQ
How often should headlights be cleaned?
Light cleaning should be done monthly, with deeper restoration once or twice a year.
Do cloudy headlights affect safety?
Yes, they reduce light output and visibility, increasing driving risk at night.
Can headlights be permanently restored?
Yes, with proper cleaning and UV protection, clarity can last for years.
Is sanding safe for headlights?
Yes, when done carefully with proper grit and followed by sealing.
Can household items clean headlights effectively?
Yes, baking soda, vinegar, and toothpaste work well for mild oxidation.
Final Words
Clean headlights improve visibility, safety, and the overall appearance of any car. Regular care prevents oxidation and costly replacements.
By following these step-by-step methods, headlights can remain bright, clear, and road-safe. Consistent maintenance ensures confident driving and a polished vehicle look for years to come.