
Crocheting a flower is one of the easiest and most satisfying projects for beginners and experienced crafters alike. It’s quick, creative, and perfect for adding a handmade touch to accessories, clothing, or home décor.
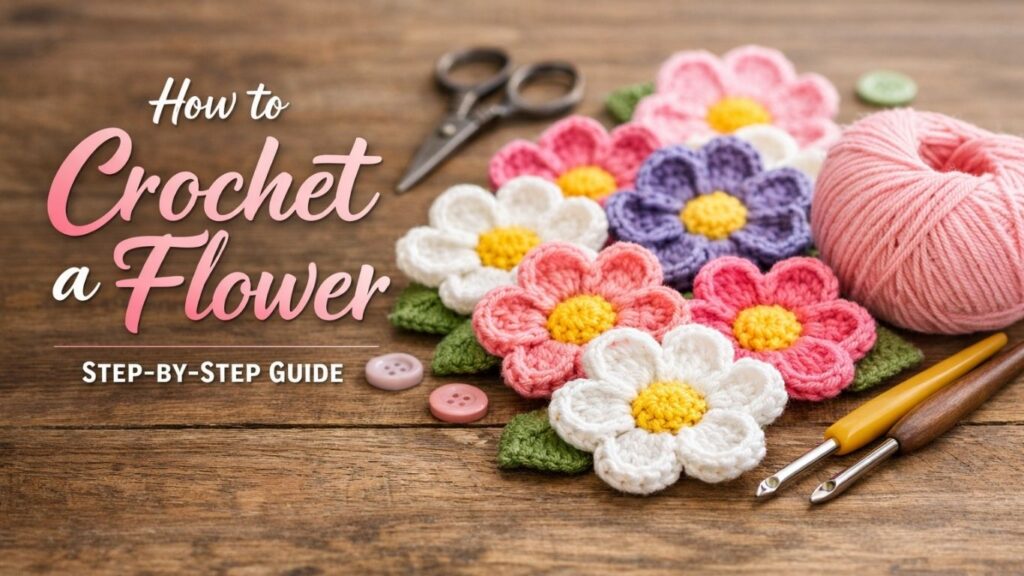
With just a few basic stitches and simple techniques, you can create beautiful crochet flowers in different styles and sizes. This guide will walk you through each step in a clear and beginner-friendly way.
Before You Start Crocheting a Flower
Before you begin, it’s helpful to understand the basic stitches used in crochet. Most flower patterns rely on simple techniques like chain stitches, slip stitches, and double crochet.
Choosing the right yarn and hook size will also impact the final look of your flower. Soft yarn creates delicate petals, while thicker yarn produces bold, textured designs.
5 Must-Have Items to Buy for Crocheting a Flower
How to Crochet a Flower Step-by-Step Guide
Crochet flowers are usually worked in the round, starting from the center and building outward into petals. Each round adds dimension and shape, creating a layered and realistic look.
The process is simple once you understand the flow of stitches. Follow each step carefully to achieve a neat and consistent result.
1. Choosing the Right Yarn
Selecting yarn is the first step in creating a crochet flower. Cotton yarn is a popular choice because it holds shape well and gives clean stitch definition.
For softer, more flexible flowers, acrylic yarn works well too. Your yarn choice will influence the texture and durability of your finished piece.
2. Selecting the Correct Hook
The size of your crochet hook should match your yarn weight. A smaller hook creates tighter stitches, while a larger hook gives a looser, softer look.
Most beginner flower patterns use hooks between 3 mm and 5 mm, making them easy to handle and control.
3. Making a Slip Knot
Start by creating a slip knot on your hook. This forms the base of your crochet project and allows you to begin chaining.
Keep the knot snug but not too tight so your stitches remain easy to work with.
4. Creating a Magic Ring
A magic ring is often used to start crochet flowers. It allows you to pull the center tight, creating a neat and closed middle.
Wrap the yarn around your fingers, insert the hook, and pull through to create your starting loop.
5. Crocheting the Center Circle
Work a set number of stitches into the magic ring, usually single or double crochet stitches. This forms the center of the flower.
Once complete, pull the ring tight to close the circle and secure the stitches.
6. Joining the Round
Use a slip stitch to join the last stitch to the first. This completes the round and keeps your work neat.
Joining properly ensures your flower maintains a clean and symmetrical shape.
7. Starting the Petals
Begin the next round by chaining stitches. These chains form the base of your petals and determine their size.
Follow your pattern to ensure each petal is evenly spaced around the center.
8. Building Petal Shapes
Use combinations of stitches like half double crochet and double crochet to create the petal shape.
The height and number of stitches control how wide and full each petal looks.
9. Repeating Petal Pattern
Continue repeating the same stitch sequence around the circle. This ensures all petals are uniform in size and shape.
Take your time to maintain consistent tension for a balanced result.
10. Adding Texture
You can add texture by mixing stitch types or layering stitches within each petal.
This creates a more detailed and realistic flower design, perfect for decorative projects.
11. Changing Colors
Switch yarn colors between rounds to create contrast between the center and petals.
This simple step adds visual interest and allows for creative customization.
12. Finishing the Flower
Once all petals are complete, fasten off your yarn and cut the excess.
Pull the yarn through the final loop to secure your work and prevent unraveling.
13. Weaving in Ends
Use a yarn needle to weave in any loose ends. This keeps your flower neat and durable.
Make sure all ends are hidden securely within the stitches.
14. Blocking the Flower
Lightly shape your flower by blocking it. This helps define the petals and smooth out stitches.
Lay it flat and allow it to dry naturally for best results.
15. Using Your Crochet Flower
Crochet flowers can be used in many ways, from hair accessories to clothing embellishments or home décor.
Attach them to hats, bags, or blankets to add a handmade and personal touch.
Frequently Asked Questions
Is crocheting a flower easy for beginners?
Yes, it’s one of the easiest projects to start with basic crochet skills.
What yarn is best for crochet flowers?
Cotton yarn is ideal for structure, while acrylic offers flexibility.
How long does it take to crochet a flower?
Most simple flowers can be completed in under an hour.
Do I need a magic ring?
It’s recommended for a neat center, but you can use a chain loop instead.
Can I wash crochet flowers?
Yes, but gentle hand washing is best to maintain shape.
Final Thoughts
Crocheting a flower is a simple yet creative project that allows you to practice basic stitches while making something beautiful. It’s perfect for beginners and enjoyable for experienced crafters.
With these step-by-step instructions, you can confidently create your own crochet flowers and use them in countless ways. It’s a relaxing craft that brings both creativity and satisfaction.