
3D stickers are bold, textured, and instantly noticeable. Unlike flat stickers, they add depth, shine, and a raised feel that makes any design look premium and creative. Whether for decorating laptops, water bottles, journals, packaging, or selling as a small business, 3D stickers are both fun and profitable to make.
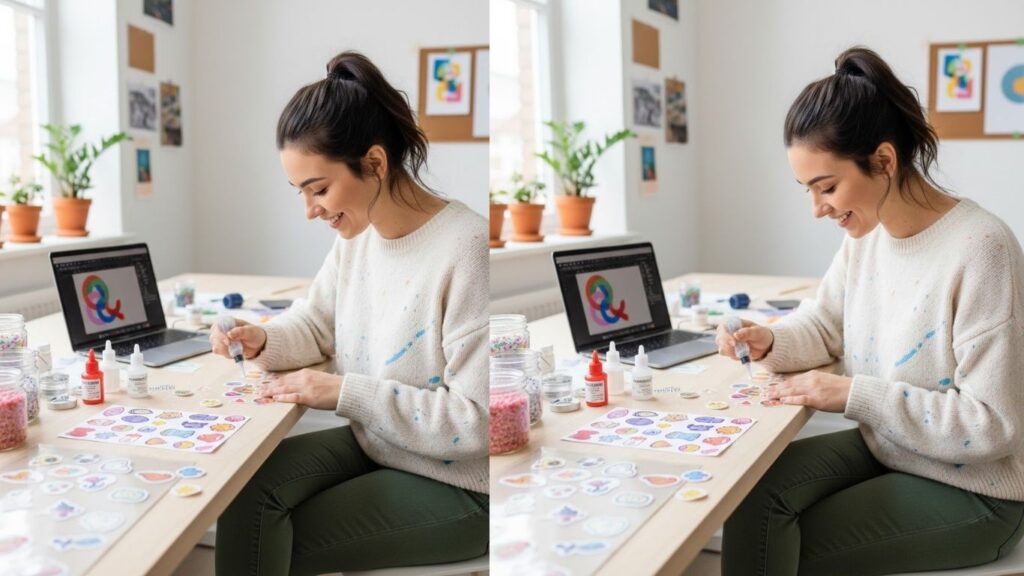
The good news is that you don’t need a factory setup to create them. With simple materials and the right technique, you can craft professional-looking 3D stickers at home using several different methods.
Recommended Supplies to Get Started
- Vinyl Sticker Paper
- Epoxy Resin Kit
- UV Resin with UV Lamp
- Foam Adhesive Dots
- Clear Laminating Sheets
Understanding 3D Stickers and Their Appeal
Before diving into the methods, it helps to understand what makes a sticker “3D.” A 3D sticker has depth, dimension, or a raised surface that creates shadow, shine, or texture. This can be achieved through layering, doming with resin, adding foam backing, or using molding techniques.
The main benefits of 3D stickers include:
- Eye-catching appearance
- Professional finish
- Higher perceived value
- Better durability (in some methods)
- Unique tactile experience
Now let’s explore how to make 3D stickers using seven detailed methods.
How to Make 3D Stickers
1. Foam Layered 3D Stickers
This is the easiest and most beginner-friendly technique.
Step 1: Create Your Design
Design your sticker digitally or draw it by hand. Choose bold outlines and separated elements because layering works best when parts can be stacked.
Step 2: Print Multiple Copies
Print at least 2–3 copies of the same design on thick sticker paper or cardstock.
Step 3: Cut Base Layer
Cut one full version of the sticker. This will be the base.
Step 4: Cut Raised Elements
From the second and third prints, cut only the parts you want raised (for example: character face, lettering, or decorative objects).
Step 5: Apply Foam Adhesive
Attach foam adhesive dots or strips to the back of the raised elements.
Step 6: Stack Carefully
Place the raised pieces exactly on top of the base layer. Press gently to secure.
Step 7: Final Check
Align edges carefully. Trim if necessary.
Result: A layered, dimensional sticker with visible depth and shadow.
2. Epoxy Resin Dome 3D Stickers
This method creates glossy, waterproof, professional stickers.
Step 1: Print on Waterproof Vinyl
Use high-quality vinyl sticker paper for best results.
Step 2: Precision Cutting
Cut clean edges. Resin follows the shape, so uneven cuts show clearly.
Step 3: Prepare a Flat Surface
Place stickers on a perfectly level table to prevent resin from running.
Step 4: Mix Epoxy Resin
Follow instructions on your epoxy kit. Stir slowly to avoid bubbles.
Step 5: Apply Resin
Use a dropper or stick to spread resin evenly across the sticker surface. Let surface tension create a dome.
Step 6: Remove Air Bubbles
Lightly pass a heat source over the surface to remove bubbles.
Step 7: Cure for 24 Hours
Allow full curing without touching.
Result: A glossy, glass-like raised finish that looks store-bought.
3. UV Resin Quick 3D Stickers
This method is faster than epoxy.
Step 1: Print and Cut Vinyl Stickers
Ensure clean and dry surfaces.
Step 2: Apply UV Resin Layer
Spread a thin, even coat over the sticker.
Step 3: Cure Under UV Lamp
Place under UV lamp for 2–5 minutes.
Step 4: Inspect and Reapply
If needed, apply a second layer and cure again.
Result: Shiny, raised stickers with fast production time.
4. Puffy Glue 3D Stickers
Affordable and creative option.
Step 1: Print Sticker Design
Use thicker paper for stability.
Step 2: Outline with Puffy Glue
Trace edges carefully.
Step 3: Fill Selected Areas
Add glue inside sections you want raised.
Step 4: Let Dry Completely
Drying may take 6–10 hours.
Step 5: Seal (Optional)
Apply clear sealant spray for durability.
Result: Soft, flexible, slightly raised stickers.
5. Layered Cardstock Stack Stickers
Great for scrapbooking and decorative crafts.
Step 1: Print on Heavy Cardstock
Use thick material for structure.
Step 2: Cut Identical Shapes
Prepare 3–5 identical cuts.
Step 3: Glue Layers Together
Stack and press evenly.
Step 4: Add Gloss Coat
Optional clear spray adds shine.
Result: Thick, sturdy 3D effect without resin.
6. Silicone Mold Cast 3D Stickers
Professional look with molded depth.
Step 1: Create a Master Design
Use clay or printed model to create mold.
Step 2: Make Silicone Mold
Pour silicone over master design and let cure.
Step 3: Pour Resin into Mold
Use colored resin or clear resin with pigment.
Step 4: Cure Fully
Allow complete hardening.
Step 5: Attach Adhesive Backing
Add strong adhesive sheet to back.
Result: Branded, molded 3D stickers.
7. 3D Printed Stickers
Best for advanced creators.
Step 1: Design in 3D Software
Create a raised relief design.
Step 2: Adjust Thickness
Ensure the base is flat and thin.
Step 3: Print Using Flexible Filament
Flexible materials stick better.
Step 4: Sand and Finish
Smooth rough edges.
Step 5: Apply Adhesive
Attach industrial adhesive backing.
Result: Durable plastic 3D stickers.
Choosing the Best Method for Your Needs
If you want:
- Quick and easy → Foam layering
- Waterproof and glossy → Epoxy resin
- Fast curing → UV resin
- Budget-friendly → Puffy glue
- Craft projects → Cardstock layering
- Professional production → Silicone mold
- Industrial durability → 3D printing
Cost Breakdown for Each Method
Foam Method – Low Cost
Epoxy Resin – Medium Cost
UV Resin – Medium Cost
Puffy Glue – Very Low Cost
Cardstock Stack – Low Cost
Silicone Mold – Higher Cost
3D Printing – Highest Cost
Safety Tips When Working with Resin
- Work in ventilated space
- Wear gloves
- Avoid skin contact
- Keep away from children
- Follow manufacturer instructions
How to Make 3D Stickers Look Professional
- Use high-resolution designs
- Maintain clean edges
- Avoid dust during curing
- Keep resin layers even
- Package neatly
Selling 3D Stickers as a Business
You can sell:
- Custom logo stickers
- Anime-style character stickers
- Brand packaging stickers
- Planner decorations
- Personalized name stickers
Focus on presentation, durability, and attractive packaging.
Common Mistakes to Avoid
- Pouring too much resin
- Using uneven surfaces
- Rushing curing time
- Cutting imprecisely
- Using low-quality paper
Frequently Asked Questions
What is the easiest way to make 3D stickers?
Foam layered stickers are easiest for beginners.
Are resin 3D stickers waterproof?
Yes, both epoxy and UV resin create waterproof finishes.
Can I make 3D stickers without resin?
Yes, foam tape and cardstock layering work well.
How long do resin 3D stickers last?
With proper curing, they can last for years.
Which method is best for selling?
Epoxy dome stickers look the most professional.
Final Words
Making 3D stickers at home is creative, rewarding, and surprisingly simple when broken down step by step. Whether you choose foam layering or glossy resin doming, each method offers a unique texture and finish.
Start small, practice carefully, and experiment with materials. With time and consistency, you can create stunning 3D stickers for personal use or even grow it into a profitable venture.