
Kawaii stickers are tiny works of art that add charm and personality to journals, laptops, phone cases, planners, and other everyday items. The word “kawaii” comes from Japanese culture, meaning cute or adorable.
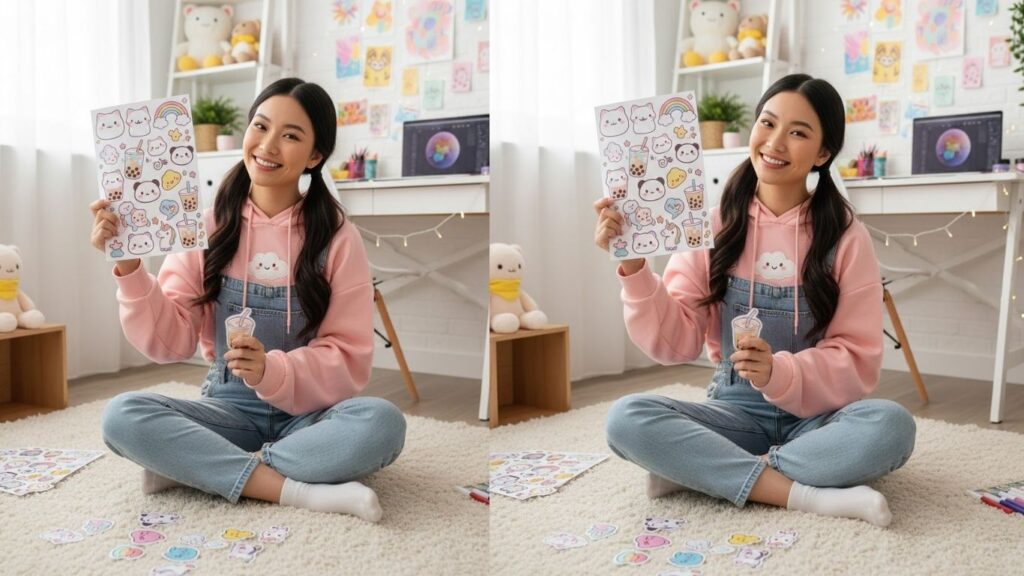
Creating your own kawaii stickers is not only fun but also a creative way to personalize your belongings. With a little imagination and some basic supplies, you can craft stickers that are uniquely yours.
Here are some essential items you might consider to get started:
- Printable sticker paper
- Clear self-adhesive laminate sheets
- Pastel markers set
- Waterproof vinyl sticker paper
- Fine-tip black gel pens
These items will help you create stickers that are durable, colorful, and irresistibly cute.
Understanding Kawaii Stickers
Kawaii stickers are recognizable for their simple, round shapes, soft pastel colors, tiny expressive faces, and playful designs. Characters often feature animals, food, fruits, desserts, clouds, stars, and other adorable motifs. The key to kawaii is simplicity—keeping designs minimal but expressive, adding blush or highlights, and using soft colors that are gentle on the eyes.
By understanding the style and basics, your sticker-making process becomes smoother, and your designs will have that signature kawaii charm.
1. Hand-Drawn Kawaii Stickers
This is one of the easiest ways to create kawaii stickers using materials you may already have at home.
Step 1: Sketch Basic Shapes
Draw small round animals, smiling clouds, fruits, or cupcakes on plain paper. Focus on soft, rounded shapes.
Step 2: Add Cute Faces
Add two small oval eyes, a tiny mouth, and light blush marks on the cheeks to give your characters personality.
Step 3: Outline Your Sketch
Use a fine-tip black gel pen to outline the drawing. Clean lines make your design pop.
Step 4: Color the Design
Choose pastel colors such as pink, baby blue, lavender, mint green, and soft yellow. Colored pencils or markers work best.
Step 5: Cut and Stick
Cut carefully around your design and attach double-sided tape or glue sheet to the back.
Hand-drawn stickers are perfect for scrapbooks, journals, and small gift decorations.
2. Printable Digital Kawaii Stickers
Digital designs allow for more precision and are ideal if you prefer printing multiple stickers quickly.
Step 1: Design Digitally
Use software or an app to draw kawaii characters. Smooth lines and soft pastel fills are key.
Step 2: Arrange Your Designs
Place multiple sticker designs on a single page for efficient printing.
Step 3: Print on Sticker Paper
High-quality printable sticker sheets ensure vibrant colors and smooth surfaces.
Step 4: Laminate for Protection
Adding a clear laminate sheet prevents smudges and makes stickers more durable.
Step 5: Cut Out
Use scissors or a craft cutter to carefully separate the stickers.
Printable stickers are perfect for planners, notebooks, and gifts.
3. Waterproof Vinyl Kawaii Stickers
For stickers that can handle water and everyday wear, vinyl is an excellent choice.
Step 1: Use Waterproof Vinyl Paper
Select sticker sheets made from waterproof vinyl for durability.
Step 2: Print Your Designs
Print your kawaii designs using a high-quality printer.
Step 3: Let Ink Dry
Allow the ink to dry completely to avoid smearing.
Step 4: Laminate for Extra Protection
Seal with clear laminate to prevent scratches or water damage.
Step 5: Cut Out Shapes
Carefully cut out each sticker for a professional finish.
Waterproof stickers are ideal for water bottles, laptops, and phone cases.
4. Transparent Kawaii Stickers
Transparent stickers give a stylish look when applied to glass or clear surfaces.
Step 1: Print on Clear Sticker Sheets
Choose transparent printable sticker paper for a see-through effect.
Step 2: Use Soft Pastel Colors
Avoid heavy white backgrounds to maintain transparency.
Step 3: Add White Highlights
Layer small white accents to make characters stand out.
Step 4: Laminate (Optional)
Laminate for extra durability and a glossy finish.
Step 5: Apply to Surface
Transparent stickers work beautifully on windows, mirrors, or phone cases.
5. Hand-Painted Kawaii Stickers
For an artistic, personalized look, hand-painting is ideal.
Step 1: Use Thick Paper
Choose sturdy watercolor or mixed media paper to prevent curling.
Step 2: Paint Designs with Watercolors
Use soft pastel shades for a true kawaii style.
Step 3: Let Paint Dry
Ensure the paint is completely dry to avoid smudging.
Step 4: Outline with Fine Pen
Add faces, expressions, or small details with a black gel pen.
Step 5: Add Adhesive Backing
Use double-sided tape or glue sheets to make stickers sticky.
Hand-painted stickers are unique and perfect as gifts or decorations.
6. Holographic Kawaii Stickers
Shiny holographic stickers are trendy and eye-catching.
Step 1: Print Your Design
Use standard sticker paper to print your design first.
Step 2: Apply Holographic Film
Cover the sticker with a holographic laminate sheet.
Step 3: Smooth Out Bubbles
Use a flat card to remove air bubbles and wrinkles.
Step 4: Cut Out Carefully
Precision cutting ensures a professional look.
Step 5: Peel and Stick
These stickers are durable and dazzling, ideal for personalizing items.
7. Cricut-Cut Kawaii Stickers
Cutting machines like Cricut allow precise and professional sticker creation.
Step 1: Upload Your Design
Import kawaii designs into the cutting software.
Step 2: Adjust Cut Settings
Select the appropriate sticker paper setting for clean cuts.
Step 3: Load the Cutting Mat
Place your sticker sheet securely on the mat.
Step 4: Start Cutting
The Cricut machine will cut out shapes accurately.
Step 5: Weed and Apply
Remove excess material carefully and peel your stickers for use.
Cricut-cut stickers are perfect for selling or making large quantities.
Creative Kawaii Sticker Ideas
- Smiling cupcakes with tiny blush
- Happy boba tea cups
- Mini pastel animals like cats, rabbits, or pandas
- Rainbow clouds with sparkles
- Tiny kawaii fruits like strawberries or cherries
- Mini planets with faces and stars
- Cute stationery items like notebooks and pencils
Mixing food, animals, fantasy, and everyday objects works perfectly for kawaii designs.
Tips for Perfect Kawaii Stickers
- Stick to pastel and soft colors
- Keep expressions simple and tiny
- Add blush, sparkles, and highlights
- Use rounded shapes for maximum cuteness
- Store stickers flat to prevent curling
- Practice drawing simple shapes repeatedly
- Use high-quality paper for longevity
Common Mistakes to Avoid
- Overcomplicating designs
- Using dark or harsh colors
- Cutting unevenly or roughly
- Skipping protective laminate
- Ignoring drying time for paints or ink
Avoiding these mistakes ensures your stickers are professional-looking and durable.
Frequently Asked Questions
What paper is best for kawaii stickers?
Printable sticker paper or waterproof vinyl paper works best depending on intended use.
Can I make kawaii stickers without a printer?
Yes, hand-drawing and coloring is a simple alternative.
How do I make stickers waterproof?
Use waterproof vinyl paper and seal with clear laminate.
Are kawaii stickers expensive to make?
No, with basic supplies you can make affordable homemade stickers.
Can I sell homemade kawaii stickers?
Yes, as long as your designs are original and not copied from commercial brands.
How do I keep colors vibrant?
Use high-quality paper and markers, and laminate for protection.
Can I make transparent kawaii stickers?
Yes, by using clear sticker sheets and soft pastel colors.
Final Words
Making kawaii stickers is a delightful and creative hobby anyone can enjoy. With simple supplies and a touch of imagination, you can create stickers that are both adorable and personal.
Experiment with different materials, colors, and designs, and don’t be afraid to mix techniques. Over time, you’ll have a unique kawaii sticker collection that reflects your creativity. Happy sticker-making!