
Clay bows are charming handmade elements that can be used in jewelry, décor, gifts, ornaments, accessories, art projects, and much more. Whether you’re working with polymer clay, air dry clay, or ceramic clay, learning how to make a bow with clay allows you to add whimsical and elegant details to your creations. These clay bows can be simple or elaborate, tiny or large, flat or dimensional — perfect for crafters of all levels.
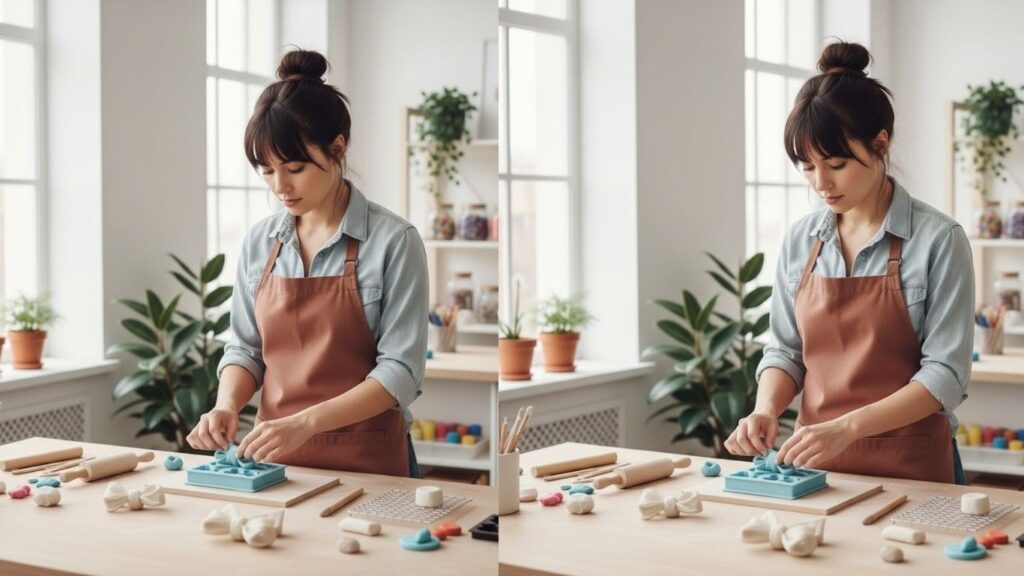
This comprehensive guide gives you seven unique, detailed ways to make clay bows with clear instructions you can follow at your own pace. You’ll also learn tips for choosing materials, tools you may want, creative variations, mistakes to avoid, and how to finish and preserve your clay bows for lasting results.
Clay Bow Supplies You Might Need
Before you start working with clay, it’s helpful to gather common tools and materials that will make shaping, smoothing, and finishing your clay bows easier and more enjoyable.
Here are five items you might want to have on hand:
- Polymer clay blocks
- Clay sculpting tools
- Rolling pin (small craft size)
- Clay cutter or craft knife
- Clay baking sheet or board
Clay Bow Basics
Working with clay is both creative and therapeutic. Clay bows require forming soft material into shapes, smoothing edges, and connecting different sections. Different types of clay behave differently — polymer clay needs baking to harden, air dry clay hardens in open air, and ceramic clay needs kiln firing.
Before making any bow, prepare your surface by covering it with a smooth, wipeable mat. Condition your clay by kneading it until it becomes pliable. If you’re using multiple colors, condition each one separately. Use tools like a rolling pin and blade to cut strips, circles, and shapes cleanly. Smooth rough edges with your finger or a soft brush dipped in water (for air dry or ceramic clay) or a bit of clay softener for polymer clay.
Once your clay pieces are prepared, follow the seven methods below to create beautiful clay bows.
1. Simple Flat Clay Bow
A basic, versatile bow that lies flat and works well for pendants, magnets, tags, and appliques.
Step-by-Step Instructions
- Condition the clay – Knead a piece of clay until soft and flexible.
- Roll out the clay – Use a rolling pin to flatten the clay to about 1/8 inch thickness.
- Cut strips – Cut three strips: two equal long strips for loops and one shorter strip for the center knot.
- Form loops – Fold each long strip into a loop by bringing ends to meet in the center.
- Press gently – Press the ends lightly to adhere them together, making two bow loops.
- Assemble the bow – Place the loops side by side with slight overlap.
- Wrap the center – Wrap the short strip around the center and smooth the ends on the back.
This simple flat bow is perfect as a clay charm or embellishment on larger clay pieces.
2. Dimensional Clay Bow
Adds depth and volume, ideal for earrings or 3D decorations.
Step-by-Step Instructions
- Prepare clay – Condition and roll clay slightly thicker than 1/8 inch.
- Cut two wide strips – Make two strips for the main loops; keep them slightly curved if you like.
- Pinch the ends – Fold each strip into a loop and pinch at the base to secure.
- Hollow the center – With a small tool, gently press inside loops to hollow out the underside (for dimension).
- Combine loops – Arrange loops side by side and press them together lightly at the pinched points.
- Add center knot – Roll a small piece of clay into a thin band and wrap around the middle.
- Smooth seams – Use a soft brush or finger to smooth seams for a refined look.
Dimensional bows have more presence and make stunning focal pieces for ornaments or accessories.
3. Miniature Clay Bow
Tiny clay bows are perfect for doll accessories, miniature scenes, and jewelry.
Step-by-Step Instructions
- Condition clay – Use very small amounts of clay to make tiny pieces.
- Roll tiny strips – Roll out a thin sheet of clay, then cut tiny strips (about 1/8 inch or less).
- Form mini loops – Gently fold each strip into tiny loops, pinch at the base, and set them aside.
- Make the center – Roll a miniature strip for the center wrap.
- Assemble carefully – Place the two tiny loops together and wrap the center band.
- Smooth edges – Use a soft tool or fingertip to smooth miniature edges.
- Bake or dry – Follow clay instructions for curing.
Miniature bows require patience and delicate handling but result in adorable miniature accents.
4. Textured Clay Bow
Adds texture using tools or stamps for a stylish effect.
Step-by-Step Instructions
- Condition clay – Prepare clay and roll to an even thickness.
- Add texture – Press texture stamps, fabric, or tools into the clay surface before cutting.
- Cut strips for loops – Cut two strips for loop shapes.
- Form loops – Fold strips into loops and press ends to secure.
- Create center wrap – Cut a short strip and wrap around the center of loops.
- Blend seams – Smooth any rough edges or seams with a low-moisture brush or clay softener.
- Bake or air dry – Cure the clay according to its type.
Textured clay bows are great for rustic, vintage, or themed projects.
5. Layered Clay Bow
A layered bow has multiple tiers and looks elegant and full.
Step-by-Step Instructions
- Roll out clay – Flatten clay to a consistent thickness.
- Cut strips of different lengths – Make two pairs of strips: one longer pair, one shorter pair.
- Form bottom loops – Fold the longer strips into loops and secure.
- Create top loops – Fold the shorter strips into smaller loops.
- Stack layers – Place smaller loops on top of larger ones.
- Add center wrap – Wrap a thin clay band around the center to secure all layers.
- Blend layers – Gently smooth where layers meet for a cohesive finish.
Layered bows are perfect for occasion décor and detailed clay art pieces.
6. Sculpted Clay Bow
A sculpted bow has artistic curves and a three-dimensional look.
Step-by-Step Instructions
- Condition clay – Soften clay and roll into an even thickness.
- Freeform shape – Rather than straight strips, cut curved pieces.
- Curl ends – Gently curl ends of each piece for a sculptural look.
- Pinch the center – Bring curved pieces together and pinch at the center.
- Add dimension – Use sculpting tools to lift loops outward for fullness.
- Wrap the center – Add a clay band to hold shape and hide seams.
- Refine details – Smooth and shape with soft tools or a finger.
Sculpted bows have a high-end artistic quality and work well in clay art or jewelry.
7. Patterned Clay Bow
Decorated with painted or embedded patterns for expressive designs.
Step-by-Step Instructions
- Condition clay – Roll out a base layer of clay.
- Add patterns – Use clay paints, tools, or layered colors to create patterns on strips.
- Cut strips for loops – Cut patterned strips for your loops.
- Make loops and secure – Fold loops and pinch centers.
- Decorate edges – Use small tools to impress designs on edges.
- Add center wrap – Wrap a patterned or plain strip around the center.
- Cure carefully – Bake or air dry according to instructions.
Patterned bows are expressive and can match specific themes or color schemes.
Choosing the Right Clay
Different clay types affect the look and feel of your bow:
- Polymer clay – Bakes in a home oven, holds vibrant colors.
- Air dry clay – Hardens naturally over time, great for kids and casual projects.
- Ceramic clay – Needs kiln firing, ideal for professional ceramics.
- Cold porcelain – Smooth finish and delicate detail potential.
Selecting the right clay depends on your project goals, skill level, and tools available.
Preparing and Working with Clay
Before forming your bow:
- Condition clay – Knead to eliminate cracks and make it flexible.
- Use tools – Craft tools help achieve clean cuts and smooth surfaces.
- Keep surfaces clean – Work on a nonstick mat or board.
- Moisture control – For air dry or ceramic clay, keep a small cup of water to smooth edges.
Good preparation results in cleaner shapes and fewer imperfections.
Baking or Drying Clay Bows
Clay must be cured to last:
- Polymer clay – Bake in an oven at manufacturer’s recommended temperature.
- Air dry clay – Let air dry for 24–72 hours depending on thickness.
- Ceramic clay – Needs kiln firing at appropriate temperature.
Always follow safety and handling instructions provided with the clay for best results.
Finishing and Preserving Clay Bows
After curing, consider finishing techniques:
- Sanding – Smooth rough edges with fine sandpaper.
- Painting – Add acrylic paint for color accents.
- Sealant – Use a clear sealant to protect and enhance shine.
- Gloss glaze – Add a glossy finish for jewelry or decorative pieces.
Finishing enhances durability and appearance.
Decorating with Clay Bows
Clay bows can be used in many creative projects:
- Jewelry pieces (earrings, pendants)
- Gift tags
- Scrapbook and paper crafts
- Home décor accents
- Ornament embellishments
You can mix clay bows with beads, ribbons, and other materials for mixed-media art.
Caring for Clay Bows
- Avoid water exposure for polymer clay pieces.
- Store in a cool, dry place.
- Keep elaborate bows protected to prevent breakage.
- Reapply sealant if colors fade over time.
Good care increases longevity.
Common Mistakes and How to Avoid Them
- Uneven loops – Measure strips carefully before cutting.
- Cracks during baking – Condition clay thoroughly to prevent.
- Poor adhesion – Press pieces firmly or use a bit of clay softener.
- Overworking clay – Take breaks to avoid clay becoming too soft.
- Rushing drying – Allow air dry clay to cure fully before finishing.
Attention to detail improves every piece you make.
Frequently Asked Questions
What clay is easiest for beginners?
Air dry clay and polymer clay are forgiving and ideal for beginners.
How do I prevent cracks?
Condition clay well and avoid sudden changes in thickness.
Can clay bows be painted?
Yes, acrylic paints work well after baking or drying.
Are clay bows durable?
Polymer clay bows are sturdy; air dry clay may be more delicate.
Do I need special tools?
Basic sculpting tools help but are not required.
Final Words
Making a bow with clay is a creative and rewarding craft that allows you to add custom, handmade details to many projects. With practice, you’ll master different styles and techniques that enhance your artistic skills.
Experiment with colors, textures, and clay types to create personalized clay bows that reflect your unique style. These charming creations make beautiful accessories, décor elements, and thoughtful handmade gifts.