
Paper bows are simple, affordable, and beautiful decorations you can make at home. Whether you want to decorate gifts, greeting cards, party backdrops, or handmade crafts, learning how to make a paper bow is a useful and fun skill. With just a few materials and a little creativity, you can create elegant bows in different styles and sizes.
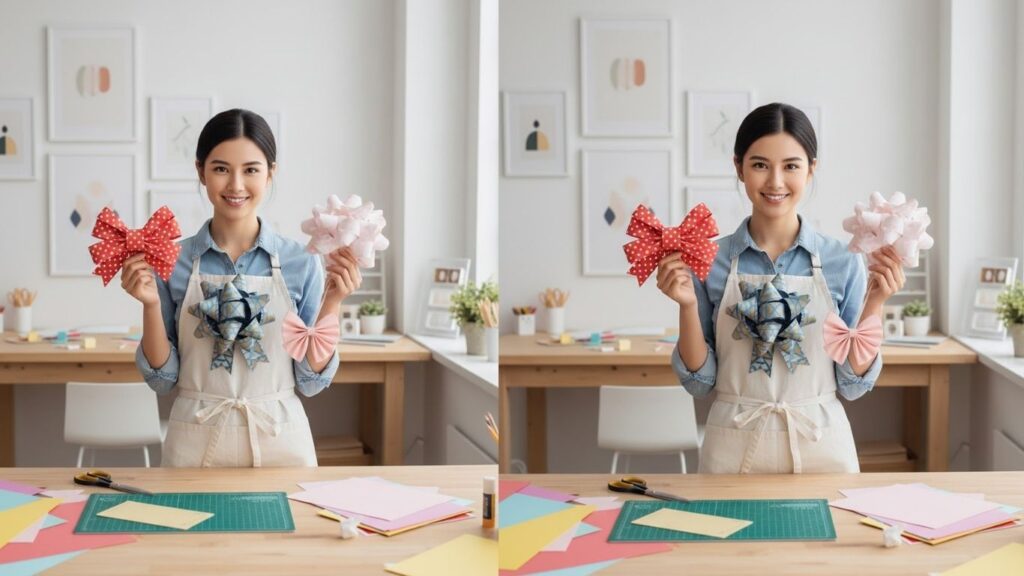
In this complete guide, you will discover seven different methods to create paper bows step by step. Each technique is beginner-friendly and easy to follow, making it perfect for both kids and adults who enjoy DIY crafts.
Supplies You May Need
- Colored craft paper
- Decorative scrapbook paper
- Glue gun
- Sharp scissors
- Paper bow making kit
How to Make a Bow with Paper
Making a paper bow is easier than you might think. You can create small bows for gift wrapping or large decorative bows for party décor. The style you choose depends on the occasion, paper type, and your personal preference.
Paper bows are lightweight, customizable, and budget-friendly. You can use plain paper, patterned paper, glitter paper, or even recycled paper. Before starting, make sure your paper is neat and wrinkle-free for the best results.
Now let’s explore seven creative and detailed ways to make a bow with paper.
1. Classic Loop Paper Bow
This is the most common and beginner-friendly paper bow style.
Step-by-Step Instructions
- Cut a rectangular strip of paper about 1.5 inches wide and 8 inches long.
- Take both ends of the strip and fold them toward the center.
- Overlap the ends slightly in the middle to create two loops.
- Apply glue where the ends overlap and press gently to secure.
- Cut a small narrow strip of paper for the center band.
- Wrap this strip around the middle of the bow and glue at the back.
- Trim the edges of the loops if needed for symmetry.
This bow is perfect for gift wrapping, handmade cards, and small decorations. You can adjust the size by increasing or decreasing the strip length.
2. Accordion Fold Paper Bow
This method creates a fuller and more decorative bow.
Step-by-Step Instructions
- Cut a rectangular piece of paper about 6×4 inches.
- Fold the paper back and forth like an accordion, making equal folds.
- Continue folding until you reach the end.
- Pinch the center tightly to form the bow shape.
- Secure the center with glue or a thin strip of paper.
- Fan out both sides evenly.
- Adjust the folds to make the bow look balanced.
Accordion bows look stylish and textured, making them ideal for party decorations and festive crafts.
3. Origami Paper Bow
Origami bows require no glue and rely on folding techniques.
Step-by-Step Instructions
- Start with a square sheet of paper.
- Fold the paper diagonally to form a triangle.
- Fold it again into a smaller triangle.
- Unfold and follow crease lines to shape the bow structure.
- Fold side flaps inward to create loops.
- Create a small slit in the center fold if needed.
- Adjust the folds carefully to finalize the bow shape.
Origami bows look clean and elegant. They are great for scrapbooking and card-making projects.
4. Layered Paper Bow
This method adds depth and dimension.
Step-by-Step Instructions
- Cut two strips of paper in different sizes.
- Create loop shapes with both strips separately.
- Glue the ends together to form loops.
- Place the smaller loop on top of the larger one.
- Secure them together with glue at the center.
- Add a thin strip in the middle as a center band.
- Fluff the loops gently to create volume.
Layered bows look rich and decorative, perfect for gift boxes and festive décor.
5. Curled Ribbon Style Paper Bow
This bow mimics curly gift ribbon.
Step-by-Step Instructions
- Cut several thin strips of paper.
- Hold a strip firmly and run scissors along it to curl.
- Repeat with all strips to create multiple curls.
- Gather the curled strips together in the center.
- Secure them with glue or tape.
- Attach to your gift or project.
- Adjust curls to create a balanced look.
This style is playful and fun, ideal for birthday gifts and celebrations.
6. Double Tail Gift Paper Bow
This style adds decorative tails.
Step-by-Step Instructions
- Cut a long strip of paper for the bow loops.
- Create the classic loop shape and glue at the center.
- Cut another strip for the tail.
- Fold the tail strip in half and cut a V-shape at the ends.
- Glue the tail behind the bow loops.
- Add a small center band strip.
- Adjust tails so they hang evenly.
Double tail bows are elegant and suitable for gift wrapping and wedding decorations.
7. Large Decorative Paper Bow
Perfect for walls, doors, and event decorations.
Step-by-Step Instructions
- Cut wide strips of sturdy paper.
- Create large loops and secure the ends with glue.
- Make 6–8 loops depending on desired fullness.
- Arrange loops in a circular pattern.
- Glue all loops together at the center.
- Add a circular paper piece in the middle to cover joins.
- Attach a string or tape at the back for hanging.
Large bows are ideal for party backdrops, baby showers, and festive home décor.
Tips for Making Perfect Paper Bows
- Use thicker paper for large bows.
- Make sure folds are even and clean.
- Use a ruler for precise cutting.
- Experiment with patterned paper.
- Mix colors for creative designs.
- Always allow glue to dry properly before handling.
Creative Ways to Use Paper Bows
Paper bows can enhance many projects:
- Gift wrapping
- Greeting cards
- Scrapbooks
- Party decorations
- Hair accessories
- Wall décor
- Handmade crafts
You can also combine bows with paper flowers or decorative tags for a complete handmade look.
Common Mistakes to Avoid
- Using paper that is too thin for large bows
- Uneven folding
- Applying too much glue
- Not measuring strips properly
- Rushing the drying process
Paying attention to these small details will improve the overall appearance of your bows.
Frequently Asked Questions
What type of paper works best for making paper bows?
Craft paper, cardstock, and scrapbook paper work best because they hold their shape well.
Can I make paper bows without glue?
Yes, origami bows can be made without glue using folding techniques.
How do I make a shiny paper bow?
You can use metallic or glitter paper for a shiny finish.
Are paper bows reusable?
Yes, if handled carefully, paper bows can be reused multiple times.
How do I attach a paper bow to a gift?
You can use double-sided tape, glue, or attach it to ribbon tied around the gift.
Final Words
Learning how to make a bow with paper is a simple and enjoyable craft that anyone can master. With just a few basic materials, you can create beautiful bows in many different styles.
Try experimenting with colors, patterns, and sizes to develop your own creative designs. Handmade paper bows add a personal touch that makes any gift or decoration feel extra special.