
Burlap bows are rustic, charming, and versatile accessories that add a natural, textured look to gifts, home décor, weddings, and crafts. Their earthy appeal makes them ideal for farmhouse, country, or vintage-inspired projects while being surprisingly easy to make at home.
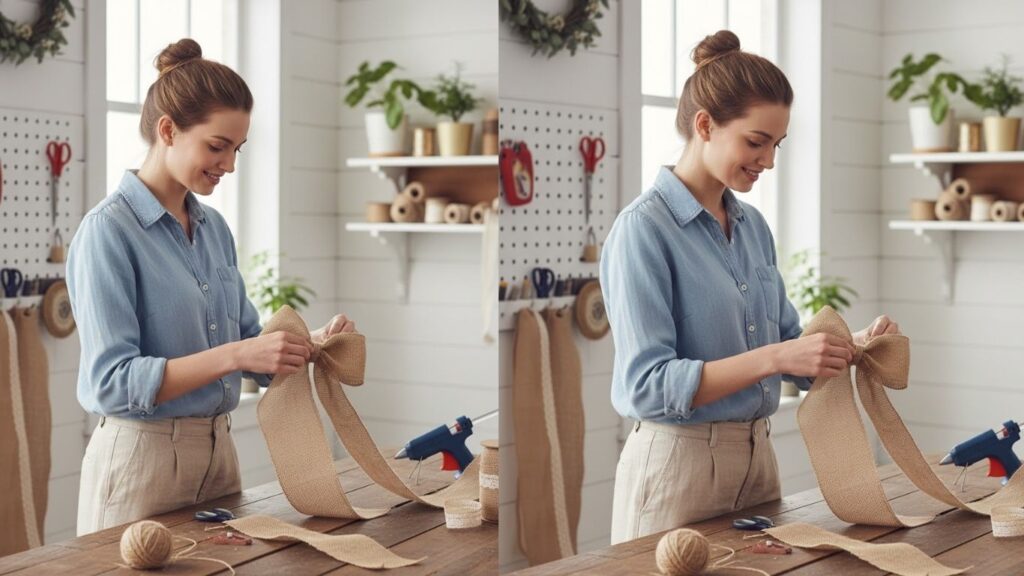
Learning how to make a burlap bow allows you to experiment with size, style, and embellishments. This guide provides seven detailed methods, with step-by-step instructions, to help beginners and experienced crafters create beautiful, professional-looking burlap bows.
Burlap Bow Supplies You Might Need
Before starting, gather these essential materials to make crafting easier:
- Burlap ribbon or fabric
- Scissors
- Floral wire or twist ties
- Hot glue gun
- Decorative accents (jute twine, lace, or beads)
How to Make a Burlap Bow
Burlap bows are crafted by folding, looping, tying, and sometimes layering rustic fabric strips. Burlap’s texture makes it perfect for creating large, structured bows that hold shape well. Preparing the fabric properly by trimming frayed edges and cutting clean strips ensures neat, polished results.
Once your materials are ready, follow these seven step-by-step methods to make burlap bows in various styles.
1. Classic Burlap Bow
A simple, rustic style perfect for wreaths, gifts, or home décor.
Step-by-Step Instructions
- Cut a burlap ribbon about 2–3 inches wide and 20–24 inches long.
- Fold both ends toward the center to create two loops.
- Pinch the center to form the bow shape.
- Secure the center with floral wire or a twist tie.
- Adjust the loops for symmetry.
- Fluff loops for a full appearance.
- Trim tails diagonally for a polished finish.
2. Layered Burlap Bow
Adds depth with multiple layers of burlap ribbon.
Step-by-Step Instructions
- Cut two burlap ribbons of different widths or patterns.
- Lay the smaller ribbon over the larger one.
- Fold both ribbons toward the center to form loops.
- Pin the center temporarily with floral wire.
- Wrap a small piece of burlap around the center to secure layers.
- Fluff the loops individually for volume.
- Trim tails at angles for decorative effect.
3. Puffy Burlap Bow
A rustic bow with soft, voluminous loops.
Step-by-Step Instructions
- Cut a wide burlap strip.
- Loosely fold or scrunch the strip to form loops.
- Tie the center with floral wire or twine.
- Pull loops outward to create fullness.
- Adjust symmetry and shape.
- Fold or curl tails neatly.
- Trim to desired length and angle.
4. Double Loop Burlap Bow
Creates a fuller bow with extra loops.
Step-by-Step Instructions
- Cut a long strip of burlap ribbon.
- Fold it in half to create two large loops.
- Tie the center with floral wire or twine.
- Adjust loops to be even.
- Pull tails neatly behind loops.
- Optionally add a second smaller loop for layering.
- Fluff loops for a more dramatic appearance.
5. Braided Burlap Bow
Adds a textured, rustic look with a braid.
Step-by-Step Instructions
- Cut a long burlap strip and divide it into three strands.
- Braid the strands and secure with floral wire or twine.
- Fold the braid into loops for the bow.
- Bring ends to the back and secure.
- Adjust loops evenly.
- Optional: wrap a small strip of burlap around the center.
- Fluff loops for a natural, rustic appearance.
6. Wrapped Center Burlap Bow
Features a wrapped center for a clean, polished look.
Step-by-Step Instructions
- Cut a strip of burlap.
- Fold ends toward the center to form loops.
- Pin or temporarily clip the center.
- Wrap a small piece of burlap around the center to hide wire or twist tie.
- Tuck or glue ends under loops.
- Adjust loops for balance.
- Trim tails neatly.
7. Flared Tail Burlap Bow
Adds decorative, rustic tails for extra charm.
Step-by-Step Instructions
- Cut two wide burlap strips and one narrow strip for the center.
- Fold wide strips into loops and stack them.
- Place longer strips underneath to form tails.
- Wrap the narrow strip around the center to secure.
- Adjust loops and tails for symmetry.
- Fluff loops for fullness.
- Trim tails diagonally or in a V-shape.
Choosing the Right Burlap
- Thicker burlap holds its shape for structured bows.
- Looser weave creates softer, flowing bows.
- Ribbon width should correspond to desired bow size.
- Combine with lace or jute for added style.
Preparing Burlap Ribbon or Fabric
- Trim frayed edges for a neat finish.
- Lightly press if needed, but avoid crushing texture.
- Fold carefully for smooth loops.
- Combine multiple ribbons for layered bows.
Attaching Burlap Bows
- Hair clips or barrettes
- Wreaths and garlands
- Gift wrapping
- Sewing onto clothing or accessories
- Decorative home décor projects
Decorating with Burlap Bows
- Rustic weddings or parties
- Farmhouse-style home décor
- Gift embellishments
- Scrapbooking and craft projects
- Centerpieces and floral arrangements
Caring for Burlap Bows
- Store flat or hang to maintain shape
- Spot clean gently with mild soap
- Avoid wetting too much to prevent fraying
- Fluff loops before use
Common Mistakes to Avoid
- Folding loops unevenly
- Using frayed burlap without trimming
- Not securing knots tightly
- Skipping center wraps for layered bows
- Rushing shaping loops
Frequently Asked Questions
What burlap is best for bows?
Thick burlap with a tight weave works best for structured bows, while loose weave creates soft, flowing bows.
How do I prevent fraying?
Use hot glue, fray-check, or fold and wrap edges with twine.
Can burlap bows be used on wreaths?
Yes, they are ideal for wreaths, garlands, and home décor.
Will the bow hold its shape?
Proper folding and securing with wire or twine ensures long-lasting shape.
Can I add embellishments?
Yes, lace, beads, or jute twine add rustic charm.
Final Words
Making a burlap bow is a fun, creative way to enhance gifts, décor, and accessories with a rustic, charming touch. With practice, you can master different styles and techniques.
Experiment with ribbon width, layering, and embellishments to craft personalized burlap bows. These versatile, stylish bows are perfect for adding a natural, textured accent to any project.