
A giant bow is a bold and beautiful decoration that instantly transforms gifts, doors, walls, cars, party backdrops, and holiday displays. Whether you’re decorating for a birthday, wedding, baby shower, business opening, or festive celebration, a large bow adds elegance and charm without requiring complicated tools.
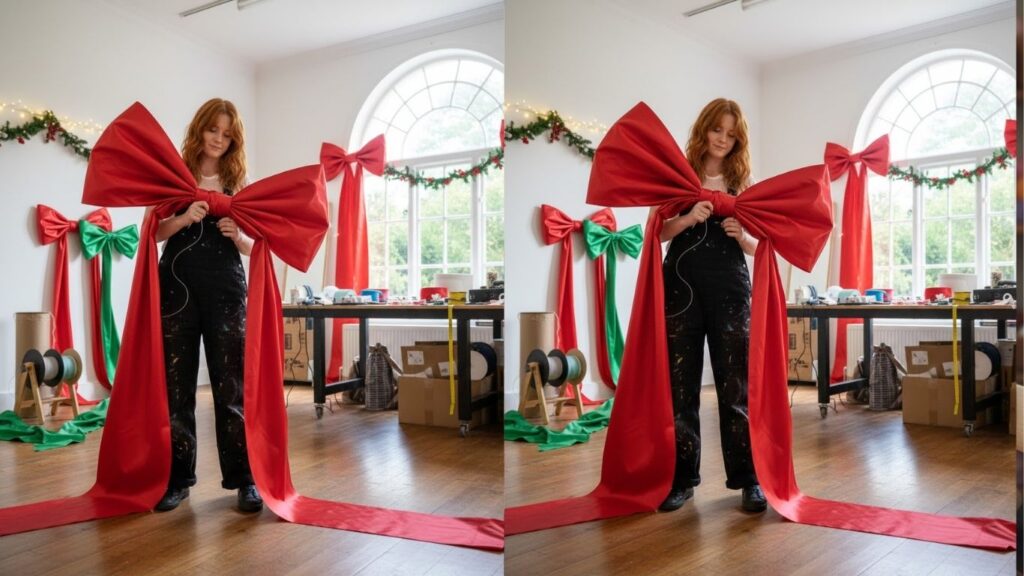
In this complete guide, you’ll learn seven different step-by-step methods to create stunning oversized bows using various materials. Each method is beginner-friendly, clearly explained, and designed to help you achieve professional-looking results at home with confidence.
Essential Supplies for Making a Giant Bow
Before starting, gather a few helpful items to make the process smoother:
- Wide wired ribbon
- Hot glue gun
- Floral wire
- Scissors
- Double-sided tape
These tools will support most of the methods explained below.
How to Make a Giant Bow
A giant bow can be made in several creative ways depending on the material you choose. The size, shape, and structure vary slightly between techniques, but the core idea remains the same: create loops, secure the center tightly, and shape the bow beautifully.
Below are seven detailed methods explained step by step.
1. Classic Wired Ribbon Giant Bow
This is the most popular and easiest method.
Step-by-Step Instructions
- Choose a wide wired ribbon
Select a ribbon at least 2.5 to 4 inches wide. Wired edges help the bow hold its shape. - Measure the ribbon
Cut about 4 to 6 yards depending on how large you want the bow. - Create the first loop
Make a large loop and pinch the center with your fingers. - Add more loops
Continue making loops on alternating sides while holding the center tightly. - Secure the middle
Wrap floral wire tightly around the pinched center and twist firmly. - Fluff the loops
Spread and shape each loop carefully to create a full look. - Trim the tails
Cut the ends diagonally or in a V-shape for a clean finish.
This method is perfect for doors, wreaths, and large gifts.
2. Giant Bow Using Tulle Fabric
Tulle creates a soft and fluffy decorative bow.
Step-by-Step Instructions
- Cut long strips of tulle
You’ll need about 6 to 10 yards for a very large bow. - Fold into large loops
Gather the tulle into equal-sized loops. - Pinch the center tightly
Hold the middle firmly with your fingers. - Tie with ribbon or wire
Secure the center tightly to prevent slipping. - Fluff and separate layers
Gently pull apart each layer to create volume. - Shape evenly
Adjust until the bow looks balanced. - Attach to surface
Use strong tape or hooks for mounting.
This type of bow works beautifully for weddings and baby showers.
3. Paper Giant Bow for Backdrops
Paper bows are perfect for wall decorations and party displays.
Step-by-Step Instructions
- Choose sturdy craft paper
Poster board or thick wrapping paper works best. - Cut two large strips
These will form the bow loops. - Create loop shapes
Curve each strip into a loop and glue the ends. - Make a center band
Cut a smaller strip to wrap around the middle. - Attach loops together
Glue the two loops side by side. - Wrap center band
Secure tightly with glue. - Add long tails
Cut two long strips and glue behind the bow.
Paper bows are lightweight and ideal for party walls.
4. Fabric Giant Bow Without Wire
This method creates a soft and elegant look.
Step-by-Step Instructions
- Select thick fabric
Satin, velvet, or cotton works well. - Cut a long wide strip
The longer the strip, the bigger the bow. - Fold into accordion style
Create even folds back and forth. - Pinch the center
Hold tightly to maintain structure. - Tie with matching thread
Wrap tightly several times. - Spread out the folds
Open each fold to form loops. - Trim and adjust
Shape until symmetrical.
This bow works great for chair decor and photography props.
5. Giant Bow with Multiple Ribbon Layers
Layered bows create a luxury appearance.
Step-by-Step Instructions
- Choose two or three ribbon styles
Mix colors or patterns for dimension. - Cut equal lengths
Keep each layer slightly different in width. - Create loops separately
Form loops for each ribbon piece. - Stack the loops
Place smaller loops on top of larger ones. - Secure all layers together
Wrap floral wire tightly around the center. - Add decorative center knot
Use a small ribbon strip to hide the wire. - Fluff carefully
Separate layers evenly.
Layered bows are perfect for Christmas decor and event entrances.
6. Giant Bow Using Cardboard Template
Templates help maintain perfect symmetry.
Step-by-Step Instructions
- Cut a large cardboard rectangle
Size depends on desired bow width. - Wrap ribbon around cardboard
Wrap multiple times evenly. - Slide ribbon off carefully
Keep shape intact. - Pinch the middle
Press down at the center. - Secure with strong wire
Tie tightly to hold loops. - Adjust and separate loops
Fan them out carefully. - Add tails
Attach long ribbon strips to the back.
This technique ensures uniform loops every time.
7. Giant Gift Box Bow Style
This method mimics decorative gift box bows.
Step-by-Step Instructions
- Cut several equal ribbon strips
About 6 to 10 pieces depending on fullness. - Form individual loops
Glue each strip into a circle. - Layer in crisscross pattern
Stack loops in alternating directions. - Glue layers together
Build upward for dimension. - Add a small loop on top
Creates the final centerpiece. - Attach backing support
Use cardboard circle underneath. - Fix onto gift or display
Secure with strong adhesive.
This style looks stunning on large present boxes and grand openings.
Tips for Making a Perfect Giant Bow
Choose the Right Material
Wired ribbon holds shape best. Soft fabric creates flowy bows.
Secure the Center Tightly
The tighter the center, the fuller the bow looks.
Fluff Carefully
Separate loops gently to avoid wrinkles.
Measure Before Cutting
Always cut slightly more material than you think you need.
Common Mistakes to Avoid
Using Narrow Ribbon
Thin ribbon won’t create a dramatic effect.
Not Tightening the Center Enough
Loose centers cause uneven bows.
Skipping Loop Adjustment
Fluffing makes a huge difference in appearance.
Where to Use a Giant Bow
- Front door decorations
- Wedding entrances
- Car gift surprises
- Party backdrops
- Store openings
- Holiday decor
Frequently Asked Questions
How much ribbon do I need for a giant bow?
For a large decorative bow, 4 to 10 yards of ribbon is usually enough depending on loop size and fullness.
What is the best ribbon width for a giant bow?
At least 2.5 inches wide is recommended. Wider ribbons create a more dramatic look.
Can I make a giant bow without wire?
Yes, but wired ribbon helps maintain structure. Fabric bows can be made without wire.
How do I attach a giant bow to a wall?
You can use heavy-duty double-sided tape, hooks, or mounting adhesive depending on weight.
How do I keep the bow from flattening?
Store it in a large box and reshape the loops before reuse.
Final Words
Making a giant bow is easier than it looks when you follow the right steps and choose suitable materials. With a little patience and creativity, you can design eye-catching decorations that elevate any event or celebration.
Try different materials and styles to discover your favorite method. Once you master these techniques, you’ll be able to create beautiful oversized bows for any occasion with confidence and style.