
A fondant bow is one of the most elegant cake decorations you can create. Whether you’re decorating a birthday cake, wedding cake, baby shower dessert, or festive celebration cake, a handmade bow adds a polished, professional finish. The best part is that you don’t need to be an expert baker to make one.
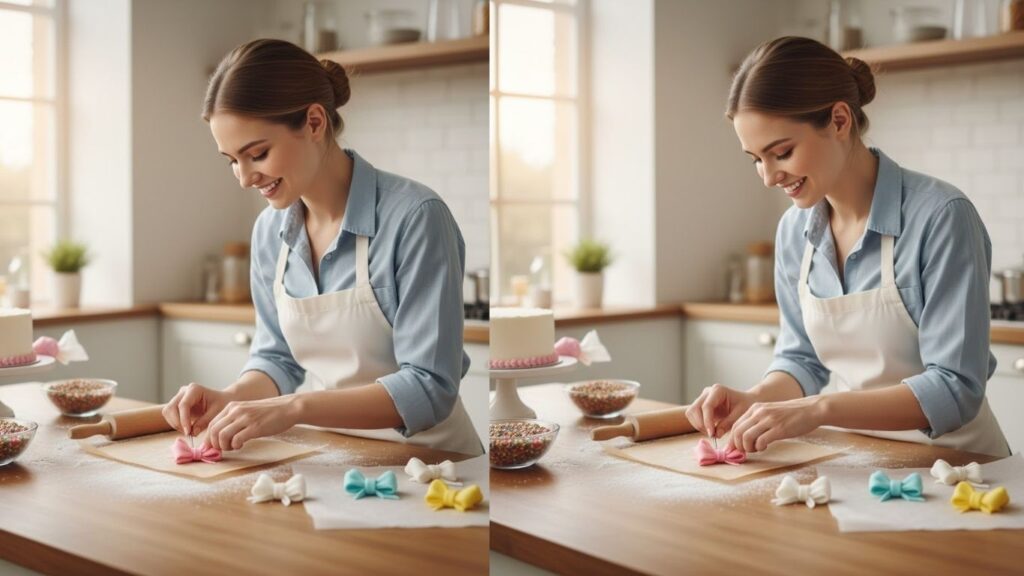
In this complete guide, you’ll learn seven different methods to create beautiful fondant bows in various styles. Each technique is explained step by step so you can confidently design stunning edible bows at home.
Essential Tools and Ingredients for Fondant Bow Making
Before starting, it’s helpful to gather the right supplies. Having proper tools makes the process easier and ensures neat, professional results.
Here are five useful items:
- Ready-to-roll fondant
- Rolling pin
- Cornstarch or powdered sugar
- Sharp knife or pizza cutter
- Edible glue
These basic supplies will support most of the methods explained below.
How to Make a Fondant Bow
Fondant bows can be simple, layered, ruffled, or sculpted. The core process usually involves rolling out fondant, cutting strips, shaping loops, and allowing them to dry before assembling. The drying time is important because it helps the bow hold its structure when placed on a cake.
Below are seven creative methods explained in clear steps.
1. Classic Loop Fondant Bow
This is the most popular and beginner-friendly method.
Step-by-Step Instructions
- Knead the fondant
Work the fondant in your hands until it becomes soft and smooth. This prevents cracks. - Roll out evenly
Dust your surface with cornstarch and roll the fondant about 1/8 inch thick. - Cut equal strips
Use a sharp knife to cut long strips about 1 inch wide. - Form loops
Brush a small amount of edible glue on one end and fold it over to meet the other end, forming a loop. - Insert support
Place a small piece of tissue or parchment inside each loop to hold its shape while drying. - Let dry partially
Allow the loops to dry for several hours until firm. - Assemble the bow
Arrange loops in a circular pattern and secure them together with edible glue. Add a small strip around the center to finish.
This style works beautifully for gift-themed cakes.
2. Puffy Gift Box Style Fondant Bow
This style resembles bows found on wrapped presents.
Step-by-Step Instructions
- Roll and cut strips
Prepare multiple equal-length strips of fondant. - Create circle loops
Glue both ends of each strip together to form a full circle. - Flatten slightly
Gently press the circles to give them a slight oval shape. - Layer in crisscross pattern
Arrange loops on top of each other in alternating directions. - Secure with edible glue
Brush glue between each layer to hold them together. - Add smaller loops on top
Create smaller circles and stack them in the center. - Final touch
Place a small rolled ball of fondant in the middle for detail.
This bow creates a bold, dramatic cake topper.
3. Two-Loop Simple Fondant Bow
Perfect for cupcakes or smaller cakes.
Step-by-Step Instructions
- Roll out fondant
Keep thickness even to avoid cracks. - Cut two identical strips
Make sure they are equal in size. - Shape into loops
Glue each strip into a loop and let them dry slightly. - Prepare tails
Cut two small ribbon-shaped pieces with angled ends. - Attach loops together
Glue the two loops side by side. - Add tails underneath
Attach ribbon tails behind the loops. - Wrap center strip
Place a thin strip around the center to hide seams.
This method is quick and ideal for beginners.
4. Ruffled Fondant Bow
This bow has a soft, flowing appearance.
Step-by-Step Instructions
- Roll fondant thinly
Thinner fondant helps create ruffles. - Cut long strips
Keep strips wide enough for folding. - Thin the edges
Use your fingers to gently soften and thin the edges. - Gather the center
Pinch the middle while keeping edges loose. - Create soft folds
Allow natural folds to form instead of tight loops. - Secure with glue
Attach gathered center with edible glue. - Let dry
Allow to firm up before placing on cake.
This style looks elegant on wedding cakes.
5. Layered Petal Fondant Bow
This method creates a flower-like bow.
Step-by-Step Instructions
- Roll and cut petal shapes
Instead of straight strips, cut oval shapes. - Slightly curve edges
Use fingers to curve each petal. - Let petals firm slightly
Dry for about 30 minutes. - Attach first layer
Glue petals in a circle. - Add second layer
Place smaller petals inside the first layer. - Continue layering
Repeat until desired fullness is achieved. - Add center detail
Place a small fondant ball in the middle.
This bow looks delicate and decorative.
6. Molded Fondant Bow Using Template
Using a template ensures perfect symmetry.
Step-by-Step Instructions
- Print or draw bow template
Use as a guide for cutting. - Roll fondant evenly
Ensure smooth surface. - Cut using template
Carefully trace and cut shapes. - Shape over curved surface
Place cut pieces over rolling pin to dry curved. - Allow to harden partially
Dry until firm but not brittle. - Assemble pieces
Glue sections together carefully. - Add finishing touches
Smooth seams and adjust shape.
This technique gives a clean and professional finish.
7. Standing 3D Fondant Bow
This is ideal for tall cake toppers.
Step-by-Step Instructions
- Add tylose powder to fondant
This helps it dry faster and hold structure. - Roll and cut thick strips
Slightly thicker than usual. - Form large loops
Create tall loops and support inside. - Allow to dry overnight
Ensure complete firmness. - Create base support
Make a small flat fondant base. - Glue loops upright
Attach loops vertically on base. - Secure onto cake
Use royal icing or edible glue for placement.
This bold design works well for celebration cakes.
Drying and Storage Tips
Allow Proper Drying Time
Most bows need several hours to overnight drying.
Store in Cool Dry Place
Humidity can soften fondant.
Avoid Refrigeration
Moisture may cause sagging.
Troubleshooting Common Problems
Cracking Fondant
Knead properly and avoid rolling too thin.
Bow Collapsing
Ensure loops are fully dry before assembling.
Sticky Surface
Dust lightly with cornstarch.
Creative Ideas for Fondant Bows
- Add edible glitter
- Use metallic food paint
- Combine colors for layered effects
- Create ombre shading
- Add embossed patterns
Frequently Asked Questions
How long should a fondant bow dry before placing on a cake?
It’s best to let it dry at least 6 to 24 hours depending on thickness.
Can I make a fondant bow in advance?
Yes, you can prepare it several days before use and store in a dry container.
What helps fondant harden faster?
Adding tylose powder speeds up drying time.
Can I refrigerate a cake with a fondant bow?
It’s better to avoid refrigeration if possible to prevent moisture damage.
How do I attach a fondant bow to a cake?
Use edible glue, royal icing, or melted chocolate for secure placement.
Final Words
Creating a fondant bow may look complicated at first, but once you follow the steps carefully, it becomes simple and enjoyable. With patience and practice, you can craft beautiful edible bows that instantly elevate your cake designs.
Experiment with different styles, shapes, and colors to match your celebration theme. Each method offers a unique look, allowing you to decorate cakes confidently and creatively for any special occasion.