
Ribbon bows are timeless decorations that instantly elevate gifts, crafts, outfits, and event décor. Whether you are wrapping a birthday present, decorating a wedding venue, or adding charm to handmade items, learning how to make a ribbon bow is a valuable and creative skill.
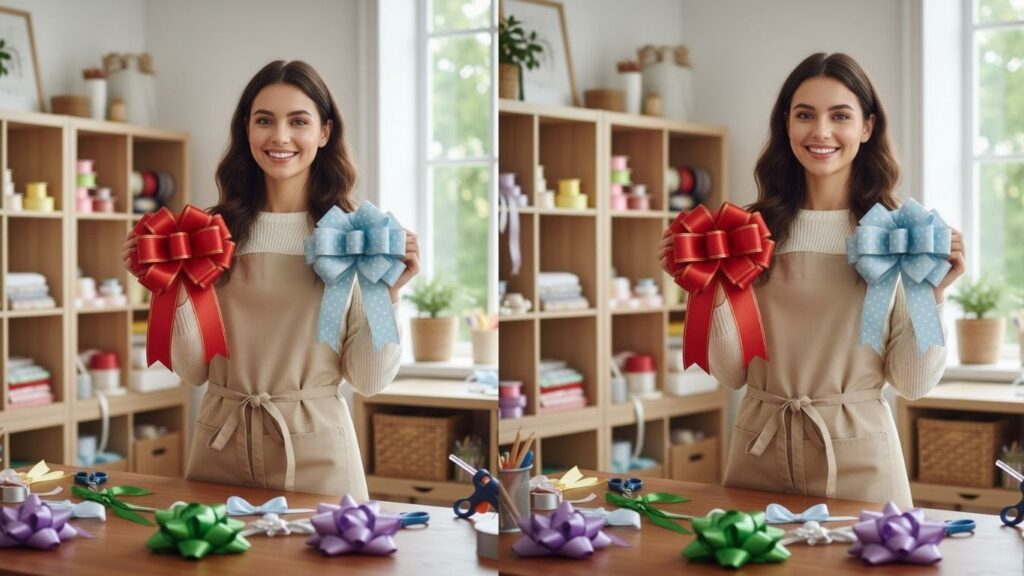
With a few simple tools and some practice, you can create professional-looking bows in different styles and sizes. This guide walks you through seven beautiful ribbon bow techniques with clear, step-by-step instructions.
Supplies You May Need
- Satin ribbon roll
- Grosgrain ribbon
- Scissors
- Glue gun
- Ribbon bow maker tool
Before You Start Making Ribbon Bows
Choosing the right ribbon is important for achieving the best results. Satin ribbon creates smooth and elegant bows, while grosgrain ribbon gives a structured and textured look. Wired ribbon is perfect for large decorative bows because it holds its shape well.
Make sure your scissors are sharp to avoid frayed edges. You can also seal ribbon ends gently with heat to prevent unraveling. Now, let’s explore different ribbon bow styles you can easily create.
How to Make a Ribbon Bow
Ribbon bows come in many designs, from simple classic bows to elaborate decorative ones. The key to a perfect bow lies in balanced loops, tight centers, and neat finishing. Follow the step-by-step methods below to master the art of bow making.
1. Classic Two-Loop Ribbon Bow
This is the most common and versatile ribbon bow style.
Step-by-Step Instructions
- Cut a piece of ribbon about 18–24 inches long.
- Form a loop on the left side, holding the center between your fingers.
- Create a second loop on the right side, crossing it over the first loop.
- Bring the right loop behind the left loop.
- Pull it through the center hole just like tying shoelaces.
- Tighten gently while adjusting the loops evenly.
- Trim the ribbon tails diagonally or in a V-shape.
This bow is perfect for gift wrapping, hair accessories, and craft projects.
2. Gift Wrap Ribbon Bow
Ideal for decorating presents neatly.
Step-by-Step Instructions
- Cut a long piece of ribbon.
- Wrap it around the gift box horizontally and vertically.
- Bring both ribbon ends to the top center.
- Tie a simple knot to secure it tightly.
- Form two loops with each end.
- Cross one loop over the other and pull through.
- Adjust loops and tails for a neat finish.
This style adds a polished and festive touch to any gift.
3. Layered Boutique Ribbon Bow
This bow is fuller and more decorative.
Step-by-Step Instructions
- Cut three ribbons of different lengths.
- Create loops with each ribbon piece separately.
- Secure each loop with glue or by stitching at the center.
- Stack the loops from largest to smallest.
- Align them evenly.
- Wrap a thin ribbon strip around the center to hold all layers together.
- Glue or stitch the back securely.
Layered bows are excellent for hair clips and party décor.
4. Wired Ribbon Decorative Bow
Wired ribbon helps maintain a strong, structured shape.
Step-by-Step Instructions
- Cut about 2–3 feet of wired ribbon.
- Make a large loop and pinch at the base.
- Create another loop on the opposite side.
- Continue alternating loops until desired fullness is achieved.
- Twist the wire edges together at the center.
- Fluff each loop outward.
- Trim tails and shape them beautifully.
This type of bow works well for wreaths and Christmas decorations.
5. Pom-Pom Ribbon Bow
This creates a fluffy, festive look.
Step-by-Step Instructions
- Wrap ribbon around your fingers multiple times.
- Carefully slide it off while keeping the loops intact.
- Tie a thin ribbon tightly around the center.
- Cut through each loop edge.
- Fluff the strands evenly.
- Adjust until round and full.
- Trim uneven strands carefully.
Pom-pom bows are perfect for party decorations and gift toppers.
6. Single Loop Elegant Bow
Simple and minimalist design.
Step-by-Step Instructions
- Cut a medium-length ribbon piece.
- Tie a small knot in the center.
- Create one loop on one side.
- Wrap the other end around the base of the loop.
- Secure tightly underneath.
- Adjust the single loop for shape.
- Trim the tail neatly.
This style is great for modern décor and minimal designs.
7. Double Ribbon Statement Bow
A bold and eye-catching bow style.
Step-by-Step Instructions
- Choose two ribbons in contrasting colors.
- Align them together evenly.
- Form loops using both ribbons simultaneously.
- Cross loops over and tie like a classic bow.
- Tighten carefully while holding both layers flat.
- Adjust each ribbon layer separately for fullness.
- Trim tails in decorative shapes.
This bow stands out beautifully on large gift boxes or event decorations.
Tips for Perfect Ribbon Bows
- Always measure ribbon before cutting.
- Keep loops symmetrical.
- Use wired ribbon for larger bows.
- Seal cut edges to prevent fraying.
- Fluff loops gently for volume.
- Practice tightening evenly to avoid twisting.
Small adjustments make a big difference in the final appearance.
Creative Uses for Ribbon Bows
Ribbon bows can enhance:
- Gift wrapping
- Wedding décor
- Party backdrops
- Hair accessories
- Holiday wreaths
- Handmade crafts
- Home decorations
You can experiment with colors and textures to match themes or seasons.
Common Mistakes to Avoid
- Pulling too tight and crushing loops
- Cutting ribbon too short
- Uneven loop sizes
- Ignoring ribbon quality
- Not securing the center properly
Taking your time ensures better results.
Frequently Asked Questions
What type of ribbon is best for beginners?
Satin or grosgrain ribbon is easy to handle and shape.
How do I make my ribbon bow look fuller?
Use longer ribbon and create multiple loops, then fluff them evenly.
Can I make ribbon bows without glue?
Yes, many styles only require tying and proper folding.
How do I prevent ribbon ends from fraying?
You can trim neatly and lightly seal edges with heat.
Are ribbon bows reusable?
Yes, if carefully untied and stored properly, they can be reused multiple times.
Final Words
Learning how to make a ribbon bow opens up endless creative possibilities. With just ribbon and simple tools, you can craft elegant decorations for gifts, events, and everyday projects.
Practice different styles to build confidence and discover your favorite techniques. Handmade ribbon bows add charm, beauty, and a personal touch to every creation.