
Cheer bows are bold, beautiful accessories that bring energy and style to cheer uniforms, dance outfits, and spirited events. They add personality and flair, helping teams stand out with eye-catching designs. Making your own cheer bows is fun, creative, and cost-effective, allowing you to customize colors, sizes, and accents to match any team theme or event vibe.
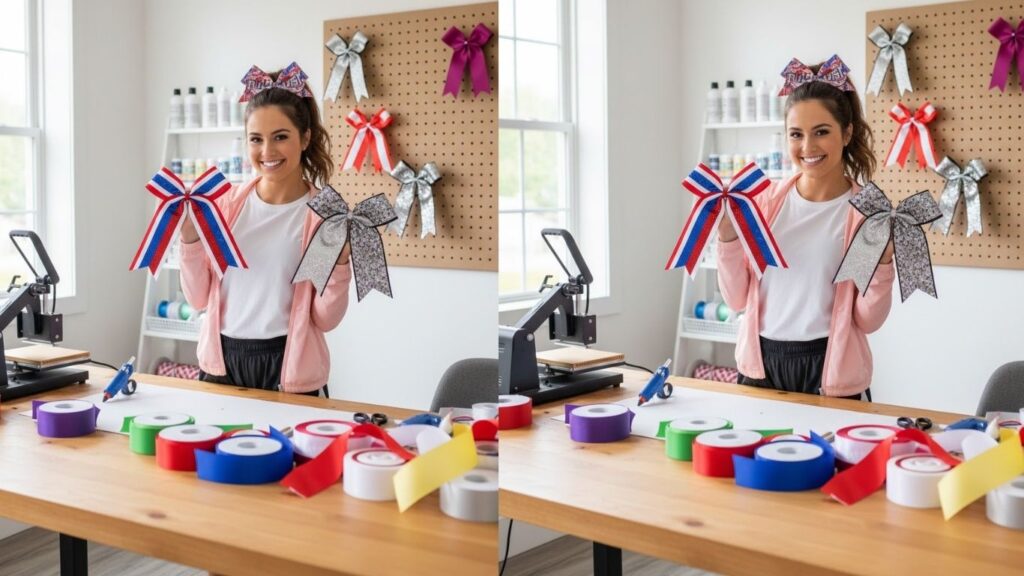
Whether you’re crafting for a school team, dance recital, or festive celebration, this guide walks you through seven detailed ways to create impressive cheer bows. You’ll learn about materials, techniques, and tips that make bow-making easy and enjoyable.
Cheer Bow Supplies You Might Need
- Cheer ribbon rolls
- Ribbon cutter
- Hot glue gun
- Hair bow clips
- Cheer bow maker tool
How to Make a Cheer Bow
Understanding the basics of ribbon types and bow structure helps make every project successful. Cheer bows are usually made with wide, vibrant ribbons that hold shape well. You’ll often combine ribbon layers, loops, and accents to create dimension and impact. After choosing your supplies, it’s time to dive into creative methods.
1. Classic Cheer Bow
A timeless design that’s great for beginners.
Step-by-Step Instructions
- Cut two lengths of ribbon (approx. 24–30 inches each).
- Lay the first ribbon flat and form two large loops, leaving tails long.
- Cross the second ribbon over the first set of loops.
- Wrap the center of both ribbons with a shorter piece of ribbon.
- Secure the wrap with glue on the back side.
- Adjust loops so they are even and full.
- Attach to a hair clip or elastic band using hot glue.
This classic style features full loops and long flowing tails — perfect for energetic routines.
2. Layered Spirit Cheer Bow
A layered cheer bow adds depth and color style.
Step-by-Step Instructions
- Choose two or more ribbon colors or patterns.
- Cut each ribbon into equal lengths (30–36 inches).
- Layer the ribbons on top of each other, aligning centers.
- Fold each layered stack into loops.
- Wrap the center with a coordinating ribbon strip.
- Secure with hot glue and trim tails as desired.
- Fluff loops so layered colors show beautifully.
Layered bows look full and vibrant, ideal for team spirit and special events.
3. Jumbo Cheer Bow
For large, dramatic statement bows.
Step-by-Step Instructions
- Cut extra-long ribbons (36–42 inches).
- Create several large loops, alternating sides.
- Add multiple layers for volume.
- Cinch and wrap the center with a sturdy ribbon strip.
- Use extra glue to secure bulky loops.
- Trim tails in “V” or diagonal shapes.
- Attach to a large clip for secure wear.
Jumbo bows grab attention and are great for performances or pep rallies.
4. Glitter Accent Cheer Bow
Sparkle and shine with a glitter ribbon design.
Step-by-Step Instructions
- Choose glitter-finished ribbons combined with solid colors.
- Cut ribbons to the same length (24–30 inches).
- Layer ribbons with glitter pieces on top.
- Make even loops with all ribbons together.
- Wrap the center using glitter tape or accent ribbon.
- Secure ends with hot glue.
- Fluff the loops for a sparkling finish.
Glitter accent bows add shimmer, perfect for competitions and celebrations.
5. Multi-Loop Cheer Bow
A fuller bow with more loops for extra volume.
Step-by-Step Instructions
- Cut ribbon into several identical pieces.
- Form small loops with each piece.
- Stack loops in layers (larger at bottom, smaller at top).
- Align centers and wrap with a contrasting ribbon.
- Secure layers together using hot glue.
- Adjust each loop for fullness.
- Trim tails neatly.
Multi-loop bows are rich, full, and professional-looking.
6. Themed Cheer Bow
Great for holidays, school colors, or team mascots.
Step-by-Step Instructions
- Select ribbons with themed colors or characters.
- Cut every ribbon to the same length.
- Arrange ribbons in desired thematic order.
- Fold into loops and stack evenly.
- Wrap with a themed accent ribbon.
- Add small charms or embellishments at the center.
- Trim tails and finalize shape.
Themed bows make celebrations more fun and expressive.
7. Boutique Style Cheer Bow
A refined, high-end looking bow.
Step-by-Step Instructions
- Use high-quality grosgrain or satin ribbons.
- Create medium-sized loops for a balanced look.
- Add minimal ribbon layers for elegant style.
- Wrap with a narrow accent ribbon for contrast.
- Use precise cuts for crisp ribbon edges.
- Secure with hot glue and press center tight.
- Fluff loops for a smooth finish.
Boutique style bows combine simplicity with sophistication.
Ribbon Types and Their Uses
Choosing the right ribbon is essential for a great bow:
- Satin ribbon: smooth, shiny surface ideal for classic bows.
- Grosgrain ribbon: textured, durable ribbon that maintains shape well.
- Wired ribbon: holds loops and volume for big decorative bows.
- Glitter ribbon: adds sparkle and visual impact.
Cutting and Sealing Ribbon Edges
Neat ribbon ends make all the difference:
- Use sharp scissors for clean cuts.
- Cut tails in “V” or diagonal shapes for style.
- Lightly melt or seal ends with heat to prevent fraying.
Proper edge treatment keeps bows looking fresh and tidy.
Attaching Cheer Bows Securely
Cheer bows should stay in place during movement:
- Use strong alligator clips.
- For thick hair, consider ponytail holders with bows attached.
- Hot glue bows directly to headbands for secure wear.
- Test stability before wearing in routines.
Secure bows stay beautiful even during active performances.
Decorating Ideas with Cheer Bows
Cheer bows can elevate many creative projects:
- Team photos and spirit banners
- Gift wrapping and party favors
- Locker décor
- Event signage
- Fundraiser merchandise
Bows are versatile and make everything more festive.
Caring for Your Cheer Bows
Keep them looking fresh:
- Store in a box or hanging organizer to avoid crushing.
- Avoid water to prevent ribbon distortion.
- Gently fluff loops before use.
- Replace glue as needed if bows loosen over time.
Proper care extends the life of your handmade creations.
Common Mistakes and How to Avoid Them
- Cutting ribbon too short — always measure longer than needed.
- Uneven loops — take time to balance sizes.
- Loose centers — secure tightly to hold shape.
- Using low-quality ribbon — better ribbon = better bow.
Attention to these details improves every bow you make.
Frequently Asked Questions
What ribbon width is best for cheer bows?
Ribbon widths of 2.5 to 3.5 inches are common for large, full cheer bows.
How long should ribbon tails be?
Tail length depends on style, but 12–16 inches is a good starting point.
Can I wash cheer bows?
It’s best to avoid washing; instead, dust them gently if needed.
How do I add glitter without mess?
Choose pre-glittered ribbons or apply glitter with glue and seal with a clear spray.
Are cheer bows reusable?
Yes — if stored properly away from moisture and crushing.
Final Words
Learning how to make a cheer bow gives you the freedom to create bold, personalized accessories for spirit events, performances, and everyday fun. With the right tools and techniques, anyone can craft stunning bows that stand out.
Take your time, enjoy the creative process, and let your designs reflect your unique style. Cheer bows bring color, enthusiasm, and personality wherever they go.