
Flower stickers are a charming way to decorate journals, scrapbooks, planners, and crafts. Making them at home allows you to create personalized designs, experiment with colors, and enjoy a fun creative activity. DIY flower stickers can range from simple hand-drawn blooms to layered, textured masterpieces.
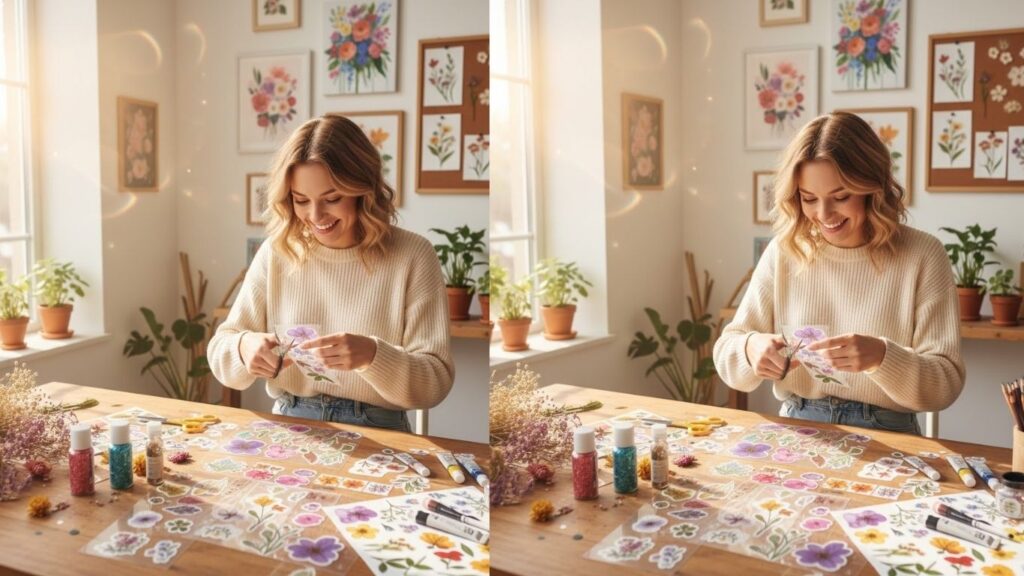
To start, here are five items that will help you craft beautiful flower stickers: sticker paper, colored markers, scissors, cutting tools, and a flower sticker kit. These essentials make creating stickers easier and more enjoyable.
Flower Stickers
Flower stickers are versatile and can be used for decorating journals, planners, scrapbooks, notebooks, or even gift wrapping. They come in many styles, including hand-drawn, printed, layered, 3D, or even transparent designs. Making flower stickers at home allows for full creative control over color, size, and style.
Tips Before You Begin
- Choose your favorite flowers or themes to focus on.
- Decide whether you want realistic or stylized designs.
- Keep a variety of colors and textures available for experimentation.
- Protect your workspace to avoid marker or paint stains.
Once your materials and ideas are ready, you can start making flower stickers using a variety of methods.
How to Make Flower Stickers
There are several ways to make flower stickers, ranging from simple hand-drawn designs to more advanced techniques like layering and 3D effects. Below are seven detailed methods with step-by-step instructions.
1. Printable Flower Stickers
- Gather your materials: sticker paper, printer, scissors or a cutting machine, and digital flower designs.
- Create or download flower designs using graphic software or drawing apps.
- Print the designs on high-quality sticker paper, adjusting the printer for best color results.
- Cut out the designs carefully using scissors or a cutting machine.
- Peel off the backing and stick the flowers to your journal, scrapbook, or crafts.
Printable flower stickers allow precise, colorful, and consistent designs, perfect for layering or creating matching sets.
2. Hand-Drawn Flower Stickers
- Use sticker sheets or plain paper.
- Lightly sketch flowers using a pencil.
- Outline sketches with fine-liner pens for clean lines.
- Color the flowers with markers, colored pencils, or watercolor paints.
- Cut out the designs carefully using scissors or a craft knife.
- Use double-sided tape or glue if your paper is not pre-sticky.
Hand-drawn stickers give your projects a personal touch and allow creative freedom in shapes, colors, and styles.
3. Layered Flower Stickers
- Cut flower petals and leaves from colored or patterned paper.
- Layer petals to create a 3D flower effect, stacking from largest to smallest.
- Secure each layer with glue or adhesive dots.
- Attach leaves to the flower base for a realistic look.
- Stick the layered flower onto sticker paper or directly on your project.
Layered stickers add dimension and texture, making your flower stickers look more realistic and eye-catching.
4. Washi Tape Flower Stickers
- Choose washi tape with floral patterns or complementary colors.
- Stick tape onto sticker paper or directly onto your project.
- Cut flower shapes using scissors or a craft knife.
- Combine different tapes to create petals, leaves, and layered patterns.
Washi tape stickers are quick, colorful, and perfect for beginners. They are also easy to customize and reposition.
5. Transparent Flower Stickers
- Purchase clear or transparent sticker sheets.
- Draw or print your flower designs on the transparent sheets.
- Cut around the shapes using scissors or a precision knife.
- Peel off the backing and place the flowers on your projects.
Transparent flower stickers are great for layering over text, backgrounds, or other designs while keeping a subtle, elegant effect.
6. Puffy 3D Flower Stickers
- Use craft foam sheets or puff paint to create raised petals and centers.
- Cut out individual petals and layer them to form flowers.
- Secure with adhesive or sticky foam sheets.
- Add leaves or stems for extra detail.
- Attach the puffy flowers to your projects.
3D stickers create a tactile and dimensional look that makes your projects interactive and unique.
7. Collage Flower Stickers
- Collect scraps of paper, old book pages, or patterned sheets.
- Cut flower shapes, petals, and leaves from your collection.
- Layer pieces creatively on sticker paper or directly onto adhesive sheets.
- Cut out individual collage flowers for unique stickers.
- Apply them to your projects.
Collage flower stickers allow for unlimited creativity, combining textures, colors, and patterns for a vintage or eclectic look.
Additional Tips for Flower Stickers
- Mix multiple methods to achieve unique designs.
- Keep a consistent color palette for a cohesive look.
- Store extra stickers in envelopes or sticker binders for future use.
- Test materials and techniques on scrap paper before applying to your projects.
- Start with simple flower shapes if you are new, gradually moving to complex designs.
Creative Ideas to Make Flower Stickers Stand Out
Seasonal Flowers
Create flower stickers representing different seasons, like cherry blossoms for spring or poinsettias for winter.
Abstract Flower Designs
Experiment with abstract shapes and colors to create modern, artistic flowers.
Layered Petal Flowers
Layer petals in different colors and sizes for a realistic or dimensional effect.
Patterned Flowers
Incorporate stripes, polka dots, or geometric patterns on petals for unique designs.
Botanical Flowers
Focus on realistic leaves, stems, and flowers inspired by actual plants for a natural look.
Mixed Media Flowers
Combine paint, markers, and patterned paper for vibrant, textured flowers.
Interactive Flowers
Create stickers with petals that open or fold to reveal hidden details, perfect for journals or cards.
FAQ
Can I use regular paper for flower stickers?
Yes, but sticker paper or adhesive backing is recommended for better durability.
How can I make my flower stickers last longer?
Using laminated sheets or high-quality sticker paper will make them more durable.
Can I reuse flower stickers?
Some stickers, like washi tape or transparent sheets, can be repositioned gently, but most are permanent.
Do I need special tools to make flower stickers?
Basic materials like scissors, markers, and paper are enough. Optional tools like cutting machines or punches speed up the process.
How should I store flower stickers?
Use envelopes, folders, or sticker binders, sorted by color, theme, or style for easy access.
Final Words
Making flower stickers at home is a rewarding and creative activity. These DIY methods allow you to explore various styles, textures, and techniques while producing beautiful, personalized stickers. Each flower sticker you create adds charm, color, and personality to journals, scrapbooks, and crafts, turning ordinary pages into vibrant works of art.