
Holographic stickers are eye-catching, reflective, and perfect for decorating laptops, journals, water bottles, and craft projects. Their shimmering, rainbow-like effect makes them stand out from regular stickers and adds a unique touch to your creations.
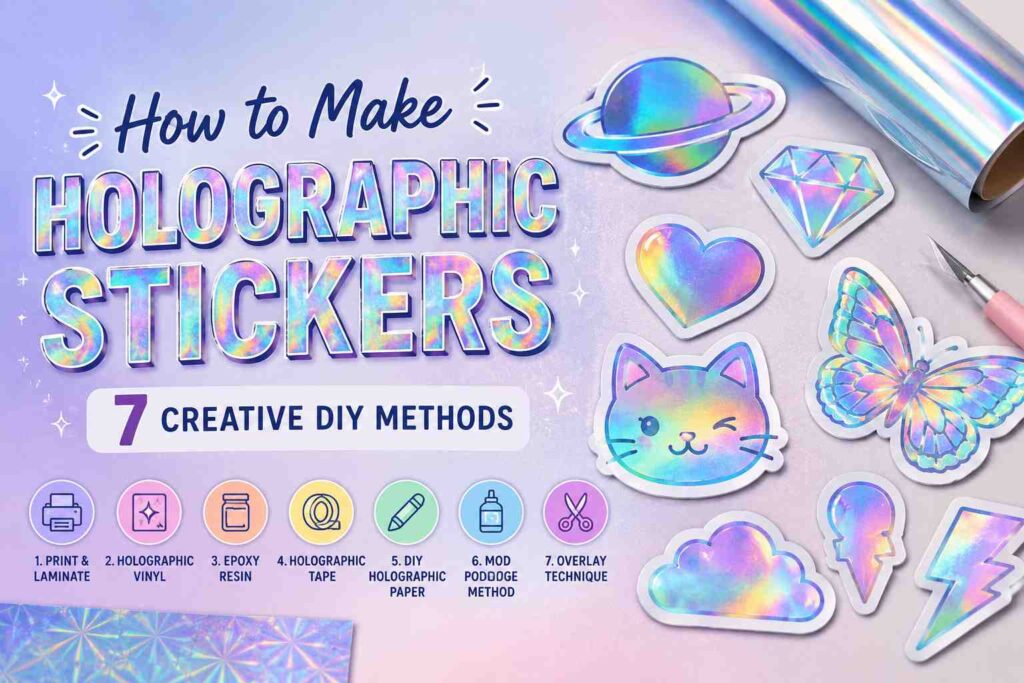
In this guide, you will learn seven detailed ways to make holographic stickers at home. Each method is explained step by step, helping you achieve professional-looking, shiny, and durable stickers for any project.
Essential Supplies for Holographic Stickers
Before you start, gather these tools and materials for the best results:
- Holographic vinyl sheets
- Printable sticker paper
- Clear laminate sheets
- Craft cutting knife or scissors
- Adhesive spray or double-sided tape
These items will allow you to create durable, glossy, and vibrant holographic stickers.
How to Make Holographic Stickers
Holographic stickers require reflective materials and protective layers to keep their shine intact. You can make them using physical methods, digital printing, or a combination of both. Below are seven practical and creative techniques to make your own holographic stickers.
1. Printable Holographic Vinyl Sticker Method
This method is perfect for producing professional-quality stickers with full holographic effect.
Step-by-Step Instructions
- Choose your design
Select your artwork, text, or shapes for the sticker. - Size the design
Adjust the dimensions to fit your desired sticker size. - Load holographic vinyl into the printer
Ensure the printable side is loaded correctly. - Print your design
Use high-quality settings for sharp colors. - Allow ink to dry
Give a few minutes to prevent smudging. - Apply clear laminate
Protect your sticker from scratches and preserve the shine. - Cut out your stickers
Use scissors or craft knife to carefully cut around the design.
This method produces long-lasting holographic stickers with a professional finish.
2. Holographic Tape Overlay Method
An easy and budget-friendly method to add shimmer.
Step-by-Step Instructions
- Print your design on regular sticker paper
Keep colors bold for better visibility under holographic tape. - Cut around the design
Leave a small margin for applying tape. - Apply holographic tape
Cover the sticker front with tape and smooth out bubbles. - Trim excess tape
Cut carefully along edges of the design. - Apply adhesive backing
Use double-sided tape if needed. - Let settle for a few minutes
Ensure tape adheres fully. - Stick onto desired surface
Press firmly to secure.
This gives your stickers a metallic rainbow effect without specialized materials.
3. Holographic Laminate Sheet Method
Laminate sheets make your stickers reflective and scratch-resistant.
Step-by-Step Instructions
- Print or draw your sticker design
Use bold shapes for better holographic impact. - Cut your design
Trim close to the edges. - Apply holographic laminate sheet over design
Smooth from one side to the other to prevent air bubbles. - Press firmly
Ensure the laminate sticks evenly. - Trim excess laminate
Keep edges neat and sealed. - Add adhesive backing
Double-sided tape or vinyl adhesive works best. - Stick onto surface
Press firmly for secure adhesion.
This method produces high-quality, shiny stickers suitable for laptops or journals.
4. Holographic Foil Transfer Method
Foil transfer gives a vibrant reflective effect.
Step-by-Step Instructions
- Print or draw your sticker design
Use toner-based ink if printing. - Apply holographic foil sheet
Place foil over the design. - Use heat or laminator
Follow foil instructions for transfer. - Peel off foil carefully
Reveal the shiny effect. - Cut around your design
Trim neatly to desired shape. - Apply adhesive backing
Ensure sticker sticks well. - Stick onto laptop, bottle, or notebook
Press firmly for adhesion.
Foil transfer creates dazzling, iridescent designs that catch light beautifully.
5. Digital Holographic Sticker Method
Perfect for creating custom stickers for printing or digital use.
Step-by-Step Instructions
- Open digital design software
Use a program like Procreate or Illustrator. - Create your sticker
Use holographic textures or gradient overlays. - Adjust colors and highlights
Enhance the reflective effect digitally. - Export as PNG
Enable transparent background for flexibility. - Print on holographic or vinyl paper
Ensure high-quality print settings. - Cut carefully
Use scissors or craft knife. - Apply laminate
Seal and protect colors for durability.
Digital holographic stickers allow creative control and flexibility for multiple sizes.
6. Layered Vinyl Holographic Stickers
Layered stickers enhance depth and shine.
Step-by-Step Instructions
- Create multi-layer sticker design
Separate base, color, and highlights. - Cut each layer from vinyl sheets
Use holographic vinyl for desired layers. - Weed extra vinyl
Remove unwanted parts carefully. - Layer pieces in order
Align precisely for correct effect. - Apply transfer tape
Lift entire sticker as one piece. - Stick onto surface
Press firmly to avoid air bubbles. - Remove transfer tape
Reveal completed holographic sticker.
Layered stickers produce a dimensional and striking effect.
7. DIY Spray-on Holographic Finish
A quick method for basic holographic shine.
Step-by-Step Instructions
- Print or cut your sticker design
Use standard vinyl or sticker paper. - Spray light holographic finish
Hold spray evenly to cover surface. - Let dry completely
Avoid smudging or over-spraying. - Apply second coat if needed
Enhances reflection. - Cut out sticker
Trim neatly along design edges. - Apply adhesive backing
If not already sticky. - Stick onto your item
Press firmly and smooth edges.
This method is accessible and works well for creative experimentation.
Tips for Perfect Holographic Stickers
Clean Surface
Always wipe laptops or surfaces before applying stickers.
Round Corners
Prevents peeling and extends lifespan.
Smooth Edges
Use a craft knife or cutting mat for precision.
Seal Properly
Lamination or clear coat protects shine and colors.
Test Placement
Check arrangement before peeling backing.
Common Mistakes to Avoid
Skipping Lamination
Reduces durability and reflective quality.
Cutting Too Early
Ink may smudge or foil may lift.
Overcrowding Design
Too many small details reduce holographic effect.
Not Testing Adhesion
Some surfaces may require extra adhesive.
Creative Holographic Sticker Ideas
- Rainbow gradient abstract shapes
- Stars, planets, or celestial designs
- Motivational quotes with shimmer
- Cartoon characters with reflective outline
- Minimalist geometric patterns
Frequently Asked Questions
What is the best paper for holographic stickers?
Printable vinyl or holographic sheets provide best shine and durability.
Can holographic stickers be waterproof?
Yes, vinyl and laminate layers make stickers water-resistant.
How do I remove stickers without residue?
Warm gently with your hands or use a hair dryer to soften adhesive.
Can I make digital holographic stickers for selling?
Yes, digital PNG files with holographic textures are ideal for sticker packs.
How long do DIY holographic stickers last?
With lamination and proper care, they can last years without fading.
Final Words
Holographic stickers are a vibrant, fun, and creative way to enhance your belongings. Using vinyl, laminate, foil, or digital methods, you can make stickers that are shiny, durable, and unique.
Experiment with different designs, textures, and techniques to create dazzling holographic stickers for laptops, planners, water bottles, or craft projects. With patience and creativity, your stickers will truly stand out.