
Laptop stickers are a fun way to personalize your device, express your style, and make your laptop stand out. Whether you enjoy cute characters, minimalist designs, motivational quotes, or bold graphics, making your own stickers lets you customize everything exactly how you like it.
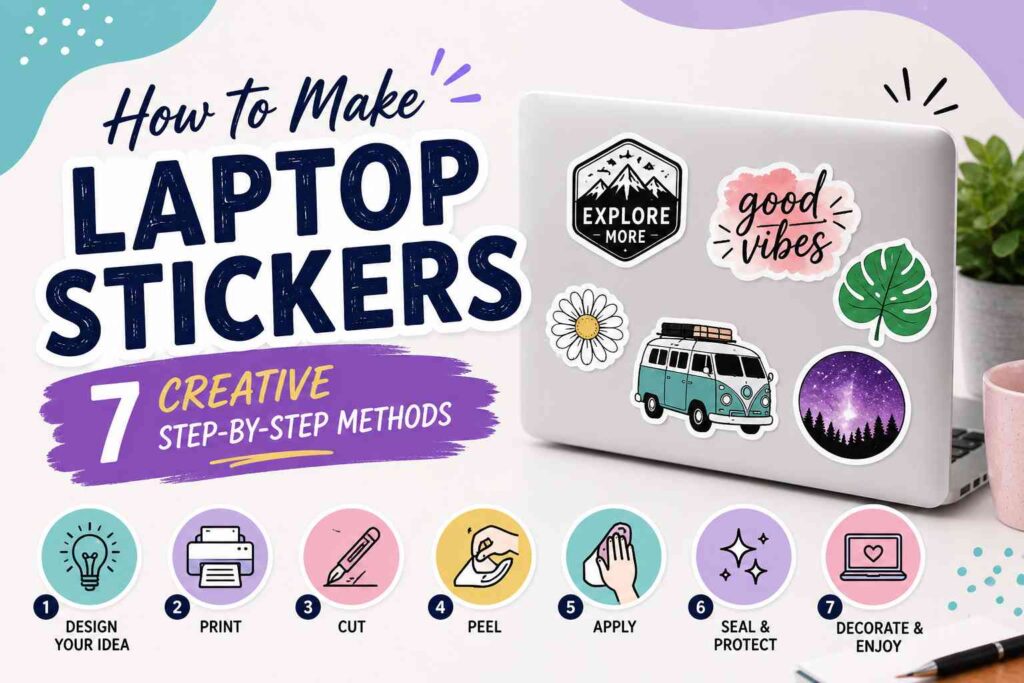
In this blog post you’ll learn detailed, easy‑to‑follow steps to make laptop stickers in different styles and formats. You’ll find a variety of techniques, from printing durable vinyl decals to hand‑drawing custom artwork.
Essential Supplies for Laptop Stickers
Below are some useful tools and materials you might want to gather before getting started with your sticker‑making projects:
- Printable vinyl sticker paper
- Clear sealant spray
- Laminating sheets
- Craft cutting mat
- Precision craft knife
These items will help you create long‑lasting, vibrant stickers that adhere well and resist wear.
How to Make Laptop Stickers
Laptop stickers are typically colorful, durable, and designed to handle everyday wear and tear. In most cases, that means using waterproof materials and sealants so that daily usage doesn’t affect your designs. Below are seven methods—ranging from simple hand‑crafted techniques to digital printing approaches—to create laptop stickers step by step.
1. Printable Vinyl Sticker Method
This method produces stickers that are durable, waterproof, and ideal for laptops.
Step‑by‑Step Instructions
- Choose your design
Decide whether you want text, graphics, photos, or illustrations for your sticker design. - Size the design
Adjust the dimensions so it fits well on your laptop without covering too much space. - Load printable vinyl into your printer
Ensure the vinyl side is facing correctly, and that your printer settings match the vinyl material. - Print the design
Use high quality or photo settings for bright, crisp colors. - Allow ink to dry
Wait a few minutes before touching the printout so the ink doesn’t smudge. - Apply clear laminating sheet
Cover the entire surface of the printed vinyl with a laminate sheet to protect your sticker from scratches and water. - Cut out your sticker
Use sharp scissors or a precision craft knife to cut around the edges, following the shape of your design.
This method gives you professional‑looking stickers that will stay vibrant even with daily use.
2. Hand‑Drawn Stickers With Sealant
This technique is great if you prefer drawing your own art by hand.
Step‑by‑Step Instructions
- Sketch your design on paper
Use pencil first to outline what you want. - Ink over your sketch
Use permanent markers or fine‑tip pens for bold, clean lines. - Add color
Use marker pens, colored pencils, or paint pens depending on the texture you want. - Cut out the drawing
Trim closely around the edges of your artwork. - Apply glue stick or spray mount to vinyl back
Stick your paper drawing onto vinyl sticker paper to add durability. - Cover with clear sealant
Use a clear sealant spray to waterproof and protect the surface. - Allow to dry completely
Once dry, stick your custom artwork onto your laptop.
This approach gives a personal, artistic feel to your stickers.
3. Transparent Background Sticker Method
Clear stickers look sleek and blend naturally with your laptop surface.
Step‑by‑Step Instructions
- Create your design digitally
Use a design app to make graphics with transparent backgrounds. - Export as PNG
Save your design in PNG format with transparency preserved. - Load transparent adhesive sheets into printer
Handle carefully to avoid fingerprints on sticky areas. - Print your design
Use accurate printer settings for clear, vibrant colors. - Apply a protective laminate sheet
This helps resist scratches and fading. - Cut closely around design
Trim just outside the design so no clear border remains. - Peel and stick
Apply to your laptop, pressing evenly to avoid air bubbles.
Transparent stickers look more integrated with your laptop surface.
4. Die‑Cut Sticker Method
Die‑cut gives crisp, perfectly shaped stickers without white edges.
Step‑by‑Step Instructions
- Prepare a digital design file
Ensure the design has a clear outline for cutting. - Load design into cutting software
Use software that works with your cutting machine. - Select vinyl material
Choose gloss or matte finish vinyl. - Send the design to the cutter
Adjust blade settings according to vinyl thickness. - Weed excess vinyl
Remove unwanted pieces around your design. - Apply transfer tape
This helps lift the sticker as a single piece. - Place on laptop and remove tape
Press firmly and gently remove the transfer tape.
Die‑cut stickers look clean, custom, and polished.
5. Watercolor Style Laptop Stickers
Watercolor effects add a soft, artistic aesthetic to your laptop décor.
Step‑by‑Step Instructions
- Paint watercolor designs on watercolor paper
Keep designs simple and colorful. - Scan the artwork
Use high resolution for clear print quality. - Adjust digitally
Clean up colors and crop in editing software. - Print on printable vinyl
Ensure the printer settings match your vinyl paper. - Add laminate sheet
Protect the watercolor texture and colors. - Cut around the designs
Trim carefully with sharp scissors. - Apply to laptop
Make sure the surface is clean before sticking.
This method lets you turn original art into practical laptop stickers.
6. 3D Puffy Sticker Method
Puffy stickers have raised texture and a unique feel.
Step‑by‑Step Instructions
- Design your sticker digitally or draw by hand
Keep design elements thick and bold. - Print on thick adhesive vinyl
This adds a sturdy base for 3D effect. - Cut base shape
Trim closely around the design. - Apply craft foam layer underneath
Glue foam behind the sticker for dimension. - Seal edges with clear sealant
Protect the foam and vinyl from wear. - Let dry completely
Ensure no sections are damp. - Stick onto laptop
Press firmly around edges.
Puffy stickers add depth and an eye‑catching look to your laptop.
7. Sticker Sheet Method for Multiple Small Stickers
This method is perfect for creating themed sticker sets.
Step‑by‑Step Instructions
- Design a set of small icons
Think tiny graphics, logos, or themed shapes. - Arrange them on a single printable sheet
Maximize space efficiently. - Print on waterproof vinyl
Use glossy or matte finish. - Laminate the entire sheet
Protect all stickers at once. - Cut out each shape
Use precision tools for clean edges. - Organize in a sticker pack
Group similar styles together. - Apply one at a time
Stick onto laptop as desired.
This approach gives you variety and flexibility for customizing your laptop.
Tips for Perfect Laptop Stickers
Clean Surface
Before sticking, wipe your laptop with a dry cloth to remove dust and oils.
Smooth Edges
Use a craft knife and ruler for sharp cuts.
Round Corners
Rounded edges resist peeling better than sharp angles.
Test Placement
Before removing backing, test where you want the sticker.
Avoid Extreme Heat
High temperatures may cause adhesive to loosen over time.
Common Mistakes to Avoid
Ignoring Lamination
Without protection, colors fade and edges wear faster.
Cutting Too Early
Allow ink to dry completely to prevent smudges.
Selling Without Quality Check
Test your stickers before offering them for sale.
Not Considering Surface Material
Textured laptop skins may require stronger adhesive.
Creative Laptop Sticker Ideas
- Minimalist icons
- Travel theme illustrations
- Motivational quotes
- Cartoon characters
- Monogram initials
- Seasonal designs
- Abstract patterns
Frequently Asked Questions
What type of sticker material works best for laptops?
Printable vinyl with waterproof laminate is most durable and long‑lasting.
Can I remove laptop stickers without damage?
Yes, warm gently with your hands or a hairdryer and peel slowly.
Do laptop stickers leave residue?
Some cheap stickers do; using good quality vinyl reduces residue.
How long do homemade laptop stickers last?
With proper sealing, they can last years without fading.
Is it better to print or hand‑draw stickers?
Both work well — printing gives sharper finish, drawing gives unique charm.
Final Words
Making laptop stickers at home is creative, satisfying, and allows full personal expression. Whether you prefer digital design, hand‑drawn art, or unique textured stickers, there’s a method to suit your style and skill level.
With practice and experimentation, you’ll be able to craft durable, eye‑catching stickers that make your laptop look amazing and reflect your personality. Have fun designing!