
Creating your own nail stickers at home is easier than you think. DIY nail stickers allow you to customize your nail art, save money, and experiment with endless designs. Whether you want simple patterns or intricate designs, making your own stickers gives you full creative control.
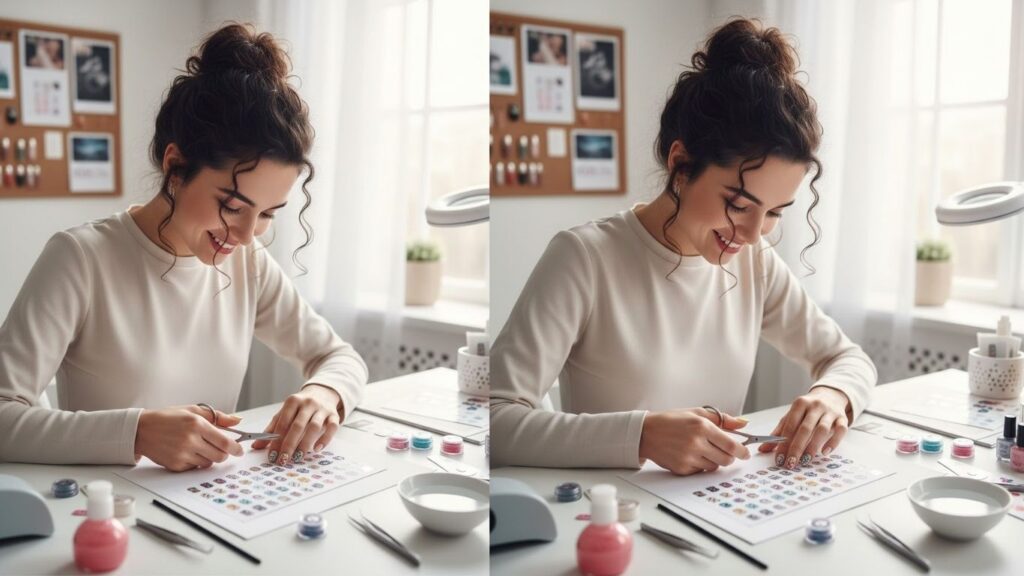
Before you get started, here are five items you might need: nail sticker paper, nail polish, fine-tip markers, scissors, and clear top coat.
Nail Stickers
Nail stickers are thin decorative designs that can be applied directly to nails for instant nail art. Making your own stickers allows you to personalize your look, mix colors, and create designs that aren’t available in stores.
Here are seven different ways to make nail stickers at home, along with detailed step-by-step instructions:
1. Using Printable Sticker Paper
- Gather Materials
You need printable nail sticker sheets, a printer, nail design software or images, and scissors. - Create Your Designs
Use software to create or download nail patterns. Ensure the size fits your nail shape. - Print Designs on Sticker Paper
Load the sticker sheet into your printer and print the designs. - Cut Out Stickers
Carefully cut each design to match your nails. - Apply to Nails
Peel the sticker off and place it on clean, dry nails. - Seal with Top Coat
Apply a clear top coat to protect the design and make it last longer.
2. Using Nail Polish and Wax Paper
- Prepare Materials
Nail polish, wax paper, toothpick, and scissors. - Draw Designs on Wax Paper
Paint small shapes or patterns on the wax paper using nail polish. - Let Dry
Allow designs to fully dry to avoid smudging. - Cut Designs
Cut the dried designs into small stickers. - Apply to Nails
Peel off and stick to nails, pressing gently. - Seal with Clear Polish
Protect the stickers by applying a top coat.
3. Using Nail Art Pens
- Materials Needed
Nail art pens, transparent sticker paper, scissors. - Draw Designs Directly on Sticker Paper
Use the pens to create intricate designs. - Cut Designs
Carefully cut designs to fit your nails. - Apply to Nails
Peel and place on nails. - Seal with Top Coat
Ensure durability with a clear top coat.
4. Using Stamping Technique
- Materials
Stamping plates, stamping polish, stamper, sticker sheets. - Transfer Design to Sticker Paper
Use stamper to pick up designs and stamp onto sticker sheets. - Cut and Apply
Cut designs to size and apply to nails. - Seal
Finish with a top coat.
5. Using Temporary Tattoo Paper
- Gather Materials
Temporary tattoo paper, printer, scissors, water. - Print Nail Designs
Print your desired designs on the tattoo paper. - Cut Out Designs
Carefully cut each design. - Apply with Water
Place sticker on nails and press damp cloth to transfer design. - Seal with Top Coat
Protect your nail art by applying clear polish.
6. Using Freehand Painting
- Materials
Nail polish, thin brush, clear tape. - Paint Designs on Tape
Draw small designs on tape using nail polish. - Let Dry
Allow designs to completely dry. - Cut and Apply
Cut designs and stick on nails. - Seal with Top Coat
Finish with clear nail polish for durability.
7. Using Gel Nail Stickers
- Materials
Gel polish, UV/LED lamp, gel base and top coat, silicone mat. - Create Designs on Silicone Mat
Paint your gel designs directly on the mat. - Cure Under Lamp
Harden the gel by curing it under UV/LED light. - Peel Off Designs
Gently peel the cured gel designs from the mat. - Apply to Nails
Stick designs to nails and cure again if necessary. - Seal with Top Coat
Finish with a clear gel top coat to secure design.
FAQ About Nail Stickers
How long do DIY nail stickers last?
They usually last 5–7 days, depending on the method and how well you seal them.
Can I reuse nail stickers?
Some gel or thicker stickers can be reused, but most paper or polish-based stickers are single-use.
How do I remove nail stickers?
Soak nails in warm water or use nail polish remover for easy removal.
Are homemade nail stickers safe?
Yes, if you use nail-safe materials like sticker paper, polish, and non-toxic adhesives.
Can I customize designs for special occasions?
Absolutely. DIY stickers are perfect for holidays, birthdays, or themed parties.
Final Words
Making your own nail stickers is a fun and creative way to enhance your manicure. With a few simple materials, you can experiment with designs, colors, and textures that suit your style perfectly. DIY nail stickers not only save money but also give you endless possibilities to express yourself through nail art.
Once you master these techniques, your nails can become a canvas for creativity anytime you want.