
Printable stickers are a versatile and creative way to personalize notebooks, planners, laptops, and gifts. With printable stickers, you can design custom shapes, colors, and themes from the comfort of your home.
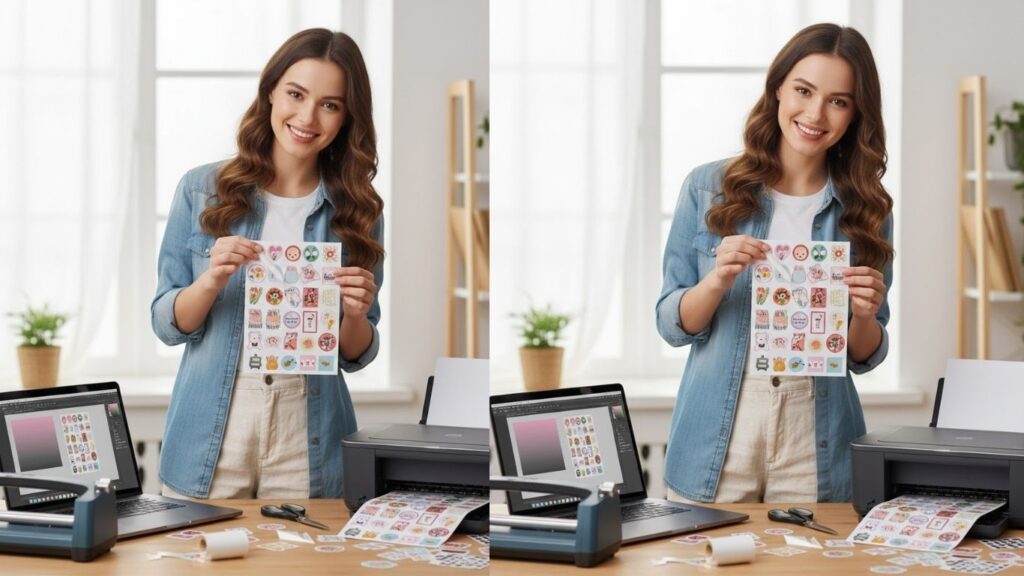
This guide explores seven methods to make printable stickers, each explained with clear, step-by-step instructions. Whether you prefer hand-drawn art or digital designs, you’ll learn how to create stickers that are vibrant, durable, and fun to use.
Essential Tools and Materials for Printable Stickers
To make professional-looking printable stickers, having the right tools and supplies is essential. Here are five useful items:
- Printable sticker paper
- Inkjet or laser printer
- Cutting tools (scissors or craft knife)
- Laminating sheets or clear adhesive film
- Digital drawing tablet
These materials ensure high-quality prints, sharp colors, and precise sticker shapes.
How to Make Printable Stickers
Printable stickers are created by designing, printing, and cutting images onto special paper. Some methods include hand-drawn designs, digital artwork, or combining both techniques. Below are seven detailed ways to make printable stickers step by step.
1. Hand-Drawn Printable Stickers
This method combines traditional drawing with printable formats.
Step-by-Step Instructions
- Sketch your design
Use pencil and paper to create your characters or icons. - Outline the drawing
Use fine-tip black pen to define details clearly. - Scan the drawing
Save as a high-resolution image file (PNG or JPEG). - Edit digitally
Adjust brightness, contrast, or resize as needed using software. - Print on sticker paper
Ensure printer settings match the sticker paper type. - Cut out designs
Use scissors or craft knife for clean edges. - Seal with laminate sheet
Protects stickers from smudges or moisture.
Hand-drawn printable stickers have a unique, personal touch perfect for journals or planners.
2. Digital Printable Stickers
Digital stickers are versatile and easy to replicate.
Step-by-Step Instructions
- Open drawing software
Use programs like Photoshop, Illustrator, or Procreate. - Sketch digitally
Draw outlines using a tablet or mouse. - Add color and shading
Use layers for easier editing and flexibility. - Resize and arrange
Prepare multiple stickers on one printable sheet. - Export as PNG or PDF
Use high-resolution settings for crisp prints. - Print on sticker paper
Select glossy or matte finishes depending on preference. - Cut and laminate
Trim carefully and seal for durability.
Digital printable stickers are ideal for multiple copies and professional finishes.
3. Watercolor Printable Stickers
Watercolor stickers offer soft and artistic designs.
Step-by-Step Instructions
- Create your watercolor painting
Use watercolor paper and paints to illustrate designs. - Scan or photograph artwork
Ensure high resolution for clear print quality. - Edit digitally
Adjust brightness, contrast, and crop as needed. - Arrange multiple stickers on one sheet
Use software for efficient layout. - Print on sticker paper
Choose high-quality printable sheets for best results. - Cut around designs
Use scissors or precision cutter. - Optional: Seal with laminate
Protects colors and prevents smudging.
Watercolor stickers are perfect for scrapbooking, journals, and delicate stationery.
4. Printable Sticker Sheets
Making full sheets allows you to produce multiple stickers at once.
Step-by-Step Instructions
- Prepare digital sticker designs
Include multiple small designs for one sheet. - Layout on printable page
Ensure proper margins and spacing between designs. - Print on sticker paper
Use high-quality printer settings for vivid colors. - Cut individual stickers
Use scissors or a paper trimmer for accuracy. - Laminate or seal
Protects stickers from moisture and wear. - Optional: Add die-cut outlines
Helps make peeling easier. - Store carefully
Keep sheets flat to avoid curling.
Sticker sheets are great for planners, gift sets, or party favors.
5. Transparent Printable Stickers
Transparent stickers give a floating effect on surfaces.
Step-by-Step Instructions
- Design stickers digitally
Set background to transparent. - Print on clear sticker paper
Use inkjet or laser printers compatible with transparent sheets. - Allow ink to dry completely
Prevents smudging during handling. - Cut around designs
Use scissors or craft knife carefully. - Optional: Apply laminate
Enhances durability and water resistance. - Test adhesion
Check placement on surface before final sticking. - Store unused stickers properly
Flat, dry storage prevents curling.
Transparent stickers are sleek and look professional on laptops, bottles, and windows.
6. Die-Cut Printable Stickers
Die-cut stickers create precise and professional edges.
Step-by-Step Instructions
- Prepare digital design
Ensure clean outlines and high resolution. - Print on sticker paper
Select glossy, matte, or transparent finish. - Cut using a cutting machine
Machines like Cricut or Silhouette create precise edges. - Weed excess paper
Remove surrounding areas to isolate the sticker. - Apply transfer tape if needed
For precise placement on surfaces. - Trim any remaining rough edges
Use scissors for final adjustments. - Store in flat, dry place
Keeps edges sharp and stickers usable.
Die-cut stickers are perfect for custom gifts, logos, or product labels.
7. Printable Planner Stickers
Designed for planners, journals, and organization.
Step-by-Step Instructions
- Choose planner layout
Decide size and shape for stickers. - Design icons, labels, and trackers
Use digital software for accuracy. - Arrange multiple stickers per page
Maximize space while maintaining margins. - Print on sticker paper
High-quality printing ensures legibility. - Cut precisely
Use craft knife or trimmer for clean edges. - Optional: Laminate
Adds durability and prevents tearing. - Apply to planner or notebook
Stick firmly without wrinkles.
Planner stickers combine creativity with functionality for organized and personalized planning.
Tips for High-Quality Printable Stickers
Use High-Resolution Images
Ensures crisp, clear stickers.
Choose the Right Sticker Paper
Glossy, matte, or clear options affect final appearance.
Laminate for Durability
Prevents fading, smudging, and tearing.
Test Print Before Large Batch
Saves paper and ink by checking color accuracy.
Common Mistakes to Avoid
Cutting Too Early
Always let ink dry to prevent smudges.
Overcrowding Sheet
Leave margins for easier cutting.
Using Low-Quality Paper
Results in peeling, curling, or dull colors.
Skipping Lamination
Reduces sticker lifespan and water resistance.
Creative Ideas for Printable Stickers
- Create themed sticker sets
- Add metallic or glitter accents digitally
- Design seasonal or holiday versions
- Make mini stickers for planners
- Combine hand-drawn art with digital coloring
Frequently Asked Questions
Can I make printable stickers without a digital device?
Yes, hand-drawn sketches can be scanned and printed.
How long do printable stickers last?
With proper lamination, they can last months to years.
Can printable stickers be waterproof?
Yes, using laminated or specialty waterproof sticker paper.
Can I sell homemade printable stickers?
Yes, but designs must be original to avoid copyright issues.
What type of printer is best for stickers?
Inkjet printers are ideal for vibrant colors; laser printers are better for sharp edges.
Final Words
Creating printable stickers is a versatile and enjoyable craft that allows endless customization. By following these seven step-by-step methods, you can design vibrant, durable, and professional-looking stickers for personal use, gifts, or small businesses.
Experiment with different designs, sizes, and materials to discover your favorite approach. Once mastered, printable stickers become a fun hobby with countless creative possibilities.