
Puffy stickers are fun, tactile, and perfect for decorating notebooks, phone cases, scrapbooks, or even party favors. Their raised, soft texture makes them more interactive than traditional flat stickers, and they can be customized in endless shapes, colors, and designs.
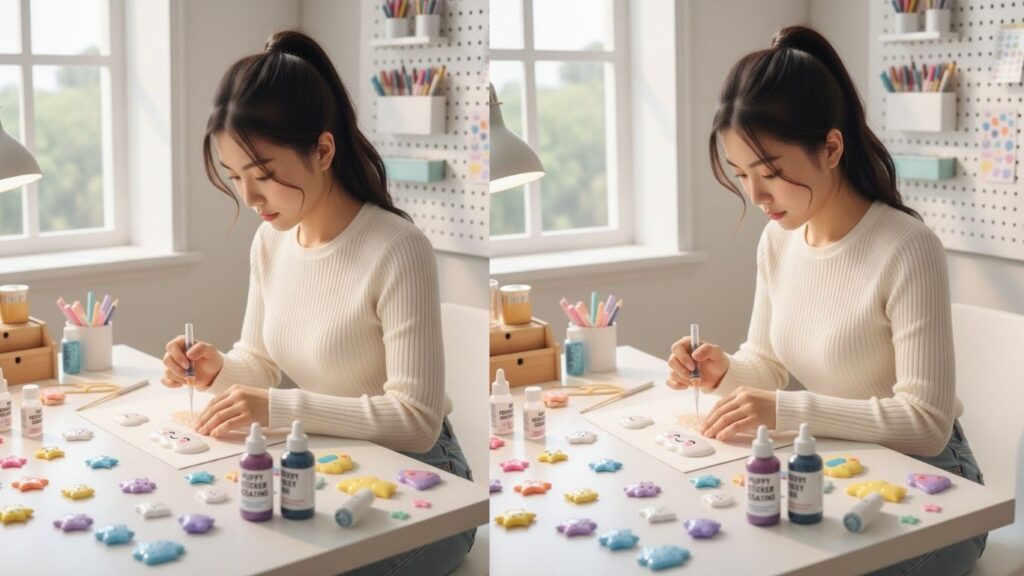
This guide provides seven detailed methods to create puffy stickers at home. Each technique is beginner-friendly and clearly explained with step-by-step instructions, helping you make vibrant and long-lasting stickers that stand out.
Essential Tools and Materials for Puffy Stickers
Before starting, gather the right supplies for smooth and professional-looking results. Here are five useful items:
- Puffy paint or dimensional fabric paint
- Vinyl or sticker sheets
- Stencils or templates
- Clear sealant spray
- Fine-tip brushes
These materials allow you to make stickers with raised textures, precise shapes, and vibrant colors.
How to Make Puffy Stickers
Creating puffy stickers involves adding volume to a base sticker using paint, resin, or foam layers. Depending on the method, you can create soft, squishy stickers, glossy raised designs, or even 3D decals. Below are seven creative methods with detailed steps.
1. Puffy Paint Stickers
This is the most beginner-friendly and popular method.
Step-by-Step Instructions
- Prepare a base surface
Use paper, cardstock, or sticker sheets. - Choose a stencil or draw freehand
Sketch the design lightly with pencil. - Shake and prepare the puffy paint
Ensure a smooth consistency for even lines. - Fill in the design
Use the paint to create raised outlines and shapes. - Allow to dry
Drying usually takes 24 hours depending on thickness. - Add details
Use different colors or layers for dimension. - Apply a protective sealant
This ensures stickers last longer and resist wear.
Puffy paint stickers are perfect for school projects and crafts.
2. Foam Layer Puffy Stickers
This method uses foam sheets for a soft, dimensional look.
Step-by-Step Instructions
- Draw or print design
Keep shapes simple for easier cutting. - Cut foam sheets
Use scissors or craft knife to match your design. - Layer multiple pieces
Glue smaller shapes on top of larger ones for volume. - Add adhesive backing
Use double-sided tape or sticker sheets. - Optional: Decorate
Paint or add glitter to enhance appearance. - Let glue dry
Ensure all layers are firmly attached. - Apply a protective coating
Optional spray or laminating sheet increases durability.
Foam stickers are soft, fun, and ideal for kids’ crafts.
3. Heat-Activated Puffy Stickers
Heat-activated paints expand when baked or heated.
Step-by-Step Instructions
- Draw design on heatproof surface
Use cardstock or sticker paper. - Fill outlines with heat-activated paint
Use a fine tip for precise control. - Preheat oven or heat tool
Follow manufacturer instructions for temperature. - Apply heat carefully
Watch paint puff up gradually. - Allow to cool
Cooled stickers retain a soft raised texture. - Cut around design
Trim using scissors or craft knife. - Optional: Seal
Protect stickers with clear sealant.
This method produces soft, inflated stickers with professional texture.
4. Resin Puffy Stickers
Resin creates glossy, hard, 3D stickers.
Step-by-Step Instructions
- Prepare printed or hand-drawn base
Use paper or vinyl sticker as a foundation. - Mix clear resin
Follow instructions for proportions and safety. - Pour resin over design
Use a toothpick to spread evenly. - Remove air bubbles
Tap gently or use heat carefully. - Allow to cure
Curing time varies between 12-24 hours. - Trim edges
Cut around stickers if necessary. - Apply adhesive backing
Make them ready to stick.
Resin stickers are glossy, durable, and water-resistant.
5. Clay Puffy Stickers
Polymer clay can be shaped into miniature sticker designs.
Step-by-Step Instructions
- Condition clay
Knead until soft and pliable. - Shape your design
Use molds or hand-shaping techniques. - Bake according to instructions
Ensure stickers are firm but retain some flexibility. - Let cool
Avoid handling until fully hardened. - Add adhesive backing
Use strong glue or self-adhesive sheets. - Paint details
Add color with acrylics if desired. - Seal with clear varnish
Protect clay and enhance longevity.
Clay stickers have a unique 3D texture and fun tactile feel.
6. Puffy Fabric Stickers
Fabric stickers offer a soft, textile effect.
Step-by-Step Instructions
- Cut fabric shapes
Choose felt, cotton, or textured material. - Layer for dimension
Add extra fabric pieces for volume. - Apply fabric glue
Attach layers securely. - Let dry completely
Ensure no movement between layers. - Add adhesive backing
Double-sided tape or fusible backing works best. - Optional: Embellish
Add embroidery or sequins for extra detail. - Seal edges
Use fabric paint or glue to prevent fraying.
Fabric stickers are soft, lightweight, and ideal for scrapbooking or clothing.
7. Puffy Sticker Using Hot Glue
Hot glue can create quick raised designs.
Step-by-Step Instructions
- Prepare a sticker base
Use paper, cardstock, or vinyl. - Sketch your design lightly
Use pencil or marker. - Apply hot glue carefully
Outline design or fill shapes with glue. - Let glue cool slightly
It remains slightly malleable for shaping. - Add color
Paint or markers can be used on cooled glue. - Allow full drying
Ensure glue is hard and set. - Add protective layer
Optional clear coating protects sticker.
Hot glue stickers are easy, fast, and provide immediate raised effect.
Tips for Perfect Puffy Stickers
Use Consistent Pressure
For paint or glue, even application ensures smooth results.
Allow Adequate Drying Time
Rushing can flatten or distort raised designs.
Layer for Dimension
Multiple layers create more depth and visual appeal.
Protect Stickers
Use sealant to increase durability and prevent color fading.
Common Mistakes to Avoid
Applying Too Much Medium
Excess paint or glue can cause uneven puffiness.
Not Letting Layers Dry
Wet layers may mix or collapse.
Cutting Too Early
Trimming before fully dry can distort edges.
Skipping Sealant
Unprotected stickers can peel or fade quickly.
Creative Ideas for Puffy Stickers
- Create themed sticker sets
- Add glitter, beads, or metallic accents
- Use seasonal or holiday designs
- Make mini versions for journals
- Combine multiple materials for unique texture
Frequently Asked Questions
Can I make puffy stickers without paint?
Yes, foam, clay, fabric, or hot glue can create raised stickers without paint.
How long do puffy stickers last?
Properly sealed stickers can last months to years, depending on material.
Can I make waterproof puffy stickers?
Yes, using resin, vinyl, or laminated puffy paint ensures water resistance.
Can I sell homemade puffy stickers?
Yes, as long as designs are original and do not infringe copyrights.
How do I stick puffy stickers on uneven surfaces?
Use flexible adhesive or repositionable glue for better adherence.
Final Words
Creating puffy stickers is a fun and rewarding craft that allows endless creativity. By following these seven step-by-step methods, you can produce stickers that are vibrant, tactile, and long-lasting.
Experiment with different materials, textures, and techniques to find your favorite style. Once mastered, making puffy stickers becomes an enjoyable hobby, perfect for personal projects, gifts, or even starting a small craft business.