
Rendering hair can transform a simple drawing into a lifelike, expressive piece of art. Whether you work digitally or traditionally, understanding texture, light, flow, and depth is essential for creating believable hair.
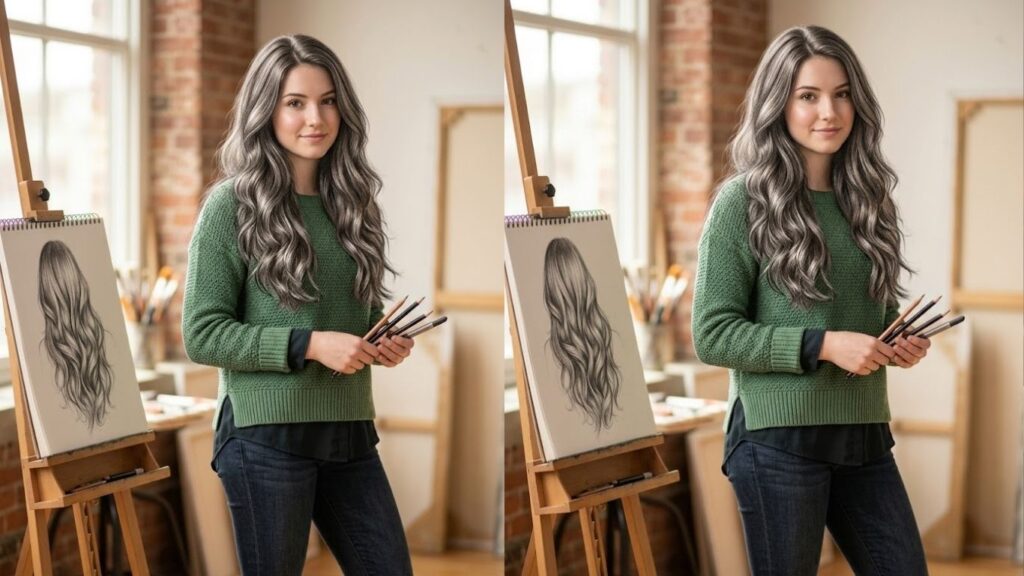
In this complete guide, you’ll learn practical techniques, structured steps, and seven detailed methods to help you render hair realistically and confidently in any art style.
Essential Tools for Rendering Hair
Before starting, having the right tools makes the process smoother and more enjoyable. Quality materials improve blending, detailing, and overall realism.
5 Items to Buy
- Graphite pencil set (HB–8B)
- Mechanical pencil
- Blending stumps
- Kneaded eraser
- Drawing tablet with stylus
Understanding Hair Structure and Flow
Hair is not drawn strand by strand at first. It should be understood as grouped forms that follow gravity, movement, and head shape.
Hair Grows in Sections
Hair originates from the scalp and follows direction. It falls in clumps, not individual strands. Observing reference images helps identify:
- Root direction
- Natural parting
- Thickness variations
- Curl pattern
Light and Shadow Matter
Hair reflects light differently based on texture:
- Straight hair shows smooth highlights
- Curly hair shows broken highlights
- Dark hair reflects light subtly
- Light hair reflects more strongly
Understanding these fundamentals builds a strong foundation.
How to Render Hair
Rendering hair involves observing shapes, building layers, and gradually refining detail. Instead of drawing every strand immediately, focus on large shapes first, then mid-tones, then highlights and fine strands.
Below are seven detailed methods that cover different hair types and artistic approaches.
1. Basic Layering Method for Straight Hair
This method works best for beginners learning realism.
Step 1: Outline the Hair Shape
Lightly sketch the outer silhouette of the hairstyle. Focus on volume and overall flow rather than detail.
Step 2: Indicate Hair Direction
Draw light directional lines showing how the hair falls from the roots to the ends.
Step 3: Block in Base Tone
Using a mid-range pencil (HB or 2B), lightly shade the entire hair mass evenly.
Step 4: Identify Dark Sections
Add darker tones where hair overlaps or bends. Use 4B or 6B pencils for depth.
Step 5: Blend Smoothly
Use a blending stump to soften transitions between tones. Blend in the direction of hair flow.
Step 6: Add Highlight Areas
Use a kneaded eraser to lift graphite where light hits strongest.
Step 7: Add Fine Strands
With a sharp pencil, draw a few individual strands for realism. Avoid overdoing it.
This structured layering creates smooth, realistic straight hair.
2. Rendering Curly Hair Realistically
Curly hair requires understanding volume and curl pattern.
Step 1: Draw Curl Clumps
Sketch loose spiral shapes instead of individual strands.
Step 2: Map Light and Shadow
Identify which side of each curl receives light.
Step 3: Shade Inside Curls
Darken the inner curves of curls to create depth.
Step 4: Build Texture Gradually
Use short curved strokes following the curl direction.
Step 5: Deepen Overlapping Areas
Add darker shading where curls overlap.
Step 6: Blend Carefully
Avoid over-blending; curls need visible texture.
Step 7: Add Select Highlights
Lift highlights along the outer curve of curls.
Curly hair looks best when treated as structured forms.
3. Cross-Hatching Technique for Textured Hair
This method works well in sketch-style illustrations.
Step 1: Outline Hair Shape
Define silhouette clearly.
Step 2: Add Directional Lines
Follow hair flow with long strokes.
Step 3: Layer Cross-Hatching
Add intersecting lines for shadow depth.
Step 4: Increase Density in Dark Areas
Add more lines closer together.
Step 5: Keep Highlights Clean
Avoid shading highlight zones.
Step 6: Refine Edges
Sharpen edges near light areas.
Step 7: Add Flyaway Strands
Light strokes create realism.
Cross-hatching adds texture without heavy blending.
4. Digital Rendering with Soft Brushes
For digital artists, layering is key.
Step 1: Create Base Silhouette
Fill in the hair shape with a flat base color.
Step 2: Add Shadow Layer
On a new layer, apply darker tones where needed.
Step 3: Blend with Soft Brush
Use low opacity for smooth transitions.
Step 4: Paint Highlight Streaks
Add lighter strokes following hair flow.
Step 5: Use Smudge Tool Sparingly
Blend gently to maintain texture.
Step 6: Add Strand Details
Switch to a fine brush for detail lines.
Step 7: Adjust Contrast
Increase contrast for realism.
Digital rendering allows flexibility and correction.
5. Rendering Wavy Hair with Volume
Wavy hair combines straight and curly elements.
Step 1: Sketch Wave Pattern
Draw soft S-shaped curves.
Step 2: Add Base Tone
Shade lightly overall.
Step 3: Emphasize Wave Depth
Darken the underside of waves.
Step 4: Blend Along Flow
Always blend following wave direction.
Step 5: Add Mid-Tone Layers
Gradually build dimension.
Step 6: Lift Highlights
Use eraser to brighten top curves.
Step 7: Detail Ends
Refine tips for realism.
Wavy hair should appear soft yet structured.
6. High-Contrast Dramatic Hair Rendering
This technique creates bold visual impact.
Step 1: Strong Outline
Define clear hair silhouette.
Step 2: Identify Major Shadows
Mark darkest regions early.
Step 3: Fill Dark Areas
Use 6B–8B pencils.
Step 4: Leave Bright Highlights
Keep paper white where light hits.
Step 5: Blend Edges
Soften shadow transitions.
Step 6: Add Sharp Strands
Contrast sharp strands against dark background.
Step 7: Refine Contrast
Deepen blacks for drama.
High contrast works well for portraits.
7. Rendering Braided or Structured Hair
Complex styles require patience.
Step 1: Sketch Structure
Draw braid pattern lightly.
Step 2: Separate Sections
Identify overlapping parts.
Step 3: Shade Each Section
Add gradient shading to each fold.
Step 4: Deepen Overlaps
Add darker values where sections cross.
Step 5: Blend Gently
Maintain form clarity.
Step 6: Add Texture Lines
Follow braid direction.
Step 7: Highlight Raised Areas
Lift graphite for shine.
This method enhances intricate hairstyles.
Common Mistakes to Avoid
Drawing Every Strand First
Start with large shapes before details.
Ignoring Light Source
Always define where light comes from.
Over-Blending
Too much blending removes texture.
Flat Shading
Layer tones gradually for depth.
Practice Exercises for Improvement
- Study reference images daily.
- Practice shading spheres for light understanding.
- Draw hair clumps instead of strands.
- Experiment with different pencil grades.
- Try rendering different hair textures weekly.
Consistency builds skill.
Understanding Light Reflection in Hair
Hair reflects light differently based on texture and color. Smooth straight hair reflects in long streaks. Curly hair reflects in broken highlights. Dark hair has subtle highlights, while blonde hair shows stronger shine.
Observing these reflections improves realism significantly.
FAQ
How long does it take to learn hair rendering?
With regular practice, noticeable improvement can happen within a few weeks.
Should I draw every strand of hair?
No. Focus on hair groups and texture, adding only a few detailed strands.
What pencil is best for dark hair?
6B to 8B pencils help achieve deep shadows.
Is blending necessary?
Yes, but controlled blending is key to preserving texture.
Can beginners render realistic hair?
Absolutely. Start with basic layering techniques and practice consistently.
Final Words
Rendering hair becomes easier when you understand structure, light, and texture. By focusing on shapes first and refining gradually, you can create realistic, expressive hairstyles in your artwork.
Practice each method step by step, observe real-life references, and build confidence over time. With patience and dedication, your hair rendering skills will continue to grow beautifully.