
Short curly hair can be one of the most striking and beautiful hair types when styled with purpose and care. With techniques that enhance texture, maximize volume, and reduce frizz, your curls can look vibrant and expressive every day.
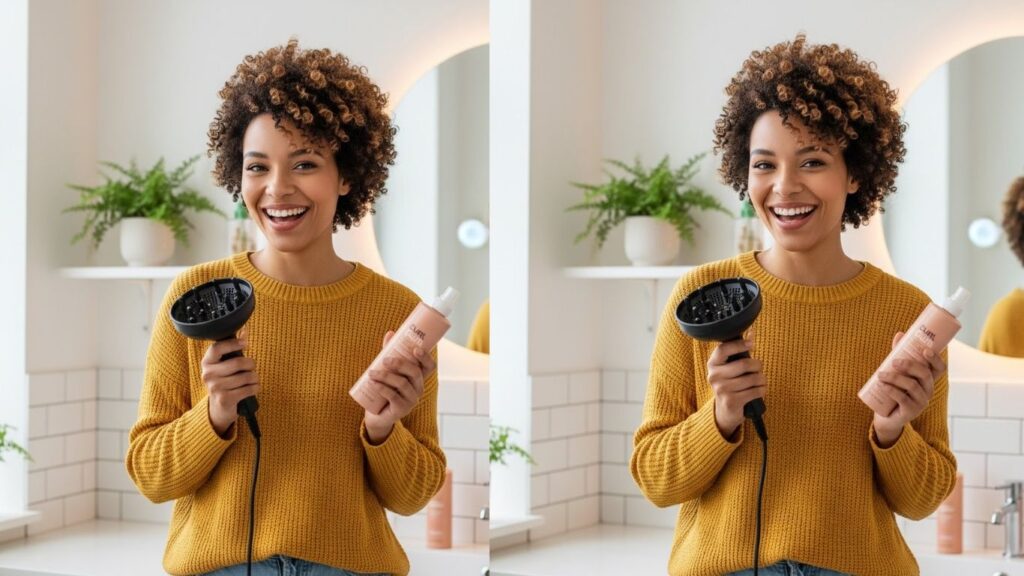
This guide will walk you through practical styles, step-by-step routines, and helpful tips that are easy to follow and perfect for anyone with short curly hair.
Essential Products for Short Curly Hair
After cleansing and conditioning, the right products make the biggest difference in curl definition, softness, and longevity of style.
Recommended Products
- Curl defining cream
- Lightweight leave-in conditioner
- Flexible hold styling gel
- Diffuser for your hair dryer
- Wide-tooth detangling comb
How to Style Short Curly Hair
Short curly hair has unique characteristics — it shrinks, springs up, and responds differently to products than longer curls. Understanding how moisture, styling tools, and techniques work with your texture is key to styling success.
Below are seven distinct styling methods designed to help you achieve beautiful, lasting curl looks. Each method includes clear and thorough numbered steps to ensure you can replicate the styles easily at home.
1. Wash and Go Natural Curls
The classic wash and go style embraces your natural curl pattern while ensuring definition and bounce.
Step 1: Soften and Cleanse
Begin by wetting your hair thoroughly with lukewarm water. Apply a sulfate-free shampoo designed for curls to cleanse without stripping natural oils. Gently massage the scalp with your fingertips to lift dirt and buildup.
Step 2: Deep Condition
Use a hydrating curl conditioner and comb it through your hair with a wide-tooth comb. This helps detangle and evenly distribute moisture. Leave the conditioner in for several minutes before rinsing it out with cool water to seal the hair cuticle.
Step 3: Apply Leave-In
With damp hair, apply a leave-in conditioner from root to ends. This adds a moisture base that helps your curls stay soft and defined.
Step 4: Add Curl Cream
Take a small amount of curl defining cream and scrunch it into your hair. Focus on mid-length to ends, where curls need the most definition. Work in sections for thorough coverage.
Step 5: Add Lightweight Gel
For hold and minimized frizz, apply a small amount of lightweight styling gel. Use your hands to evenly distribute it, still scrunching upward to enhance curl clumping.
Step 6: Dry Gently
Use a diffuser on low heat to dry your hair. Tilt your head downward and diffuse in sections to lift the roots and avoid flattening the curls. If you prefer air drying, allow your hair to dry completely before touching.
Step 7: Scrunch Out the Cast
Once dry, your hair may feel stiff if gel was used. Gently scrunch the hair to break the gel cast and reveal soft, defined curls that move naturally.
This style works for almost all curl patterns and accentuates your natural texture while keeping frizz under control.
2. Side-Parted Voluminous Curls
A side part can instantly transform your look, adding structure and frame to your face while giving your curls more movement and body.
Step 1: Begin with Damp Hair
Start on damp, freshly cleansed hair. Comb through with a wide-tooth comb to ensure there are no tangles.
Step 2: Create a Deep Side Part
Decide which side flatters your face most and create a deep side part. Use your fingers or a comb to make a clean line.
Step 3: Apply Leave-In Conditioner
Apply a generous amount of leave-in conditioner to keep curls flexible and moisturized.
Step 4: Curl Cream Application
Work curl defining cream evenly through your hair, section by section. Scrunch upward to encourage curl formation.
Step 5: Enhance Volume
To add more volume at the roots, flip your hair forward and gently dry with your diffuser. Focus more on the roots than the ends.
Step 6: Finger Coil the Front
For extra definition around your face, take small sections near the front and finger coil them. This creates defined curls that nicely frame your features.
Step 7: Final Fluff
Once dry, use your fingers to lift hair at the roots and create extra body. Avoid combing, as this can cause frizz.
This style is particularly flattering for individuals who want a contemporary, sculpted curl look with a bit of personality.
3. Curly Pixie Cut with Lift
Short pixie curls can be dynamic and bold when styled to showcase height and movement.
Step 1: Lightly Towel Dry
After a gentle wash, use a soft towel or cotton T-shirt to squeeze excess water from your hair. Avoid rubbing, which can create frizz.
Step 2: Root Volumizing Mousse
Apply a small amount of volumizing mousse at the roots. This helps lift curls and create a foundation of volume.
Step 3: Scrunch Hair
With your hands, scrunch your hair from ends toward the scalp to begin forming curl clumps.
Step 4: Diffuse Upside Down
Flip your head forward and diffuse your hair on low heat and speed. This technique encourages lift at the crown and gives pixie cuts a fuller silhouette.
Step 5: Shape with Fingers
Once hair is dry, use your fingers to shape curls, particularly around the hairline and crown. Lift and arrange curls until they sit just how you want them.
Step 6: Tame Flyaways
Use a small amount of gel or curl cream on finger tips to smooth any stray hairs while maintaining texture.
Step 7: Light Hold Spray
A flexible hold spray can help maintain your style without stiffness.
This approach creates an energetic and stylish look that keeps short curls lively and defined.
4. Half-Up Curly Style
The half-up style is versatile and perfect for casual outings or semi-formal occasions. It keeps hair off your face while showing off curl shape and movement.
Step 1: Revive Curls
Lightly mist your hair with water or a curl refresher spray to reactivate curl pattern from previous styling.
Step 2: Add Curl Cream
Apply a small amount of curl cream throughout to freshen and define curls.
Step 3: Section the Top Half
With your fingers, gather hair from the temples up and toward the crown. Leave the bottom layer of curls free.
Step 4: Secure with Clip or Band
Use a small hair clip, claw clip, or elastic band to secure the top section. Keep it slightly loose to avoid flattening curls.
Step 5: Adjust Bottom Layer
Gently fluff the curls left down to create balance in shape and volume.
Step 6: Smooth Edges
If needed, smooth any stray hairs at your hairline with a tiny amount of gel.
Step 7: Final Hold
Use a light mist of flexible spray to set the style.
This half-up look is relaxed yet intentional, making it perfect for everyday wear.
5. Finger Coils for Intensive Definition
Finger coils create distinct, uniform curls that look polished and last several days with proper maintenance.
Step 1: Dampen Hair
Work on hair that is fully saturated with water or a water-based spray.
Step 2: Apply Leave-In
Use a generous amount of leave-in conditioner to keep curls hydrated and manageable.
Step 3: Use Styling Cream
Work curl cream through your hair to provide slip — this makes finger coiling smoother and quicker.
Step 4: Section Hair
Divide your hair into small sections. The smaller the sections, the more defined the coils.
Step 5: Wrap Around Finger
Take one section at a time and wrap hair around your finger from root to tip, then release. Repeat this for each section.
Step 6: Allow to Dry Fully
Air dry or diffuse gently on low settings. Do not touch the coils until completely dry.
Step 7: Separate If Desired
Once dry, you may gently separate coils for a softer, fuller look.
This method is time-intensive but yields highly defined curls with long-lasting shape.
6. Curly Faux Hawk Style
A curly faux hawk provides extra height and drama while keeping curls intact and expressive.
Step 1: Start With Curl Cream
With damp hair, apply curl cream focusing on the center section of your head.
Step 2: Section Sides
Separate the sides from the middle strip of hair. You can pin or lightly slick sides with gel if needed.
Step 3: Secure Sides
Using small bobby pins or gentle clips, secure the side sections closer to your head.
(continued due to length)
FAQ
How Often Should I Wash Short Curly Hair?
Curly hair tends to be drier than straight hair. Washing two to three times a week helps preserve natural oils, preventing dryness and frizz.
Can I Style Short Curls Without Heat?
Yes! Many techniques such as air drying with curl cream or using finger coils create gorgeous results without heat damage.
How Do I Prevent Frizz in Humid Weather?
Moisture-locking products, light gels, and avoiding touching your hair while drying help reduce frizz.
What Is the Best Way to Add Volume to Short Curls?
Diffusing upside down or lifting at the roots with your fingers while drying increases volume.
How Do I Maintain My Style Overnight?
Use a satin pillowcase or a satin bonnet to protect curls from friction and flattening.
Final Words
Styling short curly hair is both an art and a science — embracing your curl pattern with intentional techniques and proper products will help every style look its best. With care, patience, and a little practice, your curls can be soft, defined, and full of life each day.
Whether you want natural bounce, structured coils, or a bold curly statement, these styles give you the tools to shine. Keep exploring, keep experimenting, and enjoy your beautiful short curly hair.