
A hoodie is one of the most comfortable, versatile, and stylish garments in anyone’s wardrobe. Whether you wear it for workouts, lounging, or layering, a hoodie always feels like a cozy favorite. But did you know you can easily make one yourself? Sewing your own hoodie allows you to choose the fabric, fit, and design that perfectly matches your taste.
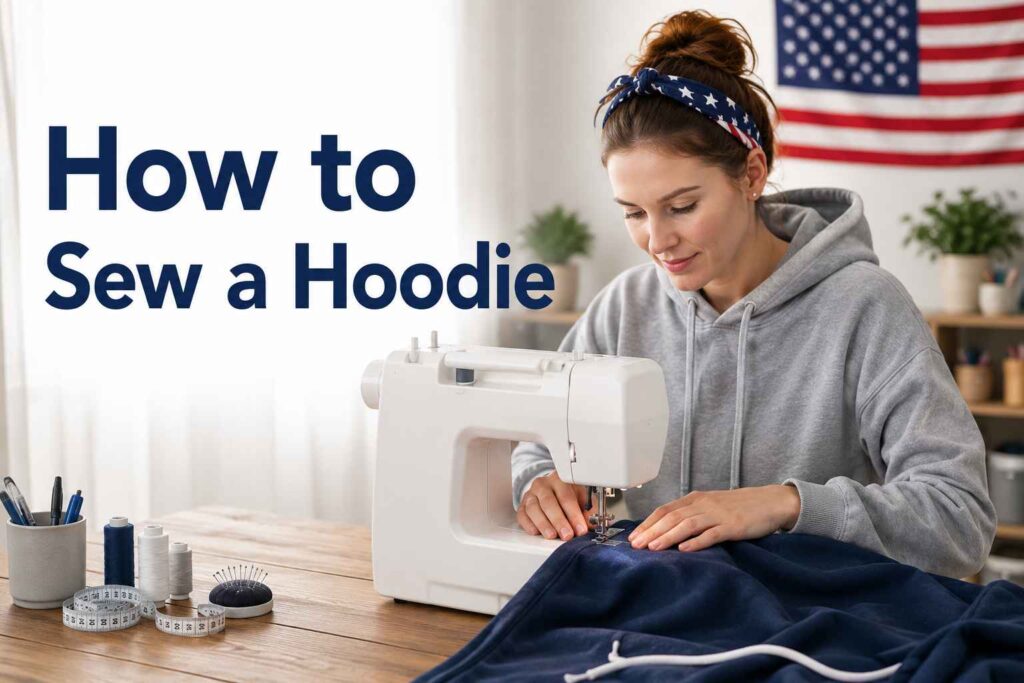
If you’re new to sewing, don’t worry — this comprehensive guide will take you through every step of making a hoodie, from selecting materials and cutting patterns to sewing seams and attaching the hood. You’ll also learn helpful tips, techniques, and finishing ideas to make your homemade hoodie look just as good as a store-bought one.
Let’s get started on creating your very own hoodie masterpiece!
Why Sewing a Hoodie Is a Great Beginner Project
Hoodies are one of the best beginner-friendly sewing projects. While they look complex, the actual construction is quite simple once you understand the basic steps. A hoodie consists mainly of a front piece, back piece, sleeves, hood, and waistband — and most of it involves straight or slightly curved seams.
Reasons to Make Your Own Hoodie
- Personalization: Choose your favorite fabrics, colors, and designs.
- Fit Control: Adjust measurements for a snug or relaxed fit.
- Skill Building: Learn essential sewing techniques like hemming, attaching sleeves, and inserting hoods.
- Sustainability: Reuse or repurpose fabric for an eco-friendly approach.
- Cost-Effective: Handmade hoodies can cost less than store-bought versions.
Sewing a hoodie helps you practice the foundations of garment making — making it a perfect project to build your confidence.
Understanding the Basic Hoodie Structure
Before you start sewing, it’s helpful to understand how a hoodie is built.
Main Parts of a Hoodie
- Front Piece: The main body panel that includes the neckline and front hem.
- Back Piece: The larger panel forming the back of the hoodie.
- Sleeves: Usually two identical pieces attached to the armholes.
- Hood: Two pieces sewn together and attached around the neckline.
- Cuffs and Hem Band: Stretchy pieces that finish the sleeves and bottom hem.
- Pocket: Commonly a front kangaroo pocket or side-seam pockets.
Each of these pieces is easy to sew once you know how to align and join them.
Choosing the Right Fabric
The choice of fabric is key to making your hoodie both comfortable and stylish.
Best Fabric Options
- Fleece: Soft, warm, and easy to sew — perfect for cozy hoodies.
- French Terry: Lightweight and breathable, ideal for year-round wear.
- Sweatshirt Knit: The classic choice for hoodies; thick yet flexible.
- Cotton Jersey: Great for lighter hoodies or layering pieces.
- Velour or Minky: For luxurious, plush textures.
- Stretch Fabric: A small amount of spandex gives extra comfort and movement.
Lining Options
You can add a lining to your hood or entire hoodie using materials like cotton jersey or flannel for extra softness and warmth.
Tools and Materials You’ll Need
Before starting, gather all your supplies in one place.
Tools
- Sewing machine
- Fabric scissors or rotary cutter
- Measuring tape
- Pins or sewing clips
- Seam ripper
- Tailor’s chalk or washable marker
- Iron and ironing board
Materials
- Hoodie fabric (1.5 to 2.5 yards depending on size)
- Matching thread
- Rib knit fabric for cuffs and waistband
- Zipper (optional, if making a zip-up hoodie)
- Hoodie pattern (store-bought or self-drafted)
- Safety pin or loop turner (for drawstrings)
- Drawstring cord (optional)
Taking Accurate Measurements
Proper measurements ensure your hoodie fits comfortably.
Key Measurements to Take
- Chest/Bust: Measure around the fullest part.
- Waist: Around the natural waistline.
- Hips: Around the widest part of the hips.
- Shoulder Width: From shoulder tip to shoulder tip.
- Sleeve Length: From shoulder seam to wrist.
- Body Length: From the top of your shoulder to the desired hemline.
Compare your measurements with your chosen pattern size to make necessary adjustments.
Choosing a Hoodie Pattern
You can use a commercial pattern or make your own by tracing an existing hoodie that fits well. For beginners, look for patterns labeled easy or beginner-friendly.
If you’re drafting your own pattern:
- Lay your favorite hoodie flat.
- Trace around each section (front, back, sleeves, hood, cuffs).
- Add seam allowances (usually ½ inch).
Preparing the Fabric
Before cutting, always pre-treat your fabric to prevent shrinkage and distortion later.
Preparation Steps
- Pre-wash and dry: Follow the fabric’s care instructions.
- Iron the fabric: Smooth out wrinkles for precise cutting.
- Lay out flat: Fold the fabric right sides together.
- Position the pattern pieces: Align grainlines and pin securely.
Cutting the Fabric
Once your fabric is ready:
- Pin the pattern pieces to your fabric.
- Cut smoothly using fabric scissors or a rotary cutter.
- Mark all notches, darts, and placement lines.
- Cut rib knit pieces for cuffs, hem band, and hood edges if needed.
Make sure all pieces are labeled — front, back, sleeves, hood, and pocket.
Step-by-Step Sewing Instructions
Now it’s time to start sewing your hoodie!
Step 1: Sew the Shoulder Seams
- Place the front and back pieces right sides together.
- Pin the shoulder seams.
- Sew with a straight or stretch stitch.
- Press seams open or toward the back.
Step 2: Attach the Sleeves
- Lay the main body flat with armholes open.
- Match the sleeve center to the shoulder seam.
- Pin around the armhole, right sides together.
- Sew using a stretch stitch or zigzag.
- Repeat for the other sleeve.
Step 3: Sew the Side Seams
- Fold the hoodie with right sides together.
- Pin from the wrist down to the hemline.
- Stitch along the seam in one continuous line.
- Press seams flat.
This completes the main body and sleeves of your hoodie.
Step 4: Construct the Hood
The hood gives your garment its signature look.
- Place both hood pieces right sides together.
- Sew along the curved back seam.
- Fold the front edge of the hood (the face opening) by 1 inch and topstitch.
- If adding a drawstring, leave small gaps for the cord to pass through.
- Optional: Line the hood by repeating these steps with lining fabric and sewing the two together.
Step 5: Attach the Hood to the Body
- Pin the hood to the neckline, right sides together.
- Match center back of hood to the back neckline.
- Sew around carefully, easing fabric evenly.
- Press the seam downward.
Now your hoodie truly looks like a hoodie!
Step 6: Add the Cuffs and Hem Band
Cuffs and hem bands provide a professional finish and a comfortable fit.
- Fold cuff and waistband pieces in half lengthwise, wrong sides together.
- Sew the short ends together to make loops.
- Pin the cuffs to the sleeve ends, right sides together.
- Stretch slightly as you sew to fit evenly.
- Attach the waistband to the bottom hem in the same way.
Step 7: Add the Pocket (Optional)
Most hoodies feature a front kangaroo pocket or side pockets.
For a Kangaroo Pocket
- Cut the pocket piece according to the pattern.
- Fold and hem the top edge.
- Turn under the side and bottom edges and press.
- Pin the pocket to the hoodie front.
- Sew close to the edges for a neat finish.
For Side Pockets
Sew them into the side seams before attaching the sleeves.
Step 8: Finishing the Hoodie
- Trim loose threads.
- Press all seams carefully.
- Topstitch around the hood and hems for extra strength.
- If using a drawstring, thread it through the hood opening with a safety pin.
Your handmade hoodie is now ready to wear!
Customization Ideas
Once you master the basic hoodie, try adding your own creative touches.
Color Blocking
Use two or more fabrics for a trendy, sporty look.
Embroidery
Personalize your hoodie with initials or motifs.
Zipper Front
Turn your pullover hoodie into a zip-up version by adding a center front zipper.
Appliqué or Prints
Add fabric designs, iron-on patches, or screen prints for personality.
Lining
Line the hood or entire hoodie for extra warmth.
Common Mistakes and How to Fix Them
Even with careful sewing, mistakes happen. Here’s how to solve common problems:
Uneven Hood Attachment
Re-pin and sew slowly, ensuring the neckline and hood edges match perfectly.
Wavy Seams
Reduce sewing machine tension and avoid stretching knit fabrics too much.
Tight Cuffs
Use a stretch stitch and ensure rib knit has enough elasticity.
Crooked Pocket
Mark the pocket placement before sewing and double-check alignment.
Useful Tips for a Professional Finish
- Use a stretch or ballpoint needle to prevent skipped stitches.
- Press seams after every step.
- Use a walking foot to handle thick knit fabrics evenly.
- Test your stitch tension on a fabric scrap before starting.
- Sew slowly around curved seams, especially the hood area.
Caring for Your Handmade Hoodie
To keep your hoodie looking fresh and lasting long:
- Wash in cold water to prevent shrinkage.
- Avoid bleach or harsh detergents.
- Turn inside out before washing to protect seams.
- Hang dry or tumble dry on low heat.
- Iron gently if needed using a low setting.
Frequently Asked Questions
How much fabric do I need to sew a hoodie?
You’ll need about 1.5 to 2.5 yards of fabric, depending on size and style.
What kind of fabric is best for hoodies?
Fleece, French terry, or sweatshirt knit are ideal because they’re comfortable and easy to sew.
Can I make a hoodie without a sewing machine?
You can sew by hand, but it’s more time-consuming. A sewing machine ensures stronger seams and stretch handling.
How long does it take to sew a hoodie?
For beginners, it may take 4–6 hours, depending on complexity and detailing.
Do I need a special needle for sewing knit fabric?
Yes, use a ballpoint or stretch needle to prevent snags and skipped stitches.
Final Words
Sewing a hoodie is a fun and rewarding project that combines comfort, creativity, and personal expression. Once you’ve made your first one, you’ll realize how simple and enjoyable it can be to create your own wardrobe staples. The process teaches essential sewing skills — from cutting patterns to constructing sleeves and hoods — all while producing something practical you’ll love to wear.
Whether you choose a classic pullover, a trendy cropped version, or a full-zip style, the possibilities are endless. Customize it with colors, prints, or embroidery to make it uniquely yours.
So gather your fabric, fire up your sewing machine, and start creating your very own handmade hoodie today — one that’s cozy, stylish, and completely one of a kind.