
Sewing gloves may seem like a challenging project, but it’s one of the most rewarding and creative sewing experiences you can have. Gloves are stylish, functional, and timeless — offering warmth, comfort, and elegance in every stitch. Whether you want to make cozy fleece gloves for winter, lightweight cotton gloves for gardening, or luxurious leather gloves for fashion, learning how to sew them yourself gives you full control over the design, fit, and finish.
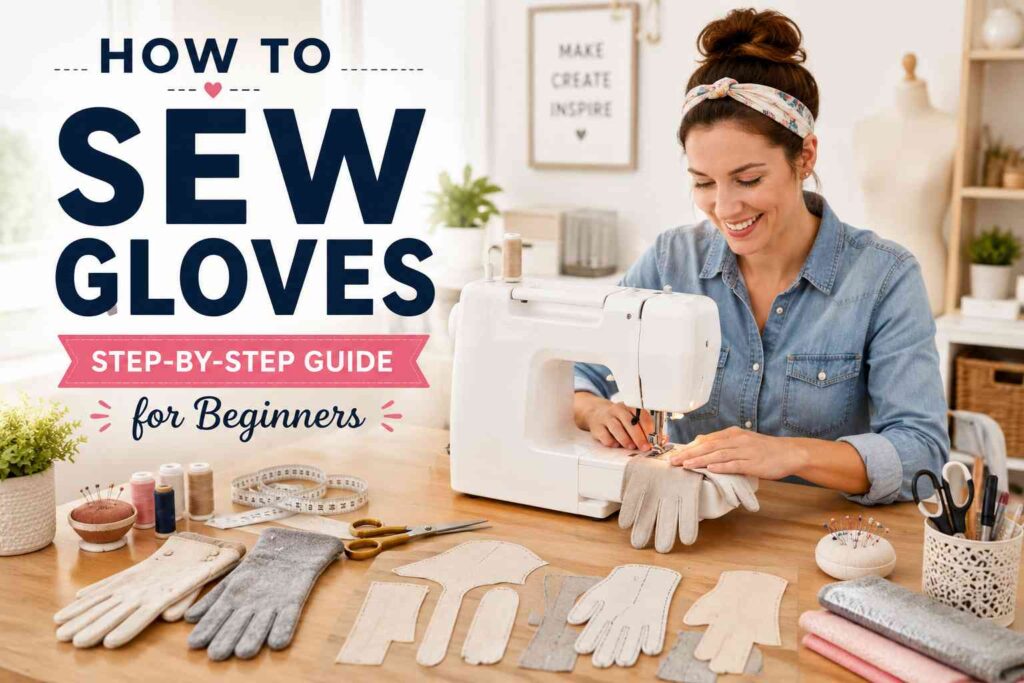
This detailed guide will take you step-by-step through the process of sewing your own gloves — from choosing the right fabric and taking measurements to cutting, stitching, and finishing with precision. It’s designed for beginners, so even if you’re new to sewing, you’ll be able to follow along easily.
Let’s dive in and learn how to make a perfect pair of handmade gloves that look beautiful and fit like a dream.
Why Learn to Sew Your Own Gloves
Making gloves at home is both fun and practical. Once you learn the process, you can customize pairs for every occasion — from elegant evening gloves to rugged work gloves.
Benefits of Sewing Gloves Yourself
- Perfect Fit: You can adjust the pattern to your hand size for ultimate comfort.
- Customization: Choose fabrics, colors, and lengths that match your style.
- Skill Building: Glove sewing helps you practice precision and small-scale stitching.
- Cost Efficiency: Handmade gloves can be more affordable than designer ones.
- Eco-Friendly: You can upcycle fabric scraps or old garments into beautiful gloves.
Creating gloves teaches you patience and accuracy — skills that improve your overall sewing confidence.
Understanding the Structure of Gloves
Before you begin sewing, it’s important to understand how gloves are constructed. A glove may look simple, but it consists of several small, precise parts.
Basic Parts of a Glove
- Palm Piece: The main front part that covers your palm.
- Back Piece: The top portion that covers the back of your hand.
- Thumb Piece: A separate section that allows free thumb movement.
- Fourchettes: Narrow strips between the fingers for flexibility.
- Cuffs or Hem: The finished edge at the wrist area.
Each piece plays a key role in ensuring your glove fits snugly and allows full movement.
Choosing the Right Fabric
Fabric choice determines how comfortable, flexible, and durable your gloves will be.
Best Fabrics for Different Glove Types
- Cotton or Jersey: Soft, breathable, and ideal for lightweight gloves.
- Fleece: Perfect for cozy winter gloves that retain warmth.
- Leather or Faux Leather: Stylish and durable for fashion or driving gloves.
- Wool or Felt: Insulating and perfect for cold weather.
- Spandex or Lycra: Stretchy materials ideal for snug-fitting gloves.
- Denim or Canvas: Durable fabrics for work or gardening gloves.
Lining Fabric
If you want to make your gloves warmer or smoother inside, use a thin lining like satin, silk, or fleece.
Tools and Materials You’ll Need
Before sewing, gather all your essential tools and materials.
Tools
- Sewing machine (or needle for hand sewing)
- Fabric scissors or rotary cutter
- Pins or clips
- Tailor’s chalk or washable fabric marker
- Measuring tape or ruler
- Seam ripper
- Iron and ironing board
Materials
- Chosen glove fabric (around ½ yard is enough for most sizes)
- Matching thread
- Glove pattern (ready-made or self-drafted)
- Optional: Elastic, button, or ribbon for wrist closure
Taking Accurate Hand Measurements
Getting the fit right starts with accurate measurements. Gloves that are too tight or loose won’t feel comfortable.
Key Measurements to Take
- Hand Circumference: Measure around the widest part of your palm (excluding thumb).
- Palm Length: From the base of your palm to the tip of your middle finger.
- Wrist Circumference: Around your wrist, where the glove will end.
- Thumb Length: From the base of your thumb to the tip.
- Finger Lengths: Measure each finger individually.
Write down your measurements clearly. These will guide your pattern adjustments.
Creating or Choosing a Glove Pattern
You can find beginner glove patterns or make your own.
To Make Your Own Pattern:
- Lay your hand flat on a sheet of paper with fingers slightly apart.
- Trace around your hand loosely.
- Add ¼ inch seam allowance around the tracing.
- Mark the thumb base curve and cut it separately.
- Draw narrow strips (fourchettes) to go between the fingers.
Label each part and ensure both hands are symmetrical by flipping the pattern.
Preparing the Fabric
Proper preparation ensures smooth sewing later.
Preparation Steps
- Pre-wash and dry: Prevents fabric shrinkage after sewing.
- Iron the fabric: Removes wrinkles for accurate cutting.
- Lay out the fabric: Fold it with right sides facing each other.
- Pin the pattern: Securely attach the paper pieces to the fabric.
Make sure the fabric grain runs vertically for natural glove stretch.
Cutting the Fabric
Cut each piece carefully following your pattern lines. You’ll need:
- 2 palm pieces
- 2 back pieces
- 2 thumb pieces
- 8 fourchettes (2 for each finger)
Mark all notches, finger tips, and thumb placement points with chalk. This helps you align pieces accurately later.
Step-by-Step Sewing Instructions
Now that all your pieces are ready, it’s time to sew your gloves.
Step 1: Sew the Thumb Piece
- Place the thumb pieces right sides together.
- Pin along the curved edge.
- Sew slowly around the curve using a small stitch length.
- Trim excess seam allowance and notch around curves.
- Turn the thumb right side out and press lightly.
Repeat for the other hand.
Step 2: Attach the Thumb to the Palm
- Cut the thumb opening on the palm piece (follow your pattern marks).
- Pin the thumb piece into the opening, right sides together.
- Sew carefully around the thumb curve.
- Reinforce the base with a short backstitch.
Now your palm section has a functional thumb!
Step 3: Sew the Fourchettes
Fourchettes give your gloves flexibility between the fingers.
- Take one fourchette strip and align it between two finger edges on the palm piece.
- Pin from fingertip to base.
- Sew using a narrow seam allowance (around ⅛ inch).
- Repeat for all finger gaps.
This process requires patience — take your time to ensure even stitching.
Step 4: Join the Palm and Back Pieces
- Place the back piece on top of the palm (with the thumb attached), right sides together.
- Match the edges of each finger carefully.
- Pin all around.
- Sew from wrist up one side of the glove, around the fingers, and down to the wrist again.
- Clip the seam allowances at curves and tips for smoother turning.
Step 5: Finish the Wrist Hem
You can finish the glove wrist in several ways.
Option 1: Simple Hem
- Fold the wrist edge inside by ½ inch.
- Press and topstitch.
Option 2: Elasticized Cuff
- Fold the hem allowance inside, leaving a small casing.
- Insert elastic and sew ends together for a snug fit.
Option 3: Decorative Finish
- Add ribbon, lace, or a small button for a stylish touch.
Step 6: Turn and Press
Turn the gloves right side out carefully, using a blunt stick or pen tip to push out the fingers.
Press with a warm iron (if fabric allows) to set the seams.
Adding Optional Features
You can elevate your gloves by adding creative or functional details.
1. Lining
For extra warmth, sew a thin lining using the same pattern and insert it inside. Hand stitch at the wrist edge to secure.
2. Touchscreen Tips
Use conductive thread or special fabric on the fingertips to make them touchscreen-compatible.
3. Embroidery or Appliqué
Decorate the back of the glove with stitched initials or fabric patches.
4. Leather Trim
Add a leather or faux leather patch to the wrist for a professional finish.
Common Mistakes and How to Fix Them
Sewing gloves requires precision. Here are common problems and how to avoid them:
Mistake 1: Tight or Loose Fit
Fix: Always test your pattern with scrap fabric before final sewing. Adjust seam allowances as needed.
Mistake 2: Puckered Seams
Fix: Use a shorter stitch length and stretch fabric slightly as you sew.
Mistake 3: Uneven Fingers
Fix: Mark each fingertip clearly and sew slowly around curves.
Mistake 4: Twisted Thumb
Fix: Double-check thumb placement before stitching — it should align naturally with the palm curve.
Tips for Professional-Quality Gloves
- Use sharp needles (size 70/10 for light fabric, 90/14 for heavy fabric).
- Keep seam allowances narrow (⅛ inch to ¼ inch).
- Press seams as you go for crisp results.
- Use matching thread color for a clean look.
- Trim excess fabric inside fingers for comfort.
- Try sewing one glove first to perfect your method before making the second.
Caring for Your Handmade Gloves
To make your gloves last longer and maintain their shape:
- Wash by hand in cold water with mild detergent.
- Avoid wringing; instead, press out moisture gently.
- Lay flat to dry on a towel.
- Store them flat or gently rolled to avoid creases.
- For leather gloves, use a specialized cleaner and conditioner.
Frequently Asked Questions
How much fabric do I need to make gloves?
Around ½ yard of fabric is enough for most adult sizes.
What stitch is best for sewing gloves?
Use a small straight stitch or zigzag stitch for stretch fabrics.
Can I sew gloves by hand?
Yes, but use small, tight stitches for durability and flexibility.
Do I need a lining for my gloves?
It’s optional. Linings add comfort and warmth but aren’t necessary for lightweight gloves.
How do I make sure both gloves match?
Cut and sew both gloves simultaneously, ensuring mirrored pattern placement.
What’s the easiest fabric for beginners?
Fleece and cotton jersey are the most beginner-friendly fabrics.
Final Words
Learning how to sew gloves is a fantastic way to expand your sewing skills and create something both practical and stylish. With patience and attention to detail, you can make perfectly fitting gloves that express your personality and craftsmanship.
From cozy fleece mitts to elegant evening gloves, the design possibilities are endless. Sewing your own gloves also allows you to experiment with materials, colors, and custom features that store-bought gloves often lack.
Start simple — make a test pair, adjust the fit, and enjoy the satisfaction of crafting something truly your own. Once you’ve made your first pair, you’ll realize how enjoyable and fulfilling it is to transform fabric into wearable art.
So, thread your needle, prepare your fabric, and begin your glove-making adventure today — because nothing feels as good as wearing something handmade with care and creativity.