
Stars are timeless symbols often used in quilts, clothing, accessories, and decorative crafts. From holiday projects to personal keepsakes, sewing stars adds charm and creativity to any piece. Whether you’re a beginner who wants to start small or someone looking to add a fun design element to your sewing projects, learning how to sew a star is a skill worth mastering.
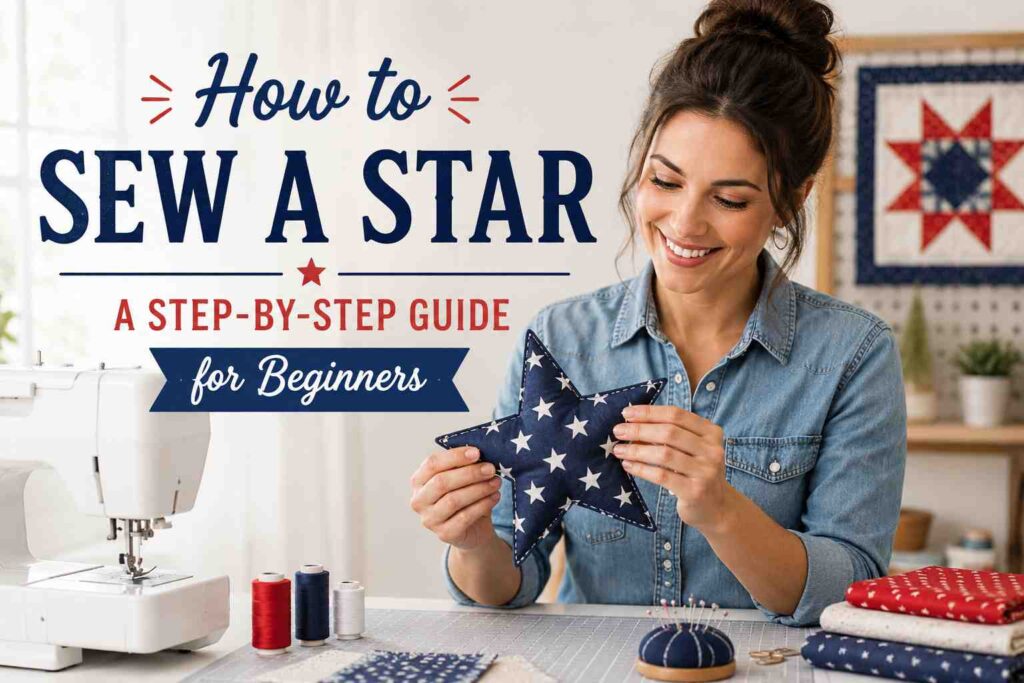
In this guide, we’ll walk you through everything you need to know about sewing stars. You’ll discover the tools you need, different techniques, pattern options, and clear step-by-step instructions to make perfect stars. By the end, you’ll feel confident enough to sew stars onto fabric, create appliqué designs, or even incorporate stars into larger projects like quilts or banners.
Why Learn to Sew a Star
Creative Expression
Stars offer endless ways to personalize clothing, home décor, or gifts.
Skill Building
Sewing stars teaches precision, patience, and attention to detail.
Decorative Versatility
Stars work well on quilts, baby clothes, tote bags, pillows, or seasonal crafts.
Beginner-Friendly Shapes
Unlike complicated embroidery designs, stars are simple to learn but impactful.
Meaningful Symbols
Stars often represent hope, celebration, and achievement, making them meaningful additions to handmade projects.
Tools and Materials Needed
Fabric
- Cotton: Easy to handle and great for appliqué
- Felt: Doesn’t fray, perfect for beginners
- Denim: Adds durability for patches
- Linen: Light and breathable for summer crafts
- Scraps: Ideal for small stars on quilts
Sewing Supplies
- Sewing machine (optional for appliqué, but hand sewing works too)
- Hand sewing needles for small details
- Sharp scissors or rotary cutter
- Fabric marker or chalk for tracing shapes
- Pins or clips to hold fabric in place
Threads
- Cotton or polyester thread for general sewing
- Embroidery floss for decorative star stitches
- Metallic thread for festive or shiny effects
Templates and Patterns
- Printable star patterns in various sizes
- Ruler or measuring tape for accuracy
- Cardboard or plastic stencils for repeated use
Other Essentials
- Iron and ironing board
- Cutting mat
- Seam ripper for corrections
Understanding Different Star Sewing Techniques
Appliqué Stars
Attach a star-shaped fabric piece onto another base fabric using machine or hand stitches.
Patchwork Stars
Sew star-shaped pieces together with other fabric shapes to form quilt blocks.
Embroidered Stars
Use embroidery stitches to outline or fill in a star shape directly on fabric.
Quilted Stars
Stars are pieced into larger quilt designs for traditional or modern looks.
Stuffed Stars
Two star-shaped pieces sewn together, filled with stuffing, and turned into soft toys or ornaments.
Step-by-Step Guide: Sewing a Fabric Star
Step 1: Choose a Star Template
- Select the size and style of the star.
- Print or draw the star on paper.
- Cut out the paper star to use as a template.
Step 2: Prepare the Fabric
- Wash and iron the fabric to avoid shrinkage.
- Lay the fabric flat on the cutting surface.
- Pin the paper star to the fabric.
Step 3: Cut Out the Star
- Trace around the template with a fabric marker.
- Carefully cut along the lines.
- Repeat for the number of stars you want to sew.
Step 4: Position the Star on Base Fabric
- Place the star cutout on your chosen fabric item.
- Secure it with pins or fabric glue.
- Ensure it’s aligned before sewing.
Step 5: Sew the Star in Place
- Use a straight stitch, zigzag stitch, or blanket stitch.
- Sew slowly around the edges for neat results.
- Remove pins as you go to avoid shifting.
Step 6: Finish and Press
- Trim any loose threads.
- Press the star gently with an iron.
- Admire your finished sewn star.
Advanced Star Sewing Projects
Star Appliqué on Clothing
Add small stars to shirts, jackets, or jeans for a customized look.
Quilted Star Blocks
Use patchwork techniques to create eight-point or lone star quilt blocks.
Star Embroidery Accents
Decorate pillowcases, tote bags, or baby blankets with embroidered stars.
Star-Shaped Ornaments
Sew two stars together, stuff lightly, and add a loop for hanging.
Large Decorative Wall Stars
Create oversized star appliqués for banners, wall art, or seasonal decorations.
Tips for Perfect Star Sewing
Use Stabilizers
Stabilizers prevent fabric puckering during stitching.
Start with Felt
Felt stars don’t fray and are ideal for beginners.
Sew Slowly Around Points
Stars have angles and points, so sewing carefully keeps them sharp.
Press Seams Open
For patchwork stars, pressing helps reduce bulk.
Experiment with Stitches
Try decorative stitches to make stars more eye-catching.
Common Mistakes to Avoid
Uneven Points
Rushing through corners can result in blunt star points.
Wrong Fabric Choice
Slippery or stretchy fabrics make stars harder to sew.
Overcrowding Stitches
Too many stitches close together can pucker fabric.
Not Using a Template
Freehand stars may look uneven or lopsided.
Forgetting to Backstitch
Without securing stitches, stars may unravel over time.
Creative Ideas for Using Sewn Stars
Seasonal Décor
Add stars to Christmas stockings, tree skirts, or Independence Day banners.
Baby and Kids Projects
Sew stars on bibs, blankets, or stuffed toys.
Fashion Details
Embellish denim jackets, hats, or scarves with tiny star accents.
Home Décor
Pillows, curtains, and table runners with sewn stars add charm to interiors.
Gifts and Keepsakes
Personalize handkerchiefs, tote bags, or aprons with unique star designs.
Sewing Star Variations
Five-Point Star
Classic and easy for beginners.
Eight-Point Star
Popular in quilting, more advanced.
Starburst Design
Radiating stitches create a glowing effect.
Folk Art Stars
Imperfect hand-sewn stars that give rustic charm.
Layered Stars
Stack different fabrics for a three-dimensional look.
Caring for Projects with Sewn Stars
Washing Tips
- Wash on gentle cycle for delicate projects
- Use mild detergent
- Avoid wringing embroidered stars
Ironing Tips
- Use a pressing cloth to protect threads
- Press lightly on the reverse side
Storage Tips
- Store quilts and clothing in breathable fabric bags
- Keep star ornaments flat or stuffed carefully
Frequently Asked Questions
Can I sew a star by hand?
Yes, hand sewing works perfectly for appliqué, embroidery, or small stars.
What is the easiest fabric for star sewing?
Felt and cotton are the best for beginners because they are stable and easy to cut.
How do I make sure my star points are sharp?
Sew slowly at corners, pivot carefully, and press after sewing.
Can I use decorative stitches on stars?
Absolutely, zigzag, blanket, or even embroidery stitches add style to stars.
Do I need a sewing machine?
Not necessarily; you can hand sew stars, especially for small appliqué projects.
How do I stop stars from fraying?
Use fusible web, zigzag stitching, or felt fabric to avoid fraying.
Can I make stuffed stars without a machine?
Yes, you can hand stitch around the edges, leave a small gap, stuff, and close.
Final Words
Sewing a star may seem simple, but it’s a creative and rewarding project that beginners can easily master. From appliqué and embroidery to patchwork and quilting, there are endless ways to incorporate stars into your sewing projects. With the right materials, careful stitching, and patience, you can create professional-looking stars that add a special touch to clothing, gifts, and home décor.
Whether you’re decorating for a holiday, making a personalized gift, or just exploring new sewing skills, stars are a timeless design choice. Start small, experiment with different fabrics and stitches, and before long, you’ll be creating beautiful star patterns with confidence.
So pick up your fabric, trace your star, and begin sewing—your creativity will shine just like the stars you stitch.