
Learning how to sew curtains is one of the most rewarding and practical sewing projects for beginners. Curtains not only add warmth and privacy to your home but also give you a wonderful opportunity to showcase your creativity through fabric, color, and style. Whether you’re making elegant floor-length drapes for your living room or cute café curtains for your kitchen, sewing your own curtains is a skill that saves money and lets you create exactly what you want.
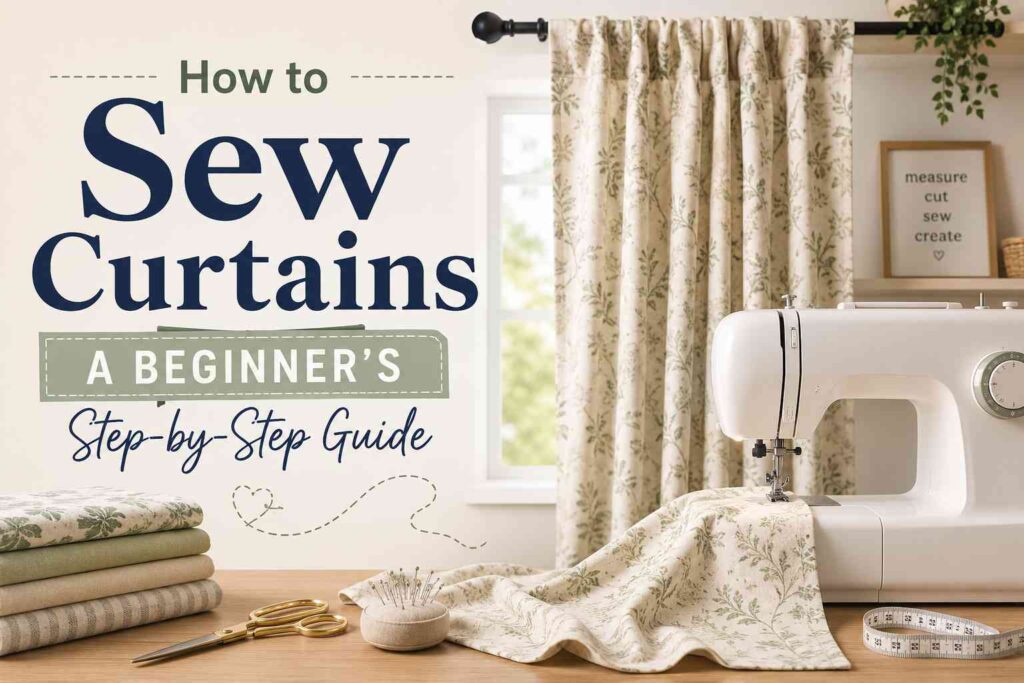
This step-by-step guide will walk you through the entire curtain-making process — from measuring and cutting fabric to stitching and finishing with a professional look. Don’t worry if you’re new to sewing. With a few tools, some patience, and clear directions, you’ll be able to make your first pair of curtains with confidence and pride.
Before diving into the actual sewing, let’s look at what you need to prepare.
Understanding Curtain Styles
Choosing the right curtain style is the first step toward a successful project. Curtains come in many different types, each giving a distinct look and feel to your space.
Rod Pocket Curtains
Rod pocket curtains are one of the easiest types to sew. The fabric is folded at the top to create a pocket for the curtain rod to slide through. They have a simple, casual appearance and are perfect for light fabrics and informal spaces.
Tab Top Curtains
Tab top curtains feature fabric loops sewn into the top seam. These loops hold the rod and give a relaxed, airy vibe. They’re great for cotton or linen fabrics and can add a handcrafted charm to any room.
Pleated Curtains
If you want a more tailored or elegant finish, pleated curtains are ideal. There are several types, including pinch pleats, box pleats, and pencil pleats. These require a bit more skill but deliver a refined, classic look.
Grommet Curtains
Grommet or eyelet curtains have metal rings at the top, which the curtain rod passes through. They’re modern, sleek, and easy to open and close.
Café Curtains
Café curtains typically cover only the lower portion of a window, allowing light to enter from above while still maintaining privacy. They’re perfect for kitchens, bathrooms, and breakfast nooks.
Tools and Materials You’ll Need
Before you start sewing, gather all your supplies. Having everything organized will make your project smoother and more enjoyable.
Essential Sewing Tools
- Sewing machine (with straight stitch capability)
- Fabric scissors or rotary cutter
- Measuring tape
- Pins or clips
- Iron and ironing board
- Seam ripper (for fixing mistakes)
- Thread (matching your fabric color)
- Tailor’s chalk or fabric marker
Curtain Materials
- Fabric of your choice
- Curtain lining (optional for blackout or privacy)
- Curtain tape (for pleats, if desired)
- Grommets or hooks (for grommet curtains)
- Curtain rod and brackets
Choosing the Right Fabric
When sewing curtains, fabric choice determines how they hang and function.
- Cotton: Easy to work with and comes in many patterns. Great for beginners.
- Linen: Offers a natural, airy texture but wrinkles easily.
- Velvet: Thick, luxurious, and excellent for blocking light.
- Polyester blends: Affordable, durable, and easy to clean.
- Sheer fabrics: Perfect for soft, decorative curtains that allow light to pass through.
Step 1: Measure Your Windows
Accurate measurements are the foundation of perfectly fitting curtains.
How to Measure Width
Measure the width of your window frame and multiply by 1.5 to 3, depending on how full you want your curtains to appear. For example, if your window is 40 inches wide, a curtain width of 60 to 120 inches (combined panels) will provide a rich look.
How to Measure Length
Measure from the top of where you want the curtain to hang (rod or track) down to the desired length:
- Sill length: Ends just below the window sill.
- Apron length: Falls a few inches below the sill.
- Floor length: Stops just above the floor.
- Puddle length: Extends beyond the floor for a dramatic effect.
Don’t forget to add extra inches for hemming and header (usually 8–10 inches total).
Step 2: Cut the Fabric
After measuring, it’s time to cut your fabric panels.
Lay your fabric on a large flat surface and mark your measurements using tailor’s chalk. Cut carefully with sharp scissors or a rotary cutter for straight lines.
If you’re lining your curtains, cut the lining fabric 2 inches narrower and shorter than the main fabric to ensure it fits neatly inside the edges.
Step 3: Prepare the Edges
Before you sew, you’ll need to finish the raw edges of your fabric to prevent fraying.
Fold each side edge over ½ inch and press with an iron. Then fold over again another ½ inch, press, and pin in place.
Do the same for the top and bottom hems, adjusting the width depending on your curtain style (the top may need more allowance if you’re making rod pockets or pleats).
Step 4: Sew the Side Seams
Sew the folded side edges with a straight stitch close to the inner fold. This creates a clean and durable finish. Remove pins as you sew to avoid breaking your needle.
Once both sides are done, press the seams with an iron for a crisp look.
Step 5: Create the Top Hem (Header)
The top hem is where the curtain attaches to the rod or hooks. How you sew it depends on your curtain type.
For Rod Pocket Curtains
Fold the top edge down about 3 inches and press. Then fold again 1 inch for a double hem. Pin and sew along the bottom edge of the fold to create a pocket.
For Tab Top Curtains
Cut small strips of fabric (about 6 inches long and 2 inches wide). Fold each strip lengthwise, right sides together, and sew along the edge. Turn right side out and press flat.
Attach the tabs evenly across the top of the curtain panel before folding and sewing the top hem.
For Pleated Curtains
Attach pleating tape to the back of the curtain’s top edge. Sew along the top and bottom of the tape, then insert pleating hooks according to your desired style.
For Grommet Curtains
Mark evenly spaced circles along the top of your curtain for grommets. Cut out the holes and attach the grommet pieces according to the manufacturer’s instructions.
Step 6: Sew the Bottom Hem
The bottom hem gives your curtain a finished, weighted appearance.
Fold the fabric 4 inches up and press. Then fold another 4 inches to hide the raw edge, pin, and sew close to the inner fold.
For lighter fabrics, you can make a narrower hem (2–3 inches). For thicker drapes, a deep hem adds weight and helps them hang better.
Step 7: Press and Hang
Once all your seams are sewn, press your curtain thoroughly to remove wrinkles and set the stitches.
Hang your curtains on the rod or hooks, and adjust the folds until they drape beautifully.
If you notice uneven lengths, mark the adjustment while hanging and trim or re-hem as needed.
Step 8: Optional Additions
Once your curtains are complete, you can personalize them further with decorative details.
Adding Trim or Ribbon
Sew lace, ribbon, or fringe along the edges or bottom hem to enhance the look.
Adding Tiebacks
Create fabric tiebacks or use ropes to hold curtains open during the day.
Adding Lining
If you didn’t line your curtains earlier, you can still add a detachable lining using clip rings or hooks. This allows flexibility for light control and insulation.
Common Sewing Mistakes to Avoid
Even with careful planning, beginners often run into small issues. Here are a few common mistakes and how to prevent them.
Cutting Fabric Too Short
Always double-check measurements before cutting. Add extra inches for hems and header allowance.
Uneven Seams
Use pins or clips to hold fabric in place, and go slowly with your sewing machine to maintain straight lines.
Skipping Ironing Steps
Ironing may seem optional, but it ensures neat, professional results. Press each fold and seam before sewing.
Using the Wrong Thread
Choose a high-quality thread that matches your fabric’s weight and color.
Step-by-Step Curtain Sewing Summary
- Measure your windows
- Cut your fabric and lining
- Finish raw edges
- Sew side seams
- Create the top hem (style of your choice)
- Sew the bottom hem
- Press and hang
- Add trims or details if desired
By following these steps carefully, your finished curtains will look elegant and store-bought, even if you’re a total beginner.
Curtain Style Ideas for Every Room
Different rooms have different needs. Here’s how you can tailor your curtain designs.
Living Room
Opt for pleated or grommet curtains in heavier fabrics like velvet or jacquard. They add drama and help control light.
Bedroom
Choose lined or blackout curtains for privacy and better sleep. Soft colors or floral prints create a relaxing vibe.
Kitchen
Café curtains or short rod-pocket curtains are great choices. Use cotton or linen for easy maintenance.
Bathroom
Opt for water-resistant fabrics or lightweight curtains for decoration, complementing blinds for privacy.
Kids’ Room
Bright colors, fun patterns, and durable cotton fabrics work best. Tab tops or eyelets make them easy to open and close.
Tips for a Professional Finish
- Always press seams before and after sewing.
- Match thread color to your fabric for invisible stitching.
- Use curtain weights inside the hem to make them hang better.
- Line up fabric patterns (like stripes or florals) before sewing.
- Backstitch at the beginning and end of each seam to secure stitches.
Maintenance and Care
Proper care keeps your handmade curtains beautiful for years.
- Vacuum or dust regularly to prevent buildup.
- Spot clean stains immediately.
- Wash or dry-clean according to your fabric type.
- Iron on a low setting when necessary.
Environmental and Cost Benefits of Sewing Your Own Curtains
Making your own curtains not only saves money but also supports sustainable living.
- You can reuse old fabrics or repurpose linens.
- Custom curtains cost less than store-bought designer options.
- Hand-sewing encourages creativity and reduces waste.
FAQ
How long does it take to sew curtains?
For beginners, one pair of basic curtains may take 4–6 hours. More advanced styles with lining or pleats may take longer.
What type of fabric is easiest for beginners?
Medium-weight cotton is ideal because it’s easy to cut, sew, and press.
Can I sew curtains by hand without a machine?
Yes, but it will take more time. Use a backstitch for strong seams and keep stitches small and even.
Do I need to line my curtains?
Lining is optional but recommended for light-blocking, insulation, or protecting fabric from sun damage.
What should I do if my curtains are uneven?
Hang them first, mark the uneven spots, then adjust by trimming and resewing the hem.
How do I make my curtains look fuller?
Use wider fabric panels—about twice or three times the width of your window—for a luxurious appearance.
Final Words
Sewing your own curtains may seem like a big task at first, but with patience and practice, it becomes an enjoyable and rewarding project. The process allows you to personalize your space, save money, and take pride in your craftsmanship.
Every stitch you make brings character to your home. From light, breezy sheers to luxurious pleated drapes, handmade curtains instantly transform your rooms. Start simple, build your skills, and soon, you’ll be designing curtains that perfectly express your style and creativity.
So, gather your fabric, set up your sewing machine, and let your imagination guide you. Once your finished curtains are hanging beautifully, you’ll realize that sewing is not just a skill—it’s a form of art that makes your home uniquely yours.