
Sewing your own shorts is one of the most rewarding and practical projects you can try as a beginner. Not only does it allow you to express your personal style, but it also helps you understand the basics of pattern-making, fabric cutting, and garment construction. Whether you want casual lounge shorts, sporty ones, or stylish summer pieces, learning how to sew shorts gives you endless creative freedom.
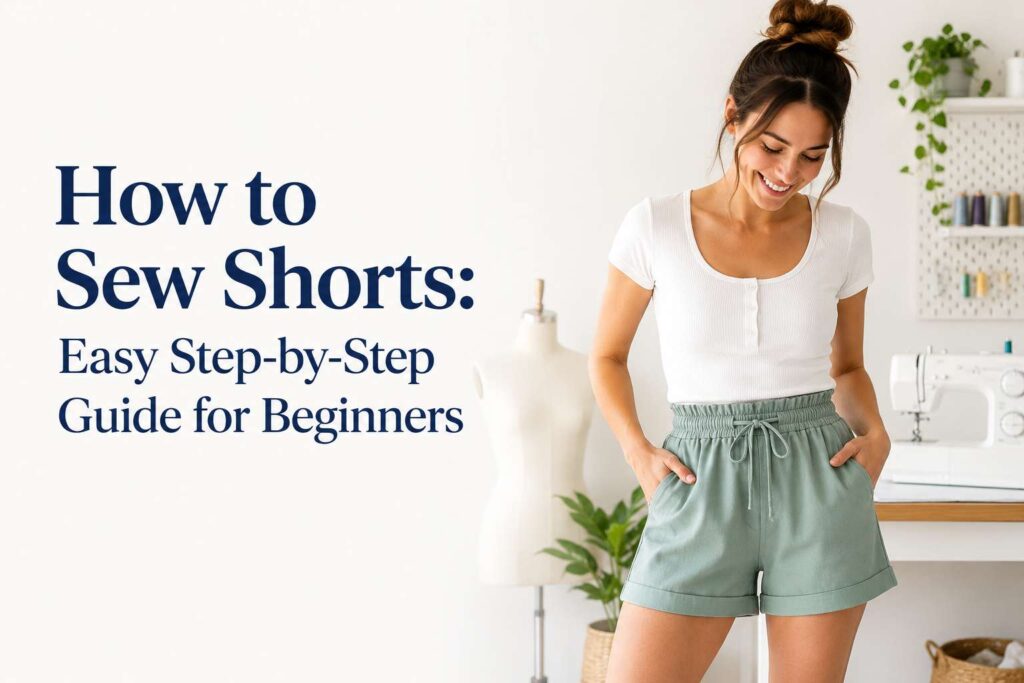
This guide will walk you through every step—from choosing the right fabric to adding the finishing touches. It’s designed to be easy to follow, even if you’ve never sewn clothing before. By the end, you’ll not only have a custom-made pair of shorts but also the confidence to tackle more sewing projects in the future.
Understanding the Basics of Sewing Shorts
Before starting, it’s essential to get familiar with the basics. Shorts are a simpler garment than pants because they have fewer seams and require less fabric, making them an excellent beginner project. However, proper preparation ensures professional-looking results.
What You’ll Learn in This Guide
- How to choose suitable fabric
- The tools and materials you need
- How to measure and cut fabric accurately
- How to read and use patterns
- Step-by-step instructions for sewing shorts
- Finishing and customizing your shorts
Choosing the Right Fabric
The first step to sewing great shorts is selecting the right fabric. The type of fabric you choose depends on the look and comfort you want.
1. Cotton
Cotton is the most beginner-friendly option. It’s breathable, easy to sew, and holds shape well. Perfect for everyday shorts.
2. Linen
Linen is lightweight and ideal for summer. It’s breathable and gives a relaxed, elegant appearance. Keep in mind, linen wrinkles easily.
3. Denim
Denim shorts are classic and durable. Use lighter denim for comfort. This fabric is great for casual wear and can be styled in multiple ways.
4. Knit Fabric
If you’re making athletic or lounge shorts, knit fabrics like jersey or French terry work best. They’re stretchy and comfortable.
5. Rayon or Viscose
These fabrics drape beautifully, making them perfect for flowy, feminine shorts.
Tools and Materials You’ll Need
Before you start, make sure you have all the essentials ready.
Basic Tools
- Sewing machine
- Fabric scissors
- Pins or clips
- Measuring tape
- Iron and ironing board
- Seam ripper
- Tailor’s chalk or fabric marker
Materials
- Your chosen fabric (1–2 yards depending on size and length)
- Thread that matches your fabric
- Elastic or drawstring for waistband (optional)
- Pattern paper or a printed shorts pattern
- Safety pin (for inserting elastic)
Taking Accurate Measurements
Before cutting the fabric, you’ll need your body measurements. This ensures your shorts fit perfectly.
Key Measurements
- Waist: Measure around your natural waistline.
- Hips: Measure the widest part of your hips.
- Inseam: Measure from the crotch to where you want your shorts to end.
- Outseam: Measure from the waist to the desired hemline.
- Thigh Circumference: Measure around the fullest part of your thigh.
Write down these measurements carefully—you’ll use them to adjust your pattern.
Understanding and Using a Pattern
Patterns act as a blueprint for your shorts. You can buy a commercial pattern or draft your own using basic measurements.
How to Read a Pattern
Each pattern comes with:
- Cutting lines for different sizes
- Grainline arrows to guide fabric placement
- Seam allowances
- Darts, notches, and markings
Cut your pattern pieces according to your measurements and label each part—front, back, waistband, and pocket (if included).
Cutting the Fabric
Now it’s time to cut your fabric.
Steps to Follow
- Pre-wash your fabric: This prevents shrinkage later.
- Lay out the fabric: Fold it lengthwise with the right sides together.
- Place the pattern: Align grainlines correctly.
- Pin or weight down the pattern: Prevent shifting while cutting.
- Cut carefully: Use sharp scissors and cut smoothly.
Don’t forget to transfer all pattern markings to the fabric using chalk or a washable marker.
Step-by-Step Sewing Instructions
Now for the fun part—sewing your shorts together!
Step 1: Sew the Front and Back Pieces
- Pin the front and back pieces together at the side seams, right sides facing.
- Stitch using a straight stitch and press open the seams.
Step 2: Sew the Inseam
- Match the crotch area of both legs.
- Stitch the inseam from one hem to the other.
- Press the seams flat for a professional look.
Step 3: Sew the Crotch Seam
- Turn one leg right side out.
- Insert it into the other leg (right sides together).
- Pin along the crotch curve and sew carefully.
- Reinforce with a second line of stitching for durability.
Step 4: Create the Waistband
You can choose between an elastic waistband or a fitted one.
For an Elastic Waistband
- Fold the waistband area over by ¼ inch, then again by 1 inch.
- Stitch around, leaving a small opening.
- Use a safety pin to insert the elastic.
- Sew the ends of the elastic together and close the opening.
For a Fitted Waistband
- Cut a separate waistband piece.
- Sew it onto the shorts, matching seams.
- Add a button or hook for closure.
Step 5: Hem the Shorts
Fold the bottom edge twice (¼ inch then ½ inch). Stitch around neatly. Press the hem for a crisp finish.
Adding Optional Features
To make your shorts more stylish and functional, you can add features like:
Pockets
- Cut two pocket shapes.
- Sew them onto the side seams before stitching the shorts together.
Decorative Stitching
Use contrasting thread or decorative stitches to give your shorts character.
Drawstring Waist
If you prefer an adjustable fit, add a drawstring. Leave two small eyelets in the waistband and thread through the cord.
Cuffs
Fold the bottom edge outward to create cuffs. Topstitch to hold them in place.
Finishing Touches
After sewing, it’s time for the final touches.
- Trim loose threads.
- Press all seams neatly.
- Check the fit and make adjustments if necessary.
- Try your shorts on and admire your work!
Troubleshooting Common Mistakes
Even with careful sewing, mistakes can happen. Here’s how to fix them:
Uneven Hem
Re-measure and press before stitching again.
Loose Elastic
Ensure the elastic is the correct length and securely stitched.
Fabric Fraying
Use a zigzag or overlock stitch on raw edges.
Tight Fit
If your shorts are too tight, consider adding a small panel or elastic inserts.
Tips for Perfect Results
- Always iron as you go—it makes seams look professional.
- Test your stitches on scrap fabric first.
- Use high-quality thread for durability.
- Don’t rush; take your time with measurements and cutting.
- Label your pattern pieces for future use.
Variations of Shorts You Can Sew
Sewing shorts opens up endless creative options.
1. Basic Elastic Shorts
Ideal for beginners—comfortable and easy to make.
2. High-Waisted Shorts
Add a vintage feel with a higher rise and a fitted waistband.
3. Paper Bag Shorts
Create a trendy look by adding a ruffled waistband and belt.
4. Denim Cutoffs
Repurpose old jeans for a sustainable fashion choice.
5. Lounge Shorts
Soft knit fabrics make perfect cozy at-home wear.
6. Sporty Shorts
Add side slits or piping for an athletic touch.
Caring for Your Handmade Shorts
To make your shorts last longer:
- Wash in cold water to prevent shrinkage.
- Use mild detergent.
- Iron on low heat for delicate fabrics.
- Store folded to avoid stretching elastic.
FAQ
How much fabric do I need to make shorts?
Generally, 1 to 2 yards is enough, depending on size and length.
Can I sew shorts without a pattern?
Yes, you can trace an existing pair of shorts to create your own pattern.
What is the easiest type of shorts to make?
Elastic-waist shorts are the easiest and most forgiving for beginners.
Do I need a serger to finish the seams?
No, a regular zigzag stitch works fine for preventing fraying.
Can I make shorts with pockets?
Absolutely! You can add side or patch pockets for both function and style.
Final Words
Learning how to sew shorts is a fantastic way to build your sewing confidence. With simple tools, a bit of patience, and creativity, you can make custom-fit shorts that reflect your personal taste. The process might seem detailed, but each step brings you closer to a beautifully handmade garment.
Once you master the basics, you can experiment with fabrics, styles, and embellishments to create shorts for every occasion—from lounging at home to strolling the beach. Sewing isn’t just a skill—it’s a creative journey. So gather your materials, set up your sewing machine, and start stitching your way to the perfect pair of shorts today.