
Crocheting is one of the most rewarding and relaxing crafts you can learn. Among all the unique crochet motifs, the Starburst Granny Square stands out for its stunning, radiant design. It’s an eye-catching variation of the traditional granny square, featuring a beautiful burst of colors radiating from the center like a star or sun. Whether you’re making a blanket, bag, top, or cushion cover, learning how to crochet a starburst granny square will add a vibrant, retro charm to your projects.
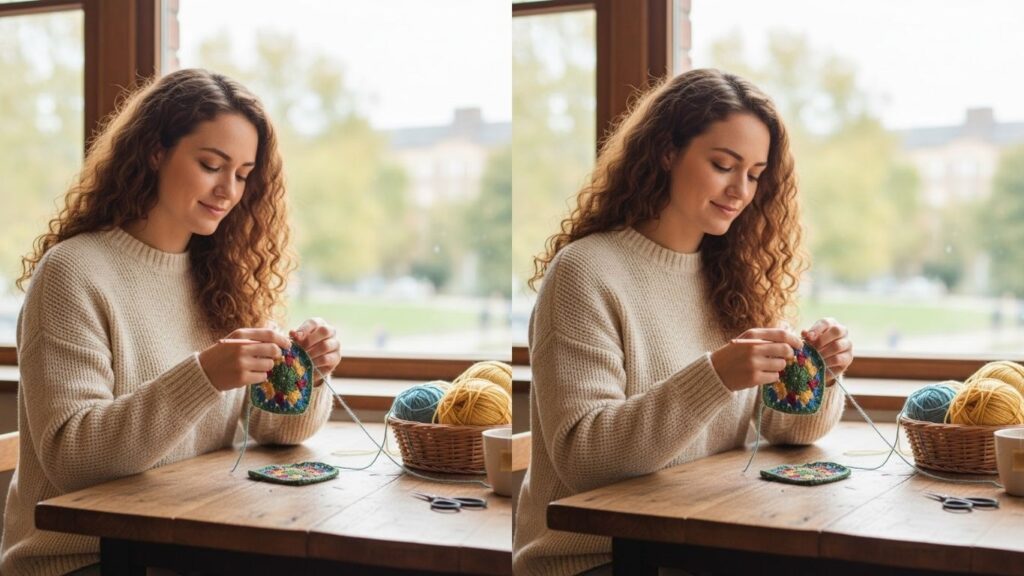
This pattern is perfect for those who love playing with colors and textures. The starburst design uses multiple rounds of stitches, creating depth and a visually appealing 3D effect. Even though it looks intricate, it’s easier than you might think once you break it down step by step.
In this guide, we’ll cover everything you need to know—from tools and materials to a detailed, easy-to-follow tutorial. You’ll also learn some creative ways to use your starburst squares and how to perfect your technique for a professional finish.
Before we begin crocheting, let’s take a look at the must-have tools and materials that will help you get started smoothly.
5 Essential Items to Buy Before You Start Crocheting a Starburst Granny Square
If you want to master how to crochet a starburst granny square, having the right tools is essential. The right materials will not only make your work easier but will also ensure your finished square looks neat and vibrant.
1. Crochet Hooks
A 4mm (G-6) or 5mm (H-8) crochet hook works perfectly for this type of project, especially when using medium-weight yarn. Choose an ergonomic hook for comfort—since the starburst square involves several rounds, you’ll be crocheting for a while.
2. Yarn
The most exciting part of a starburst granny square is choosing your yarn colors. You’ll typically need 4 to 5 contrasting colors to make the burst pattern stand out.
For best results, use medium-weight yarn (category 4) made of cotton or acrylic. Cotton gives a crisp texture, while acrylic provides softness and stretch. Try mixing light and dark tones for a beautiful gradient effect.
3. Yarn Needle
You’ll use a yarn needle to weave in the ends between color changes and after finishing the square. A metal needle with a large eye works best for thicker yarns.
4. Stitch Markers
When working on multiple rounds, especially with frequent color changes, stitch markers help you keep track of your starting points and corners. They’re small but very useful for maintaining even stitches.
5. Scissors
A sharp pair of yarn scissors is essential for cutting clean ends and trimming tails neatly. Always keep them handy during color changes.
Why You’ll Love the Starburst Granny Square
The Starburst Granny Square combines traditional crochet style with modern vibrance. It’s not just another pattern—it’s a creative playground for color lovers. Here’s why crocheters adore this design:
- It’s visually striking: The starburst effect creates a gorgeous focal point.
- It’s versatile: You can use it for clothing, blankets, pillows, and bags.
- It’s great for color mixing: Each round offers a chance to experiment.
- It’s satisfying to make: Watching the starburst grow round by round is magical.
- It’s beginner-friendly with a twist: Perfect for those ready to go beyond the basic granny square.
Now that you know what makes this pattern special, let’s dive into the exciting part—learning exactly how to crochet a starburst granny square step by step.
Step-by-Step Guide: How to Crochet a Starburst Granny Square
This section will take you through the full process, from starting the center to completing the final square shape.
Before you start, make sure you know these basic crochet stitches:
- Chain (ch)
- Slip stitch (sl st)
- Single crochet (sc)
- Half double crochet (hdc)
- Double crochet (dc)
- Treble crochet (tr)
Step 1: Start with a Magic Ring
To begin your starburst granny square, create a magic ring.
- Wrap your yarn around your fingers to form a loop.
- Insert your hook into the loop, yarn over, and pull through.
- Chain 2 (this does not count as a stitch).
The magic ring forms the center of your starburst.
Step 2: First Round – The Foundation Circle
Using your first color (usually the center color), crochet as follows:
- Work 12 double crochets (dc) into the ring.
- Join with a slip stitch to the top of the first double crochet.
- Pull the yarn tail to close the center tightly.
This round forms the middle of your starburst.
Step 3: Second Round – Puff Stitches for Texture
Switch to your second color. This round will start forming the starburst effect.
- Chain 2 (does not count as a stitch).
- In the next stitch, make a puff stitch:
- Yarn over, insert the hook, pull up a loop (3 loops on hook).
- Yarn over, insert again, pull up another loop (5 loops on hook).
- Yarn over once more, insert, and pull up again (7 loops on hook).
- Yarn over and pull through all loops.
- Chain 1 to close the puff.
- Repeat puff stitches in each stitch around.
- Join with a slip stitch to the top of the first puff.
You’ll now have a beautiful ring of puff stitches radiating from the center.
Step 4: Third Round – Building the Burst
Switch to a third color.
- Chain 3 (counts as 1 dc).
- In the space between puff stitches, work 2 dc.
- Chain 1.
- Continue 3 dc, chain 1 in each space between puffs around.
- Slip stitch to the top of the chain-3 to close.
You should start to see a circular flower-like shape forming.
Step 5: Fourth Round – Expanding the Starburst
Change to your fourth color.
- Chain 2 (counts as first half double crochet).
- In the next chain space, make 2 half double crochets (hdc), chain 1, then 2 more hdc in the same space.
- In the next space, make 4 hdc, then chain 1.
- Repeat this around, alternating between 4 hdc and 2 hdc groups.
- Join with a slip stitch.
This round adds depth and fullness to your starburst.
Step 6: Fifth Round – Turning the Circle into a Square
Now it’s time to transform your round starburst into a square shape.
Switch to your final color (usually a neutral tone like white, cream, or gray).
- Attach yarn in any chain space.
- Chain 3 (counts as dc), make 2 dc, chain 2, and 3 dc in the same space (this is your first corner).
- In the next space, make 3 dc.
- In the next space, make another corner (3 dc, chain 2, 3 dc).
- Repeat this pattern—3 dc in each side space, and 3 dc + chain 2 + 3 dc in each corner—until you have 4 corners total.
- Join with a slip stitch to close the square.
Step 7: Add Additional Rounds (Optional)
You can make your starburst granny square larger by adding more rounds using the same corner and side pattern. Continue alternating colors for a multi-layered effect.
Step 8: Finish and Weave in Ends
Cut the yarn, leaving a 6-inch tail. Use your yarn needle to weave in all ends neatly on the backside of the square.
For best results, block your square:
- Pin it to a flat surface, spray lightly with water, and let it dry to even out the shape.
Tips for Perfecting Your Starburst Granny Square
Even if you’re new to crochet, a few helpful tricks can make your starburst granny squares look polished and professional:
- Use contrasting colors to make the starburst pop.
- Maintain even tension for clean, consistent stitches.
- Block your squares after finishing to get perfect alignment.
- Use soft yarn for wearable projects and sturdier yarn for décor.
- Count stitches carefully to avoid lopsided edges.
Creative Project Ideas Using Starburst Granny Squares
Once you learn how to crochet a starburst granny square, you can use them in countless projects. Here are some creative ideas to inspire you:
1. Starburst Blanket
Join multiple squares together to make a vibrant, retro-style blanket. Alternate colors for a patchwork look.
2. Crochet Bag
Sew squares into a trendy tote or crossbody bag—perfect for summer outings.
3. Pillow Covers
Use matching or complementary squares to make bold, textured pillow covers.
4. Cardigan or Sweater
Combine your squares to make a cozy, boho-style cardigan. The starburst pattern looks stunning as wearable art.
5. Wall Hanging
Arrange squares in a gradient pattern and attach them to a wooden dowel for a handmade wall décor piece.
Troubleshooting Common Problems
The Circle Won’t Lie Flat
If your square curls up, try loosening your tension or adding an extra chain between corner stitches.
The Square Looks Uneven
Count stitches after every round. Skipping or adding extra chains can distort the shape.
The Center Hole Is Too Big
Pull the magic ring tail tighter or replace it with a chain-4 loop if you prefer a slightly open center.
The Puff Stitches Look Uneven
Make sure you pull each loop on your puff stitch to the same height for consistent texture.
How to Join Starburst Granny Squares
When you’ve made several starburst squares, join them to create larger projects. Here are a few joining methods:
Slip Stitch Join
Hold two squares right sides together and slip stitch through both loops of each stitch. This method gives a flat, subtle seam.
Whip Stitch Join
Use a yarn needle to sew the squares together through the back loops for a nearly invisible join.
Join-As-You-Go
Crochet the last round of each square directly onto another square—saves time and creates seamless joins.
Caring for Your Crochet Projects
To make your starburst creations last:
- Hand wash in cool water using mild soap.
- Gently squeeze out water (don’t wring).
- Lay flat on a towel to dry.
- Avoid hanging to prevent stretching.
Frequently Asked Questions (FAQ)
How long does it take to make a starburst granny square?
It usually takes about 30–45 minutes per square, depending on your speed and experience.
Can beginners make this pattern?
Yes! The starburst granny square is perfect for confident beginners who know basic stitches and want to learn new techniques like puff stitches.
What yarn is best for this project?
Use medium-weight (worsted) cotton or acrylic yarn. Cotton holds the pattern well, while acrylic is softer and lighter.
How many colors should I use?
Four or five colors give the best contrast, but you can use as many as you like for a more playful design.
Can I make the square bigger?
Yes! Just keep adding rounds in the traditional granny square pattern until it reaches your desired size.
How do I make all squares the same size?
Keep your stitch tension consistent and block your squares before joining.
What can I make with starburst granny squares?
You can use them for blankets, bags, sweaters, tops, cushion covers, scarves, and even skirts!
Do I have to use a magic ring?
No, you can start with chain 4 and join into a loop if you prefer. The magic ring just creates a tighter, cleaner center.
Final Words
Learning how to crochet a starburst granny square opens up a world of creative possibilities. This radiant pattern combines the charm of traditional crochet with the excitement of bold colorwork, giving your projects a timeless yet trendy look. Each square you make feels like a little masterpiece, bursting with energy and individuality.
Once you complete your first one, you’ll be hooked—literally! From blankets to wearables, every piece you create with these squares will be filled with personality and warmth. Take your time, experiment with different color combinations, and enjoy every stitch.
So grab your yarn and hook, settle into your favorite spot, and start crafting your own crochet starbursts today. Soon, you’ll have a collection of squares ready to be turned into something extraordinary—made entirely by you.