
Vinyl stickers are durable, vibrant, and perfect for personalizing laptops, water bottles, cars, windows, and much more. Making your own allows complete customization of size, shape, and design, giving a professional look without paying for mass production.
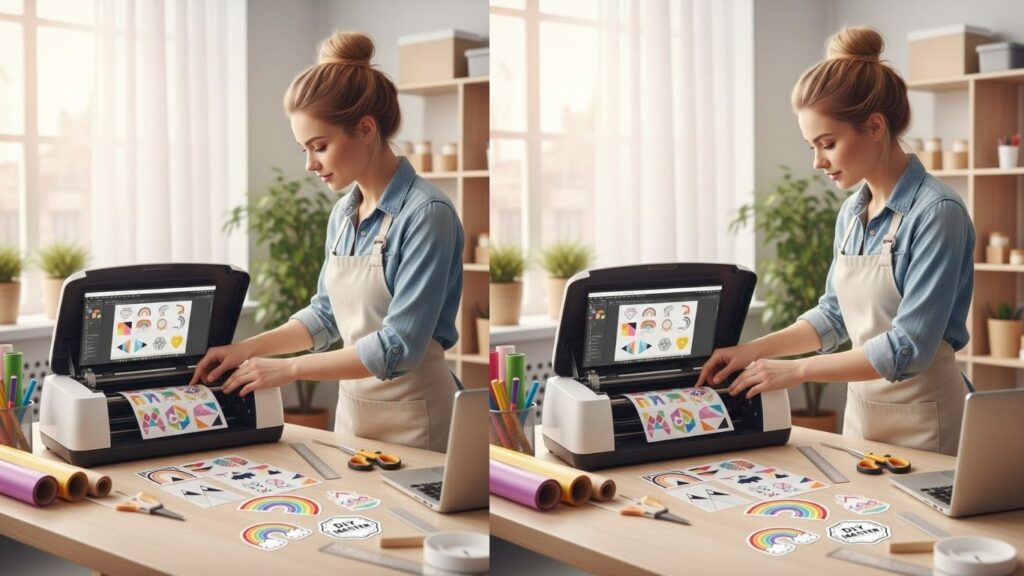
In this guide, you’ll discover seven detailed methods to create vinyl stickers at home. Each method is explained step by step, making it beginner-friendly while helping you achieve high-quality, long-lasting results.
Essential Tools and Materials for Vinyl Stickers
Having the right supplies ensures clean, durable, and professional-looking stickers. Here are five items that are especially useful:
- Adhesive vinyl sheets
- Cutting machine (Cricut, Silhouette, or manual craft knife)
- Transfer tape
- Weeding tools
- Laminating sheets
These materials and tools help you design and produce vinyl stickers efficiently with excellent results.
How to Make Vinyl Stickers
Vinyl stickers can be produced digitally, manually, or with a combination of both methods. The process generally involves designing, cutting, weeding, transferring, and sealing. Below are seven creative methods explained in detail.
1. Digital Cut Vinyl Stickers
This is the most common method using a cutting machine.
Step-by-Step Instructions
- Design your sticker digitally
Use software like Illustrator, Cricut Design Space, or Silhouette Studio. - Prepare the vinyl sheet
Stick vinyl on the cutting mat with the backing facing down. - Set cutting parameters
Adjust blade depth, pressure, and speed according to vinyl type. - Cut the design
Send your digital design to the cutting machine. - Weed excess vinyl
Use weeding tools to remove unwanted vinyl pieces. - Apply transfer tape
Place transfer tape over the sticker to lift it from the backing. - Stick onto surface
Position and smooth out the vinyl on your desired surface.
This method produces clean and precise shapes ideal for professional projects.
2. Hand-Cut Vinyl Stickers
Perfect for beginners or simple designs.
Step-by-Step Instructions
- Draw or print the design on paper
Keep it simple for easier cutting. - Place the design over vinyl sheet
Use transfer tape lightly to hold paper in place. - Trace design on vinyl
Use a fine-tip permanent marker. - Cut around design
Use a craft knife or small scissors carefully. - Weed excess vinyl
Remove unwanted areas for a clean shape. - Apply transfer tape
Lift the vinyl from the backing. - Stick onto the surface
Press firmly and smooth out bubbles.
Hand-cut stickers are inexpensive and great for personalized gifts.
3. Printed Vinyl Stickers
These stickers allow full-color designs without cutting individual shapes.
Step-by-Step Instructions
- Prepare digital design
Include all colors and details in high resolution. - Print on printable vinyl sheets
Use an inkjet or laser printer suitable for vinyl. - Allow ink to dry
Prevent smudging before handling. - Apply laminate sheet
Protects sticker from water and scratches. - Cut around designs
Use scissors, craft knife, or cutting machine. - Peel backing carefully
Ensure the sticker stays intact. - Apply to surface
Smooth out with a scraper tool or credit card.
Printed vinyl stickers are perfect for detailed illustrations or photographs.
4. Vinyl Sticker Decals for Cars
These require extra durability and weatherproofing.
Step-by-Step Instructions
- Design your decal
Use software to create high-contrast designs. - Cut the design from adhesive vinyl
Use a cutting machine for precision. - Weed carefully
Remove all excess vinyl for clean edges. - Apply transfer tape
Helps position the decal accurately. - Clean the surface
Use rubbing alcohol to ensure adhesion. - Place decal and smooth
Remove bubbles with a squeegee or credit card. - Remove transfer tape
Peel slowly to prevent lifting the vinyl.
Car decals need strong adhesive and weatherproof vinyl.
5. Layered Vinyl Stickers
These create multi-color and dimensional effects.
Step-by-Step Instructions
- Separate design by color layers
Each color is a separate cut. - Cut each layer individually
Use cutting machine or hand-cut method. - Weed each layer carefully
Ensure only the desired parts remain. - Apply transfer tape to each layer
Align carefully for accurate layering. - Stick first layer to surface
Smooth out to remove air bubbles. - Add remaining layers
Layer in order, pressing firmly. - Final smoothing
Check edges for lifting or bubbles.
Layered stickers look professional and allow creative designs.
6. Transparent Vinyl Stickers
These are ideal for windows or clear surfaces.
Step-by-Step Instructions
- Use clear adhesive vinyl
Print or cut design on the transparent sheet. - Weed excess carefully
Ensure background remains clear. - Apply transfer tape
Helps with positioning. - Clean surface
Remove dust or grease for better adhesion. - Stick decal to window or clear surface
Press evenly to avoid bubbles. - Peel transfer tape slowly
Keep sticker flat and smooth. - Let cure for 24 hours
Ensures long-lasting adhesion.
Transparent stickers give a floating effect that looks sleek and modern.
7. Hand-Painted Vinyl Stickers
Adds artistic, personalized designs to vinyl sheets.
Step-by-Step Instructions
- Choose adhesive vinyl sheet
White or light-colored vinyl works best. - Sketch design lightly with pencil
Keep lines simple. - Paint with acrylic or permanent paint
Thin layers prevent peeling. - Allow paint to dry completely
Ensure no smudging occurs. - Apply clear laminate sheet
Protects paint from scratches or water. - Cut around design
Use scissors or craft knife. - Peel and stick
Apply to surface carefully.
Hand-painted vinyl stickers are perfect for custom, unique creations.
Tips for Durable Vinyl Stickers
Use High-Quality Vinyl
Ensures longer adhesion and durability.
Apply Laminate Sheet
Protects against water, scratches, and UV damage.
Smooth Surfaces Work Best
Clean and dry surfaces ensure proper sticking.
Store Properly
Keep unused stickers flat and dry to prevent curling.
Common Mistakes to Avoid
Cutting Too Deep
Adjust blade depth to avoid cutting backing paper.
Not Weeding Properly
Leaves unwanted vinyl, affecting final appearance.
Skipping Surface Cleaning
Dust or grease reduces adhesion.
Not Using Transfer Tape
Harder to place stickers accurately without it.
Creative Ideas for Vinyl Stickers
- Create themed sticker sheets
- Use metallic or holographic vinyl
- Layer multiple colors for complex designs
- Make seasonal or holiday sets
- Customize gifts with names or logos
Frequently Asked Questions
Can I make vinyl stickers without a cutting machine?
Yes, hand-cutting or printed vinyl methods work for beginners.
How long do vinyl stickers last?
High-quality vinyl can last several years, especially with lamination.
Can I make waterproof stickers?
Yes, using laminated vinyl ensures water resistance.
Can I use vinyl stickers on fabric?
Special fabric vinyl is required for long-lasting adhesion.
What paper or vinyl is best for printing stickers?
Printable adhesive vinyl sheets are ideal for inkjet or laser printers.
Final Words
Making vinyl stickers at home is fun, creative, and rewarding. By following these seven step-by-step methods, you can create high-quality, durable stickers suitable for personal use, gifts, or even small business projects. Experiment with different designs, colors, and finishes to find your favorite approach.
Once you master these techniques, producing vibrant and professional-looking vinyl stickers becomes an enjoyable hobby, allowing endless customization and creative expression.