
Vintage stickers bring charm, nostalgia, and character to journals, scrapbooks, and crafts. Making your own allows you to create personalized designs that reflect your style while giving your projects a timeless touch. With some basic supplies and a bit of creativity, anyone can make stunning vintage stickers at home.
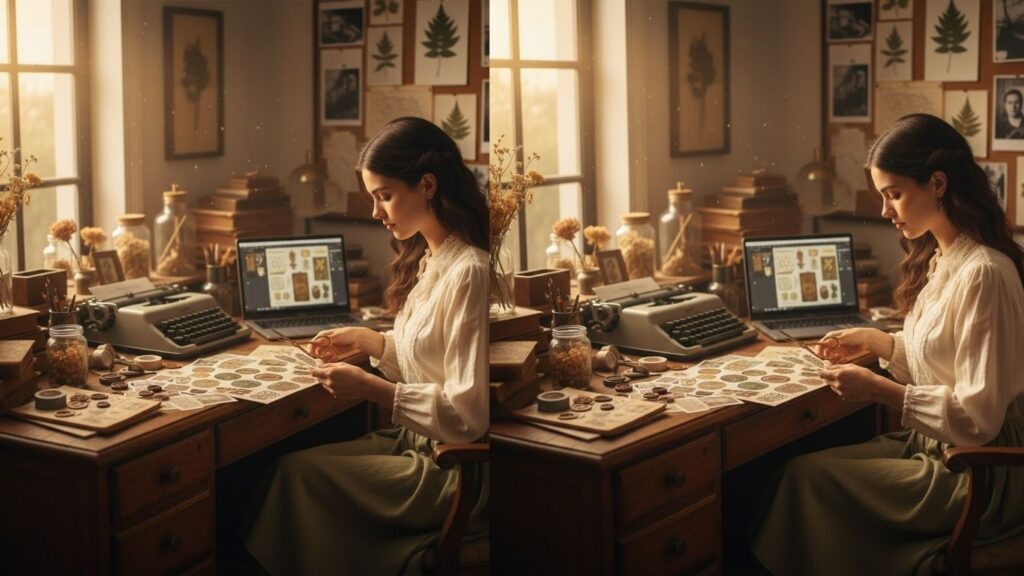
Here are five items to help you get started: vintage sticker paper, colored pencils, scissors, cutting tools, and a vintage sticker kit. These essentials will make your sticker-making process easier and more enjoyable.
Getting Started with Vintage Stickers
Vintage stickers are all about evoking a sense of nostalgia. They can feature muted tones, antique patterns, floral designs, retro labels, or aged textures. Before starting, decide on the style of vintage you want—whether it’s rustic, Victorian, retro 80s, or antique-inspired. Understanding your theme helps guide your materials and techniques.
Tips Before You Begin
- Pick a cohesive color palette using earthy or pastel tones.
- Plan sticker sizes according to your journal, scrapbook, or project.
- Experiment with textures like tea-staining, distressing, or layering.
- Work on scrap paper first to test your techniques.
Once you have your materials and theme ready, it’s time to dive into creating vintage stickers.
Vintage Stickers
Creating vintage stickers involves several methods, from hand-drawn designs to printable templates, each offering unique textures and styles. Here are seven effective ways to make vintage stickers at home, with detailed step-by-step instructions.
1. Printable Vintage Stickers
- Gather materials: sticker paper, printer, scissors or cutting machine, and digital vintage designs.
- Choose vintage images or create your own using graphic software.
- Print designs on high-quality sticker paper, adjusting settings for best color accuracy.
- Cut out each sticker using scissors or a cutting machine for precise shapes.
- Peel the backing and apply stickers to your journal, scrapbook, or crafts.
Printable vintage stickers allow for detailed designs with consistent colors, perfect for layering or combining multiple designs on a page.
2. Hand-Drawn Vintage Stickers
- Use high-quality sticker sheets or drawing paper.
- Sketch vintage designs lightly with a pencil, such as floral motifs, antique objects, or retro labels.
- Trace over your sketches with fine-liner pens for crisp outlines.
- Color with muted tones using watercolor, markers, or colored pencils.
- Cut out designs carefully using scissors or a craft knife.
- Use double-sided tape or glue if your paper isn’t pre-sticky.
Hand-drawn stickers give a personalized, authentic feel and allow endless creative freedom.
3. Tea-Stained Stickers
- Print or draw designs on plain paper or sticker sheets.
- Brew a strong tea or coffee solution.
- Dip or brush the liquid over your sticker paper to give it an aged, vintage look.
- Let the paper dry completely before cutting out your designs.
- Cut your tea-stained stickers carefully and apply them to your projects.
Tea-staining adds natural texture and color variation, making your stickers look authentically vintage.
4. Distressed or Torn Edge Stickers
- Print, draw, or cut designs on sticker paper.
- Gently tear edges or use sandpaper to create worn, uneven edges.
- Apply ink or pastel shades to edges for a distressed effect.
- Attach stickers to your project using adhesive.
Distressed edges give stickers a rustic, antique charm and are perfect for vintage journaling or scrapbooking.
5. Transparent Vintage Stickers
- Purchase clear or transparent sticker sheets.
- Draw or print vintage designs directly on the clear sheet.
- Cut carefully around your shapes using scissors or a craft knife.
- Peel the backing and layer them over your journal pages or crafts.
Transparent vintage stickers are perfect for layering over other papers or images, allowing subtle, timeless designs to shine.
6. Embossed or Textured Stickers
- Draw or print designs on sticker paper.
- Use embossing powders or textured paint to add raised designs.
- Apply a heat tool carefully if using embossing powder to set the design.
- Cut out the stickers once the texture is dry.
- Stick them onto your project using adhesive.
Embossed or textured stickers add depth and tactile interest, enhancing the vintage aesthetic.
7. Collage Vintage Stickers
- Collect scraps of vintage-style papers, old book pages, or printed designs.
- Cut shapes, patterns, or images from your collected papers.
- Layer them creatively on sticker paper or glue directly onto adhesive sheets.
- Cut around each collage to form individual stickers.
- Apply them to your journal, scrapbook, or crafts.
Collage stickers allow for unlimited creativity, combining different textures, patterns, and nostalgic imagery for a unique vintage feel.
Additional Tips for Vintage Stickers
- Mix multiple methods for a richer, more authentic vintage look.
- Use muted or sepia tones to enhance the aged effect.
- Store unused stickers in envelopes, folders, or sticker binders.
- Experiment with layering, distressing, or tea-staining for varied textures.
- Start with small designs if you are new to vintage sticker-making, gradually moving to larger or complex ones.
Creative Ideas to Make Vintage Stickers Stand Out
Retro Labels
Create miniature vintage labels with old fonts, borders, and muted colors. These stickers can mimic old product labels, ticket stubs, or postal stamps.
Floral Vintage Stickers
Draw or print flowers with muted tones, slightly faded colors, or distressed edges. Floral designs are timeless and add elegance to any journal.
Antique Objects
Include vintage objects like clocks, keys, suitcases, or cameras. These small designs add authenticity and charm to your projects.
Textured Paper Stickers
Experiment with textured papers like handmade, parchment, or kraft paper. These surfaces enhance the vintage feel and provide a tactile experience.
Patterned Stickers
Use classic vintage patterns like polka dots, stripes, or damask prints. Patterned stickers can be layered or combined with hand-drawn designs for visual interest.
Ephemera Stickers
Incorporate cutouts from old book pages, maps, tickets, or letters. Ephemera stickers add storytelling elements to your vintage designs.
Layered Vintage Stickers
Combine transparent, textured, or collage techniques to layer multiple designs. Layering adds dimension and a rich, authentic vintage look to your projects.
FAQ
Can I use regular paper to make vintage stickers?
Yes, but it’s best to add adhesive or use sticker sheets for durability.
How do I make my stickers last longer?
Laminating, using high-quality sticker paper, or applying a protective spray ensures long-lasting stickers.
Are tea-stained stickers reusable?
Tea-stained stickers are usually permanent but can be carefully repositioned if applied gently.
Do I need special tools to make vintage stickers?
No. Basic materials like paper, scissors, glue, markers, and optional tools like cutting machines or punches are sufficient.
How should I organize vintage stickers?
Use folders, envelopes, or sticker binders, organizing by theme, color, or style for easy access.
Final Words
Making vintage stickers at home is a creative, rewarding process that brings a nostalgic charm to your projects. Using these DIY methods, you can craft stickers with unique textures, patterns, and designs that reflect your style. Every sticker you create adds personality, history, and beauty, transforming ordinary journals, scrapbooks, or crafts into timeless treasures.